We appreciate that for some, a printed user guide will always be the preferred option, which is why, in the past, we had always produced a clear and comprehensive one.
With the aim of reducing our environmental impact and waste, we have switched to this online guide. Beyond simply reducing material waste, this online format allows for an even more comprehensive product guide with more detailed steps and the ability to add or improve any part of the guide quickly based on user feedback.
Thank you for your understanding, and if we can do anything to improve this experience, please let us know.
The BC1 Pi is by far the simplest and most intuitive case that we make, so it almost doesn’t need a user guide, so instead of a detailed guide broken down into different pages, we think this one-pager should do the trick.
Introduction to the BC1 Pi
The BC1 Pi is a compact and toolless open benchtable designed for Raspberry Pi and similar single-board computers. Made from high-quality aluminum, it provides a durable and stable platform while maintaining easy access to GPIO pins, ports, and add-ons. The design emphasises versatility, supporting all generations of Raspberry Pi and allowing for seamless expansion with accessories and HATs.
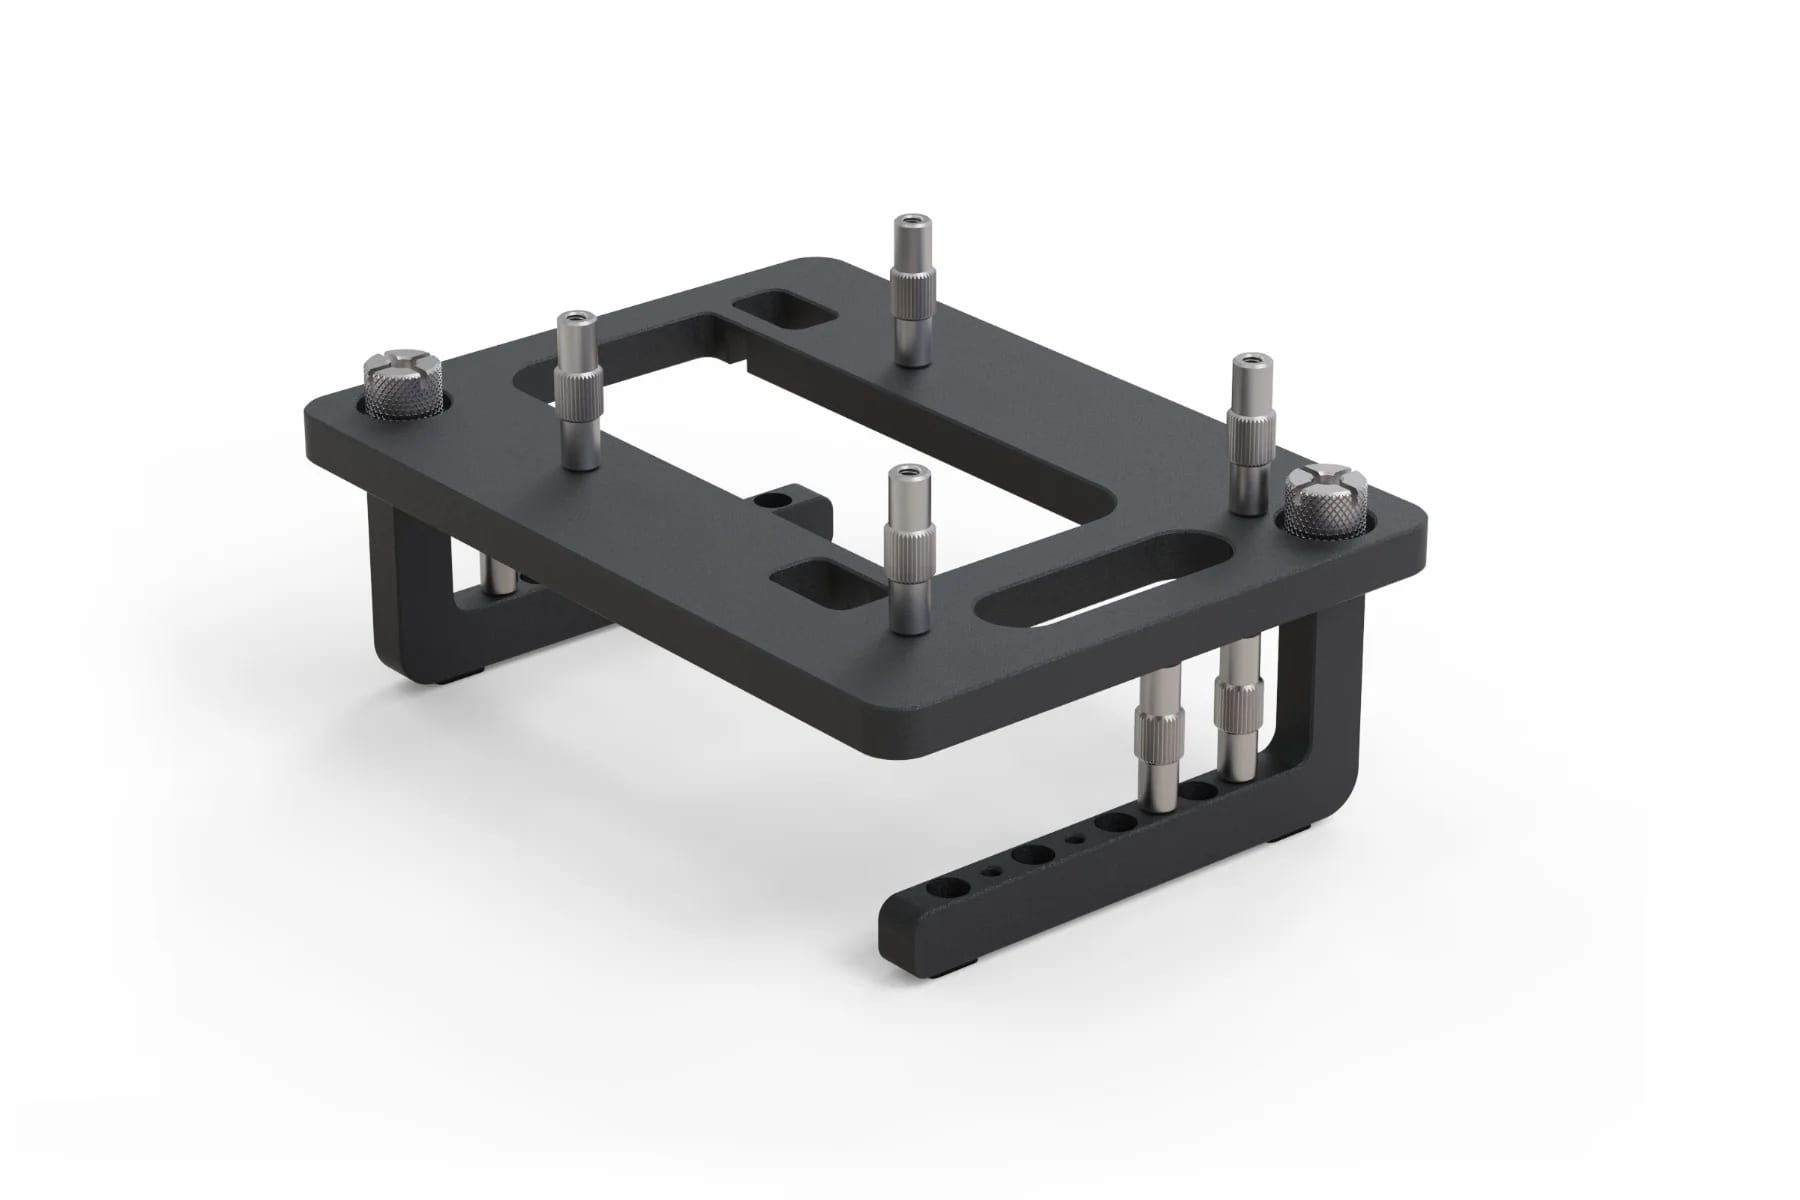
Construction Overview
Table Body
Foot
6#32 Thumbscrew
M2.5 Standoff
Silicon Foot Pad
Unpacking
As with the entire BC1 range, the Pi come ‘flat packed’ with all the parts attached to the main body and feet in their ‘stored’ locations.
Before assembling and using the BC1 Pi, the feet and screws need to be removed and re-attached in the ‘assembled’ locations.
6#32 Thumbscrew
Feet in Stored Location
Begin disassembly by loosening the thumbscrews that secure the feet to the table body. The thumbscrew only need to be made loose, do not try to remove them until the feet have been removed from the body.
These thumbscrews are hand-tightened so if you are having trouble to turn them, make sure you are going in the correct direction.
Feet are interlocked
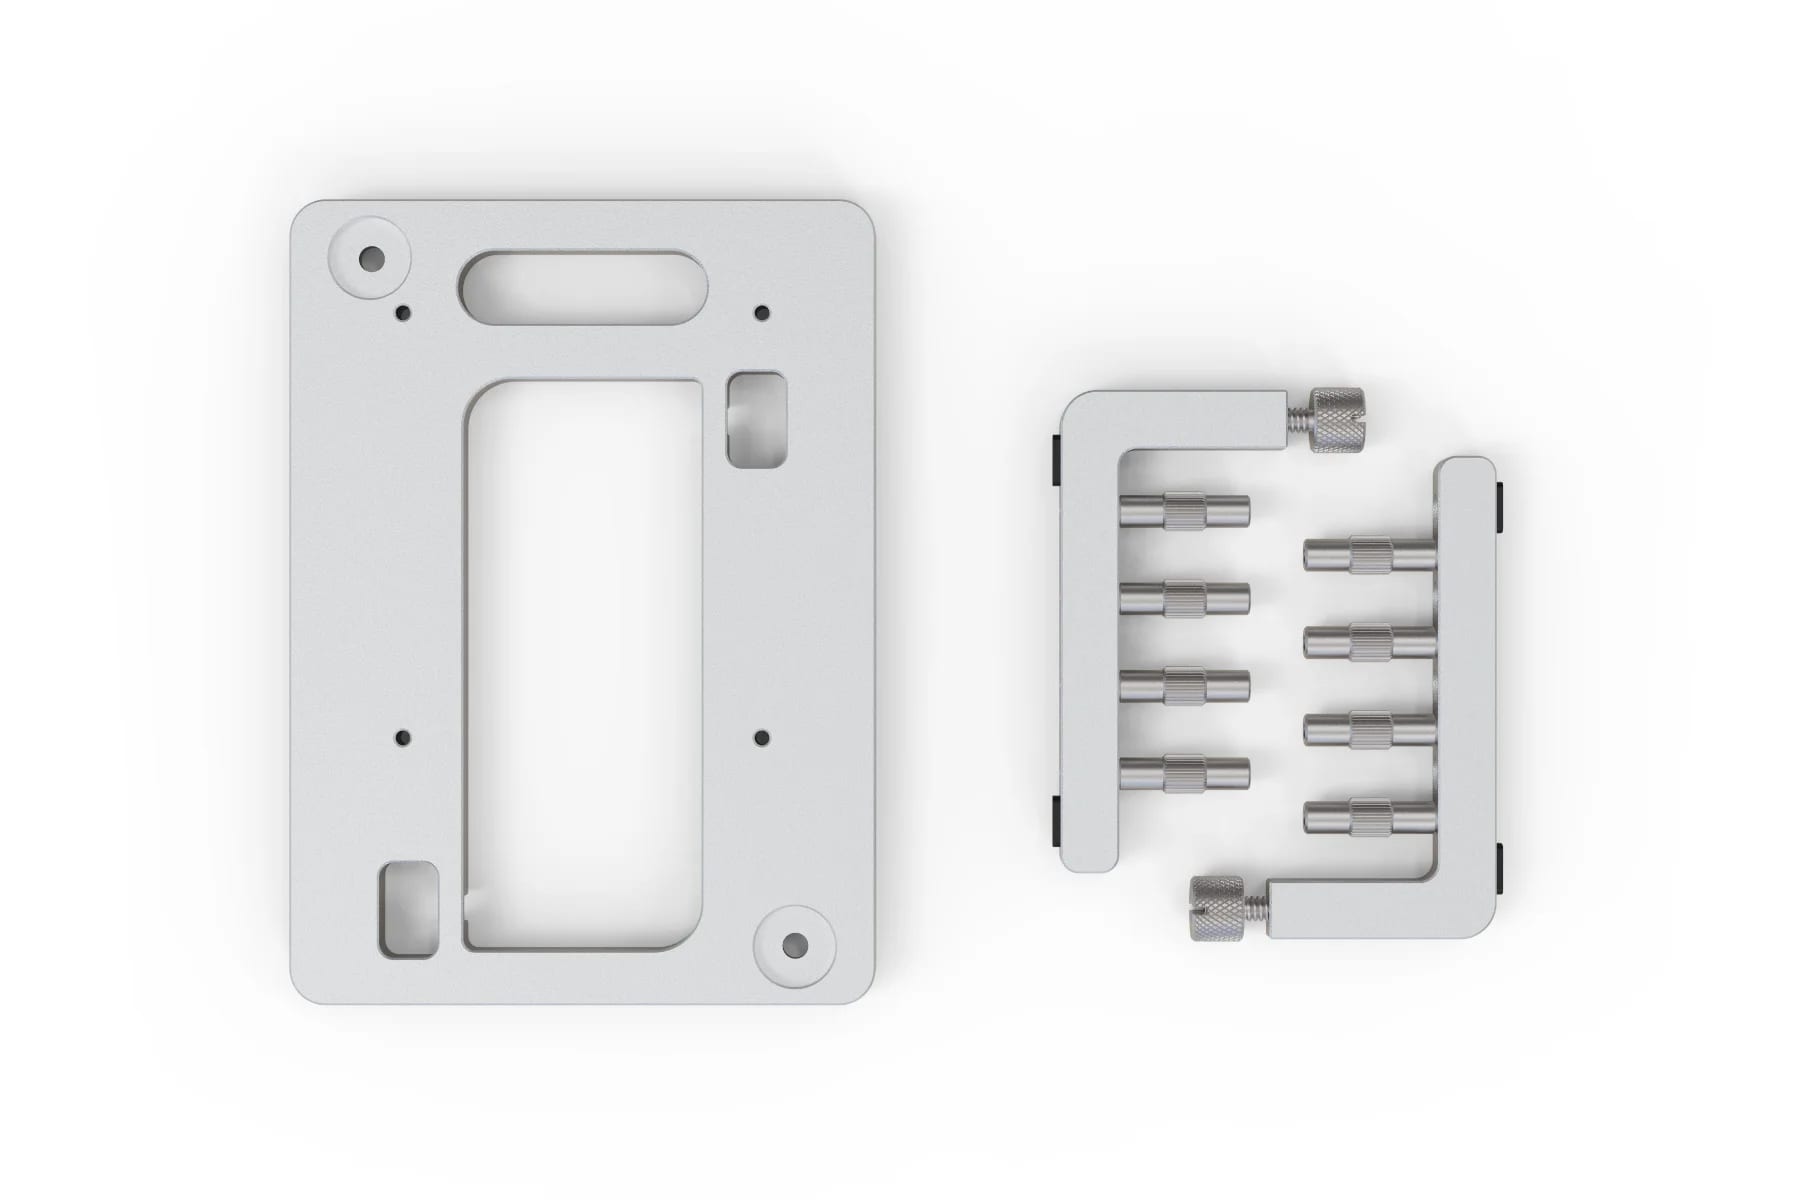
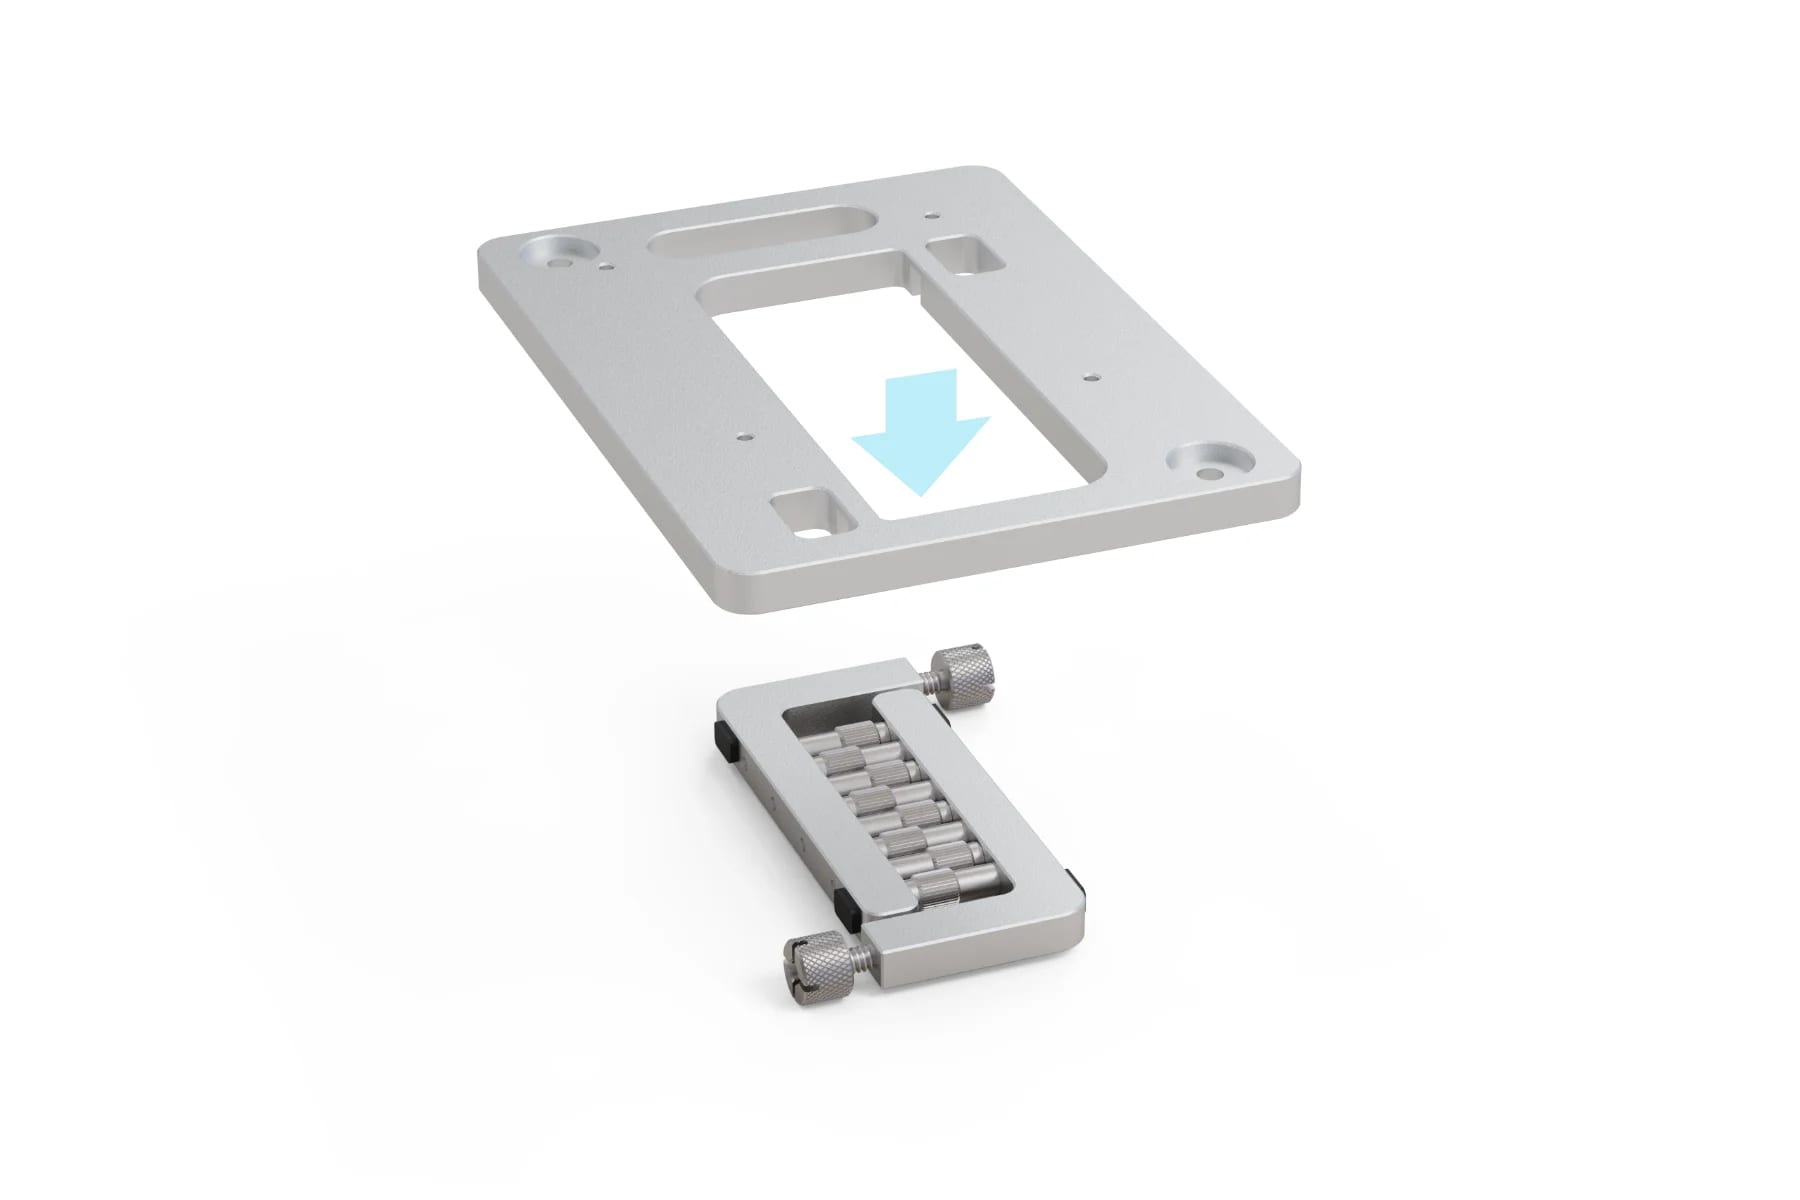
With the thumbscrews loose, both feet should be free to drop down and away from the body.
The feet are interlocked by the standoffs and should come away as a single item.
Foot
Foot
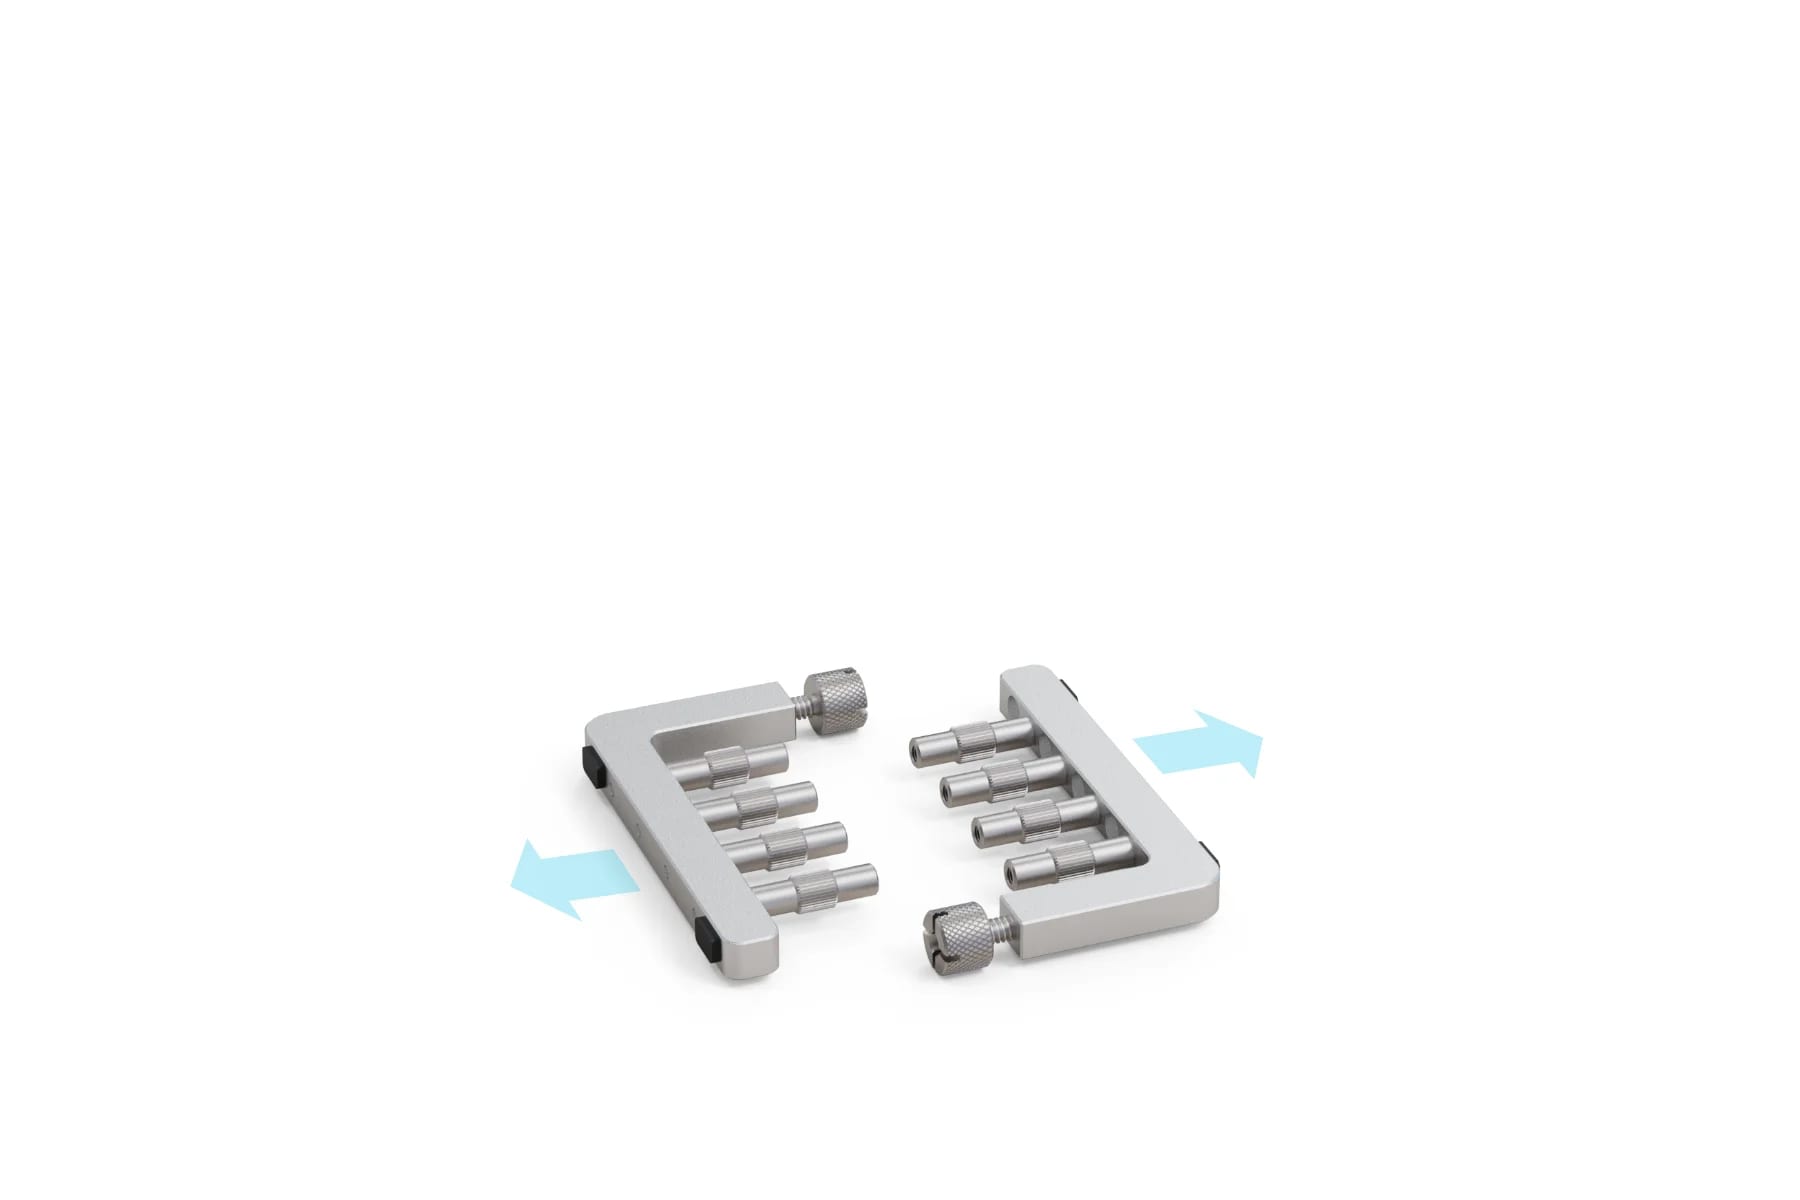
The feet can now be separated by simply sliding them apart.
The feet are identical, so dont worry about mixing them up
Foot
Foot
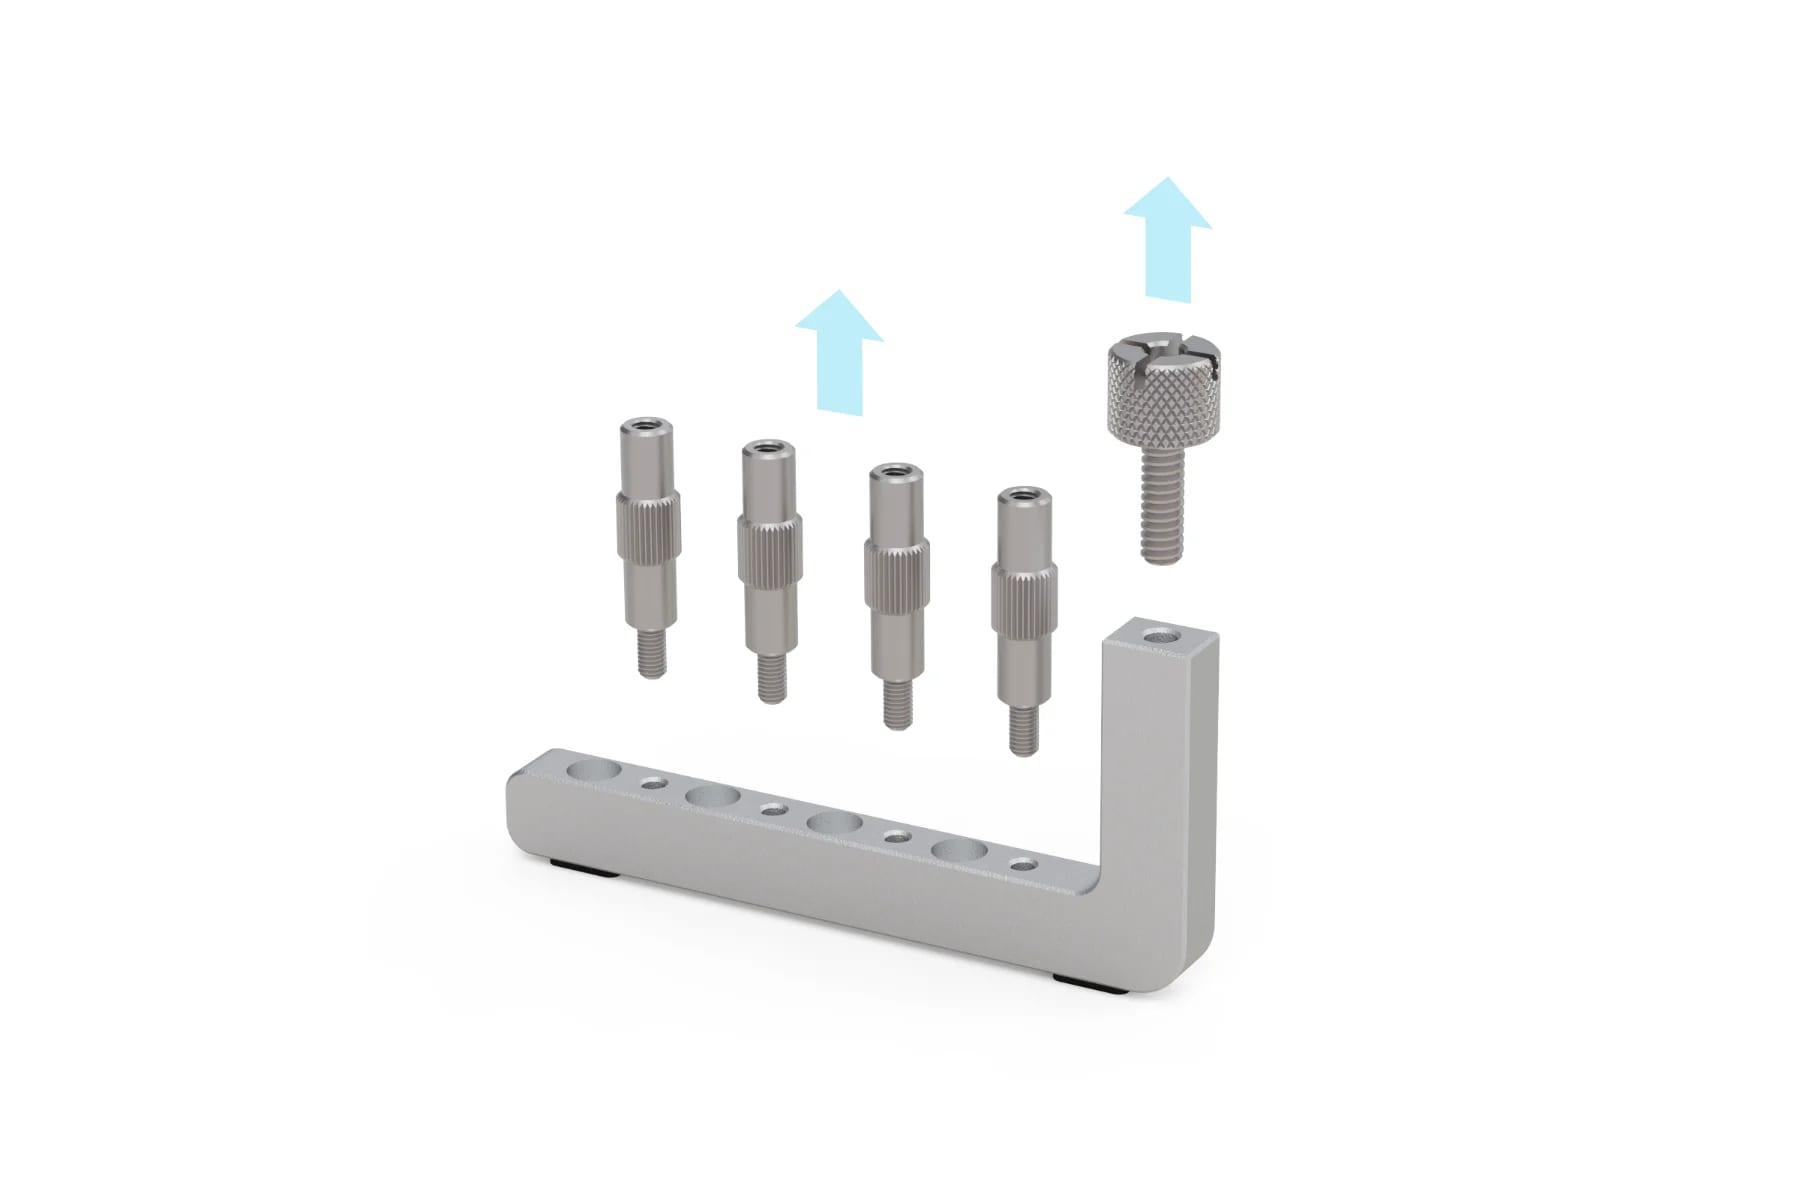
In preparation for assembly, remove the thumbscrew and standoffs from both feet.
Assembly
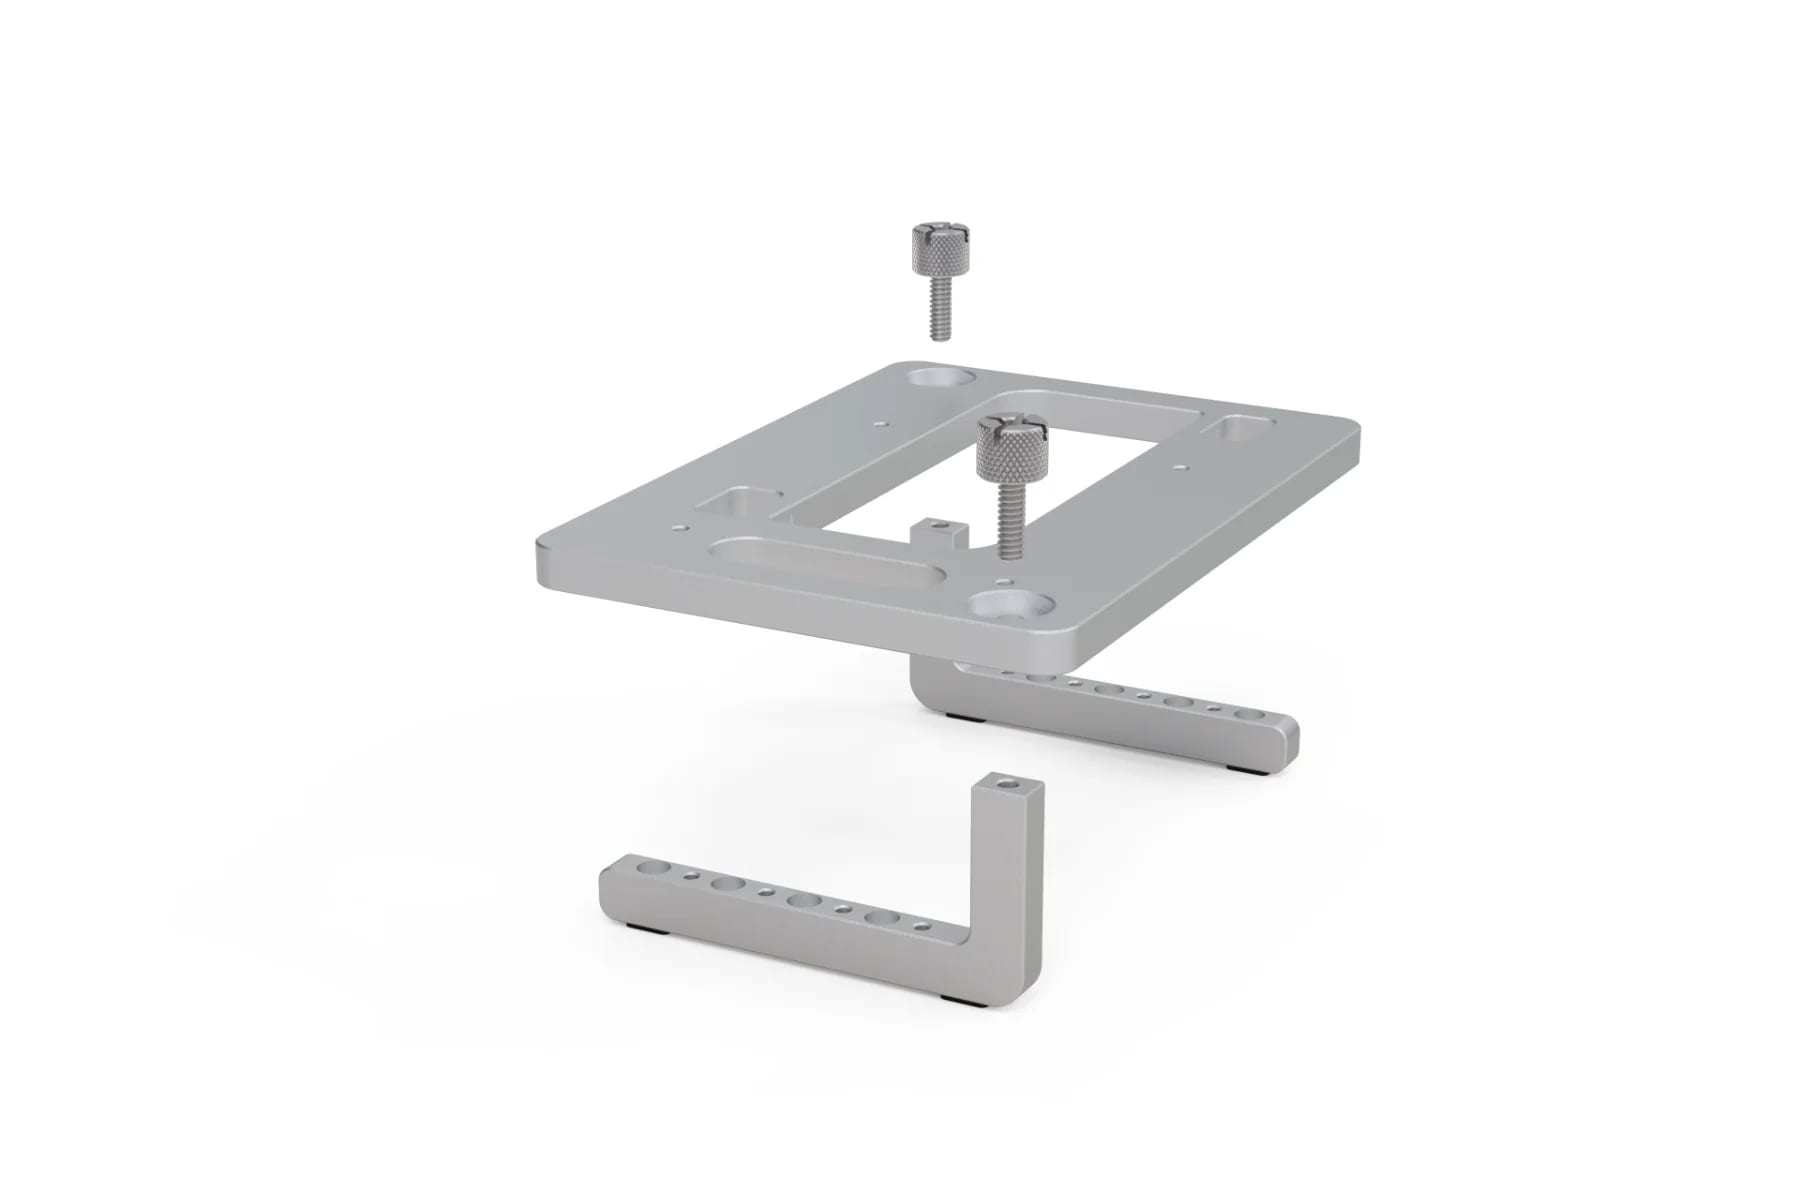
Mounting Hole
Thmbscrew
Begin by attaching the feet to the body by using the thumbscrews though the mounting holes
There are cutouts at the bottom of the body that ensure the feet do not rotate
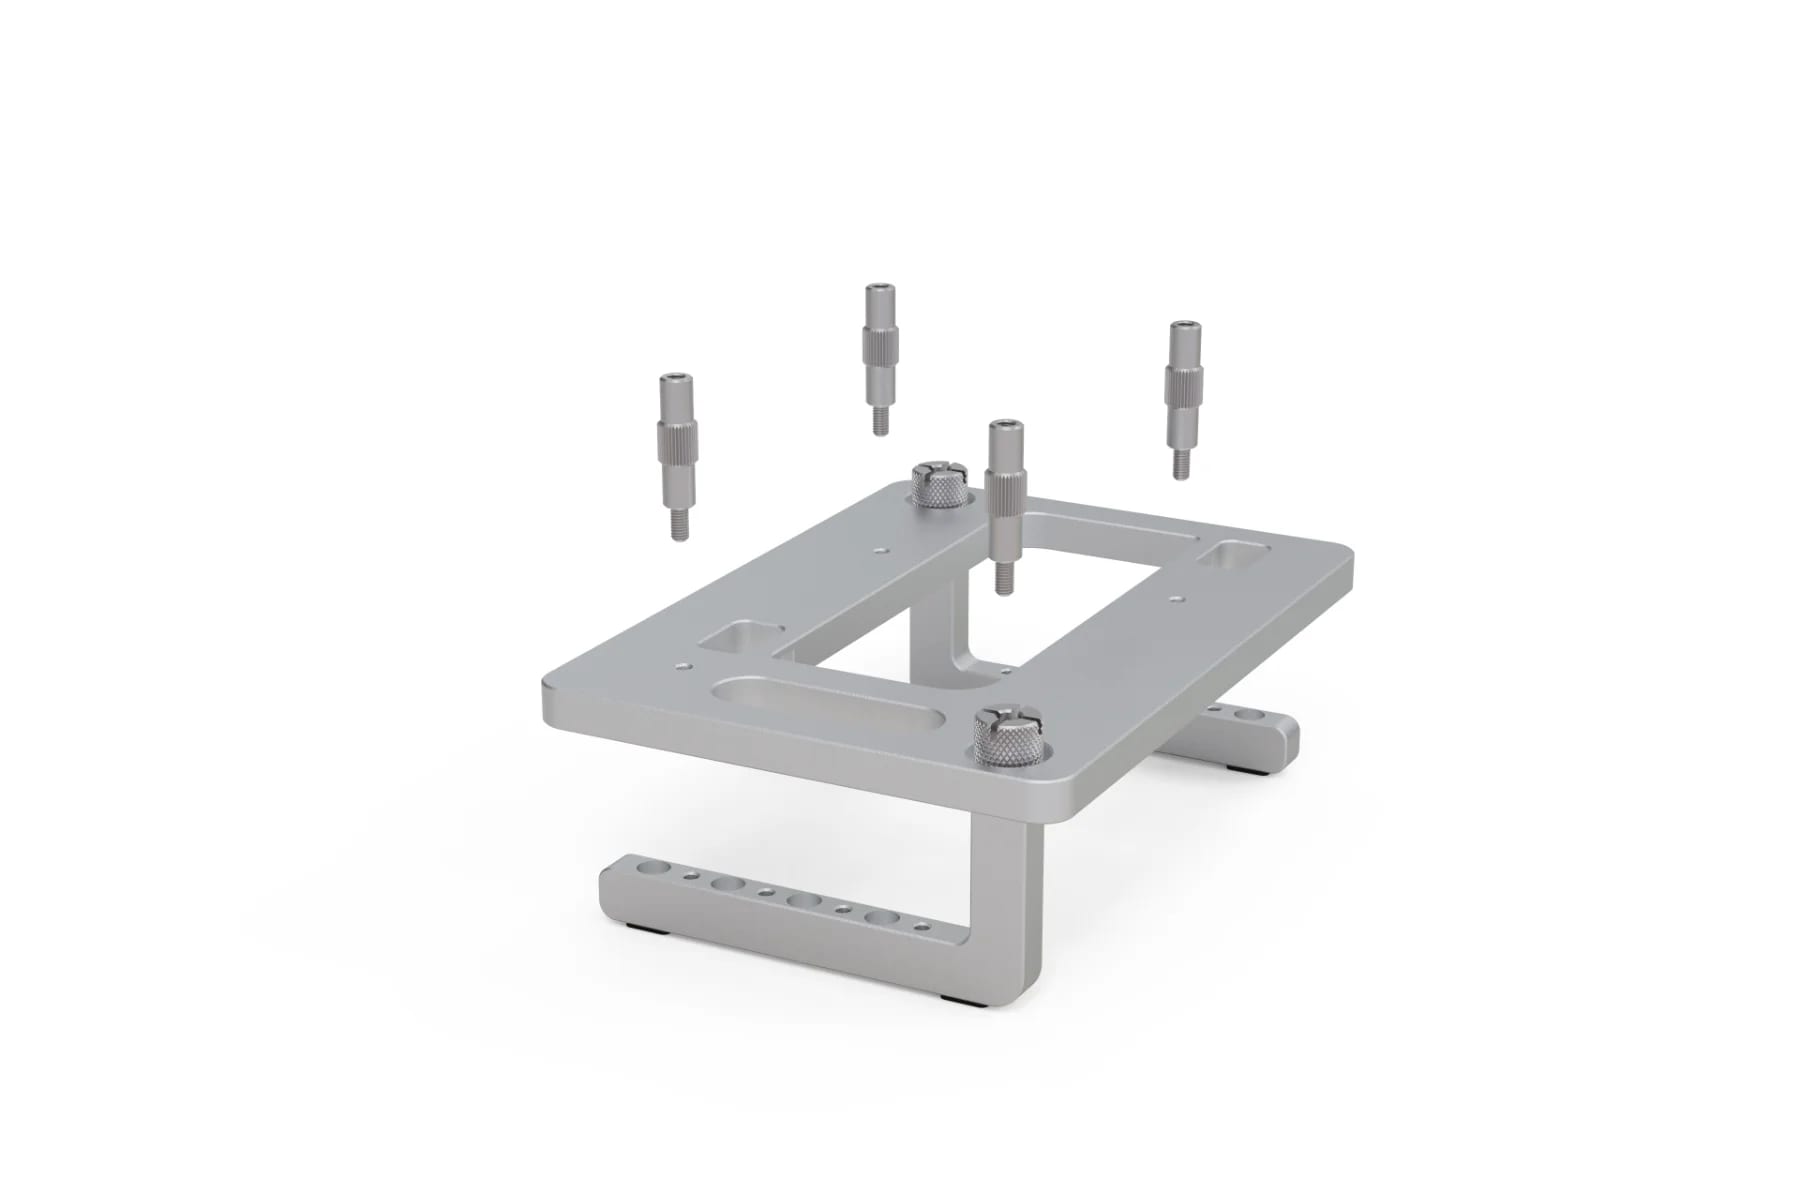
Standoffs
Install the standoffs onto the body in the 4 threaded holes
Never force a screw, it could damage the thread.
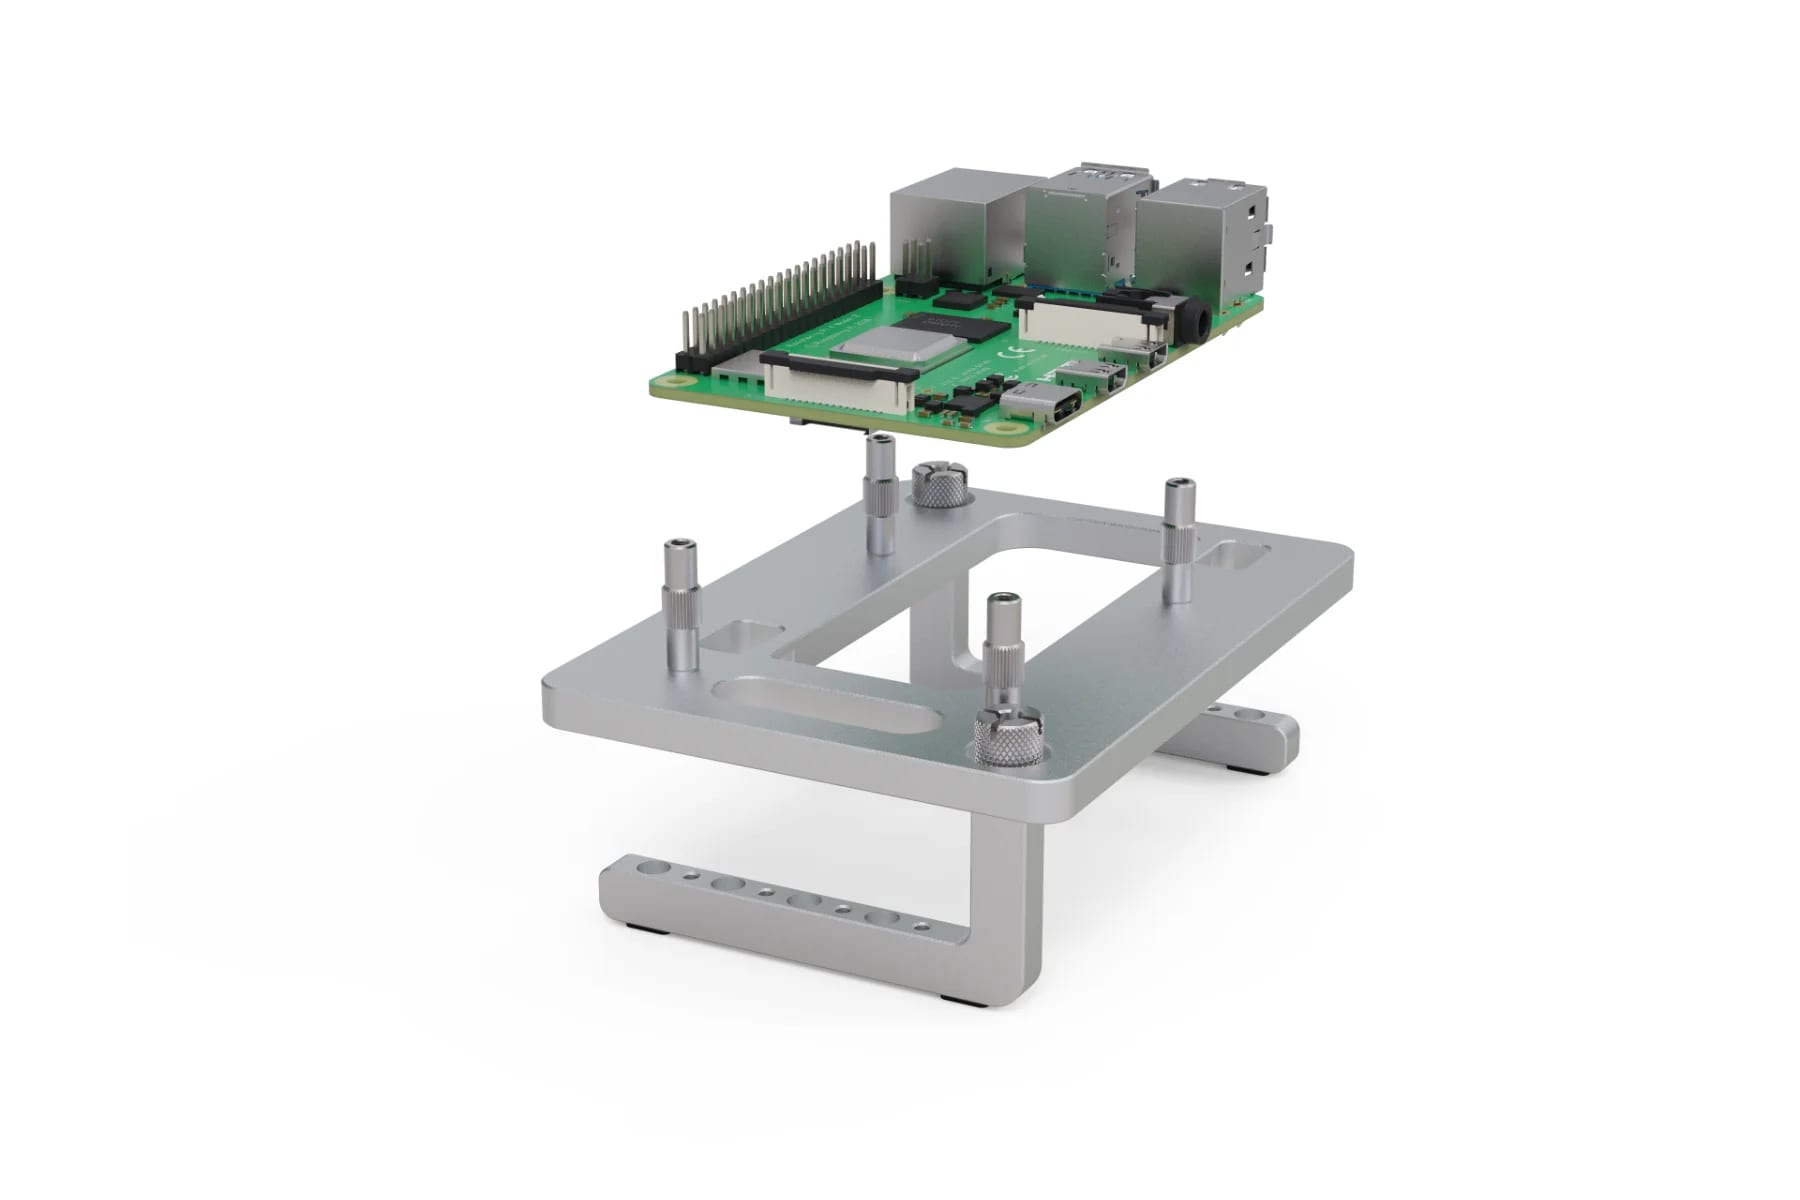
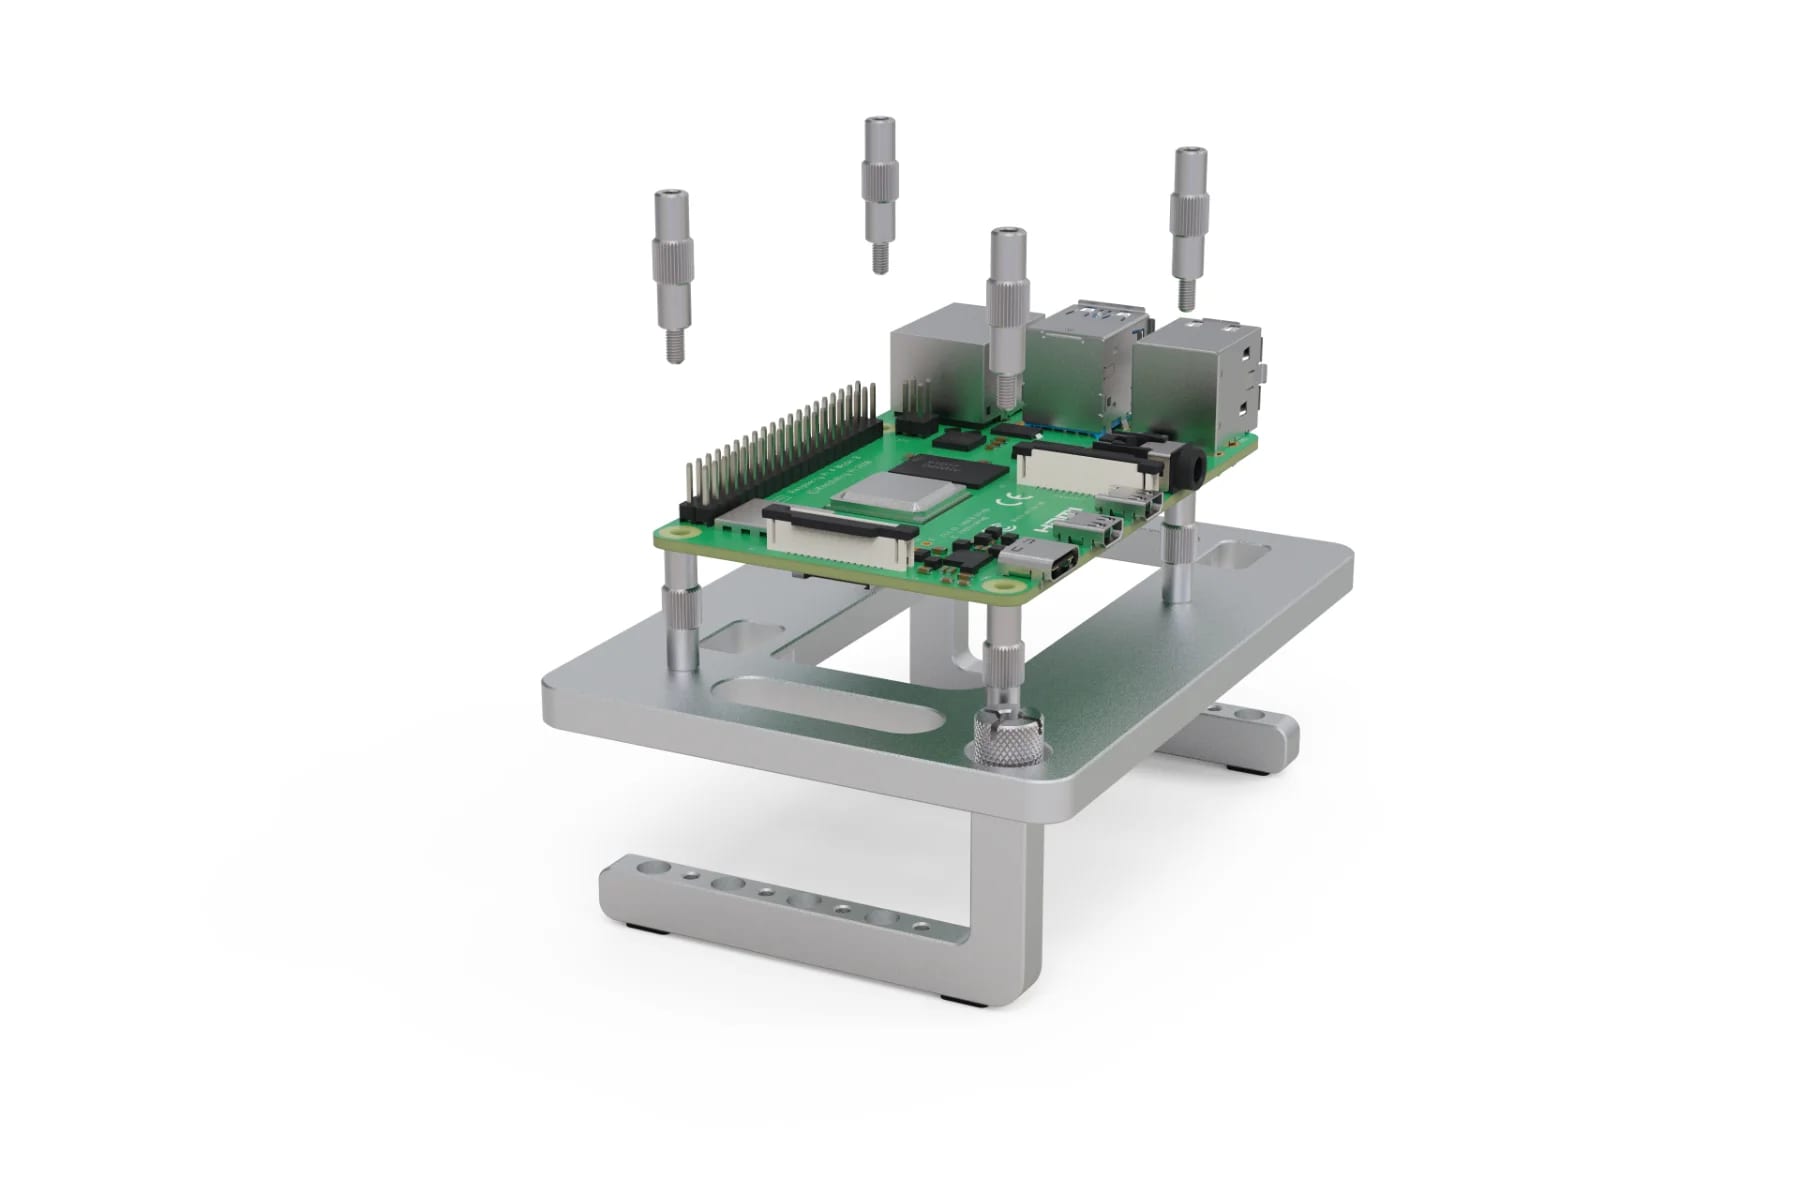
Pi Board
Place the Pi board onto the standoffs ensuring the mounting holes align.
There are two ways to align the holes, but only one will center the board on the table.
Standoff
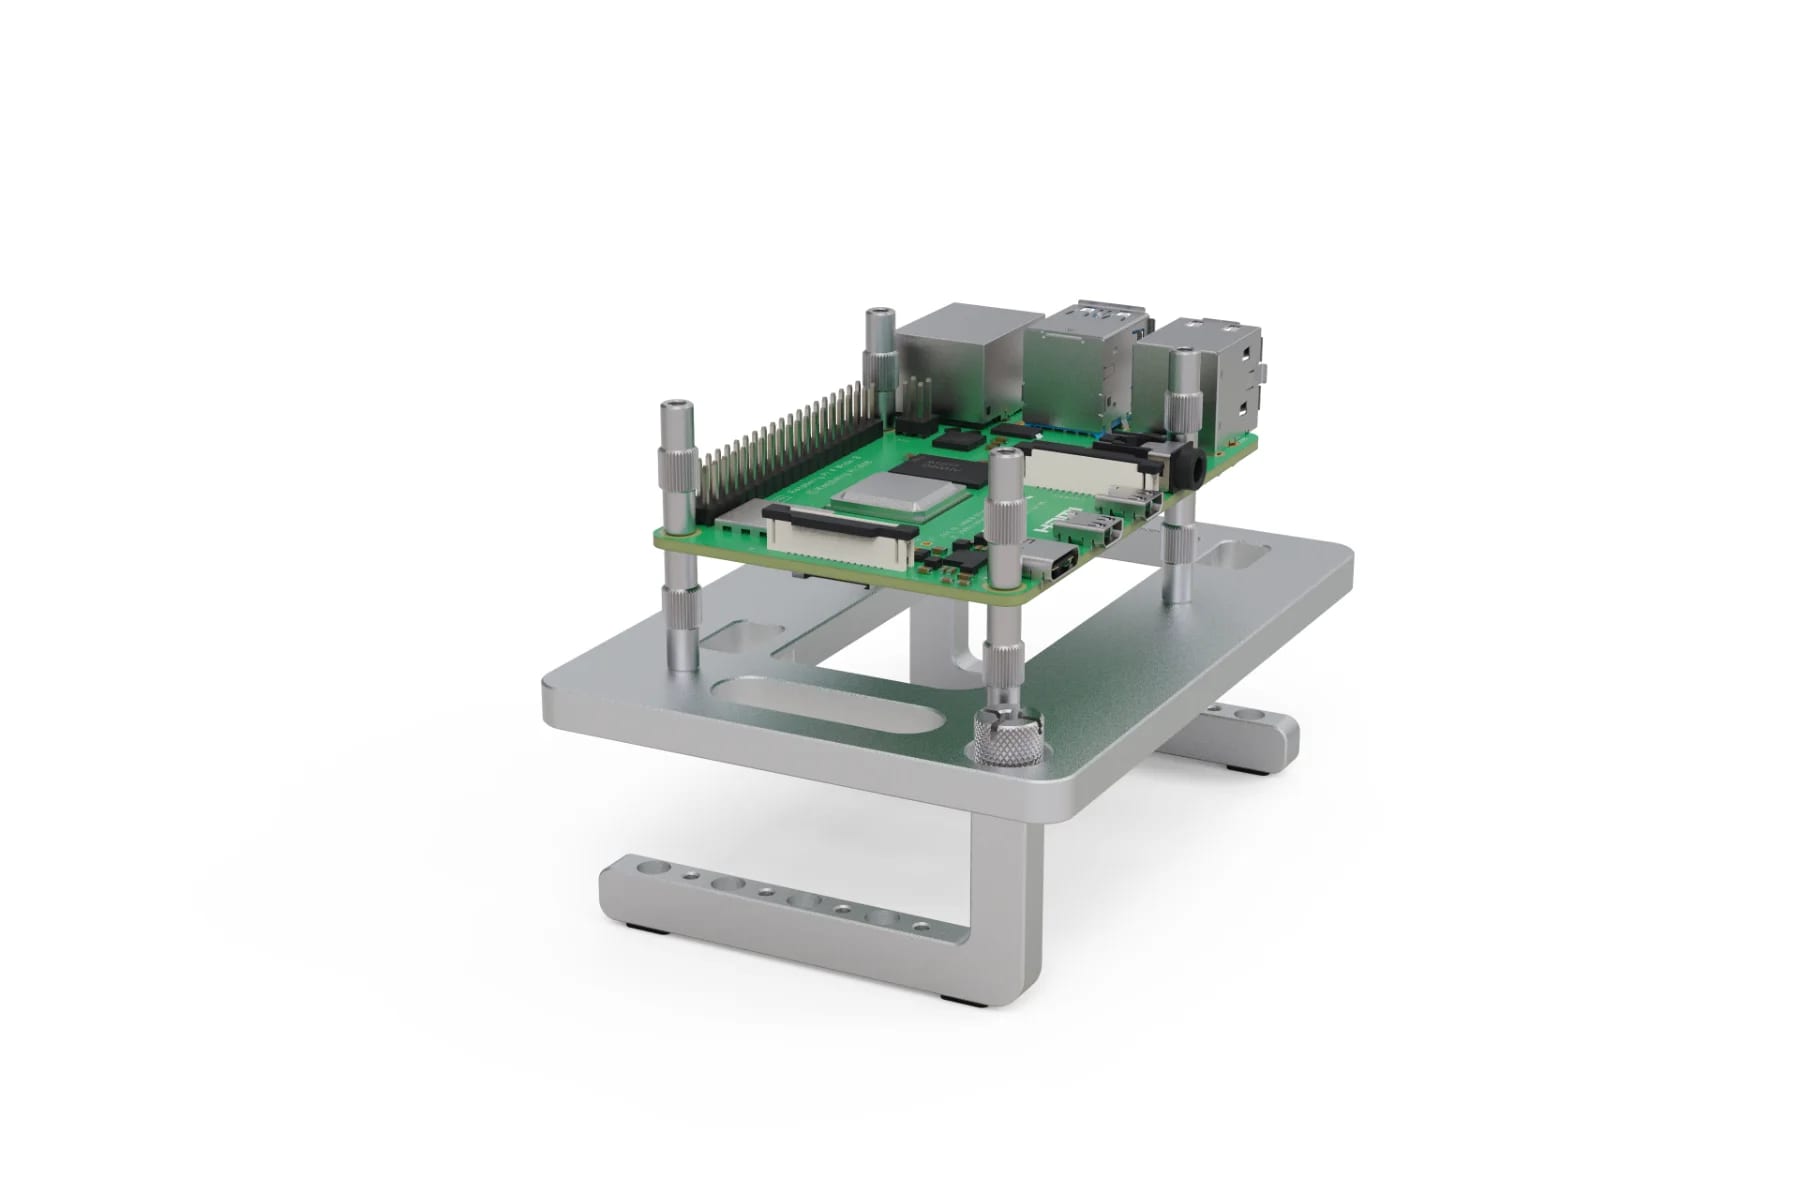
Use the remaining standoffs to secure the Pi board onto the table.
Pi Board Secured
The Pi is now secured and ready to be tinkered with 🙂