Opening the DB1
Using the provided HEX Allen key, remove the 4 screws that secure the left side panel to the case pillars. Note that you should not remove the screws that secure the pillars to the right side heat sink.

HCS-M4x12 Screw (Order Replacements)
The rest of the assembly parts and accessories will be packed inside the case. The head sink mounts will be secured to the side panels using the retention bars.
Removing Panels
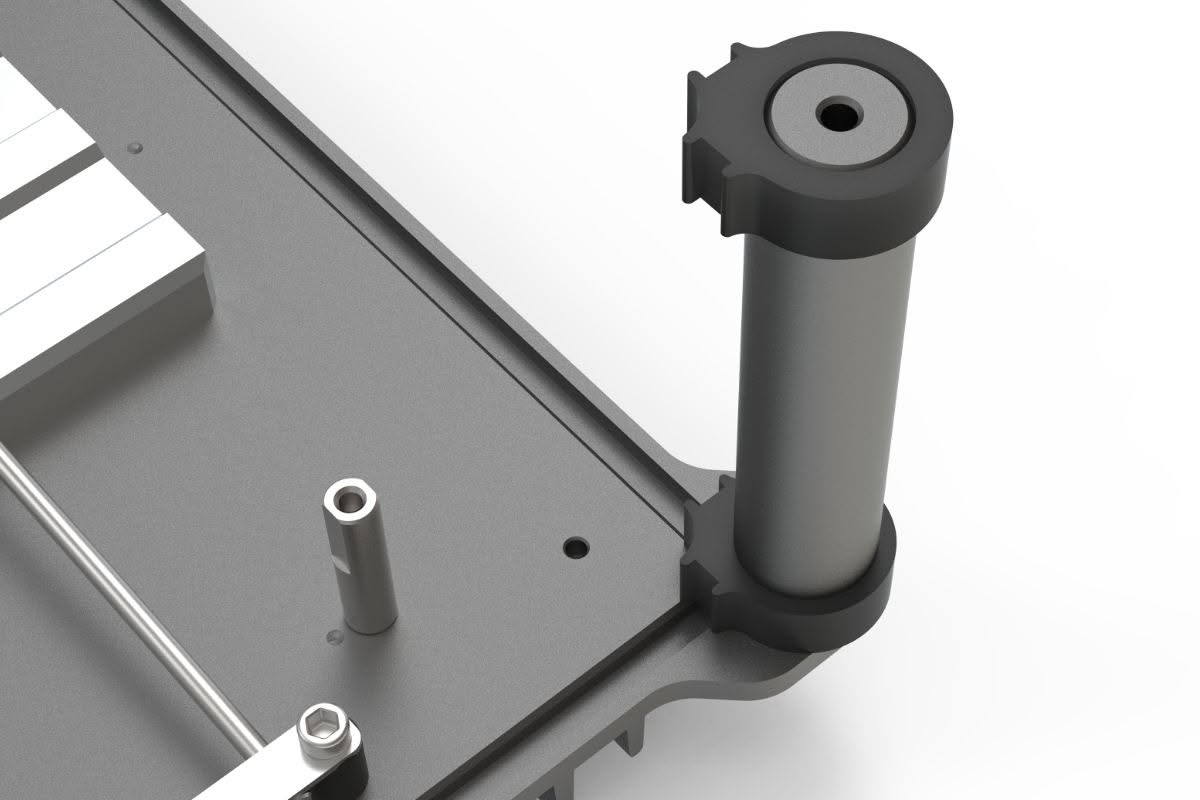
With the heat sink removed, the front, back, upper and lower panels are free to be removed. This is done by sliding them away from the heat sink and bumpers that feature tabs to secure the panels.
The heat sink mounts can also be removed at this time. Each one is secured with a retention bar that slots under a bracket located on either side of the heat sink. Slide the retention bar out so that it clears the bracket, releasing the tension it applies to the heat sink mount

Front, back, upper and lower panel fit between the slots in the heat sinks and the rubber bumpers, see detail #1
Retention Bar
Retention Bracket
Heat Sink Mount
Parts Overview
When you have fully disassembled the DB1 and checked the contents of the accessory kit, you should have the following parts available

Note that the upper and lower panels comprise of 2 acrylic panels and a center PVC net
The right side heat sink should have the motherboard standoffs and pillars
CPU mount comprises of an aluminium mount and copper shim