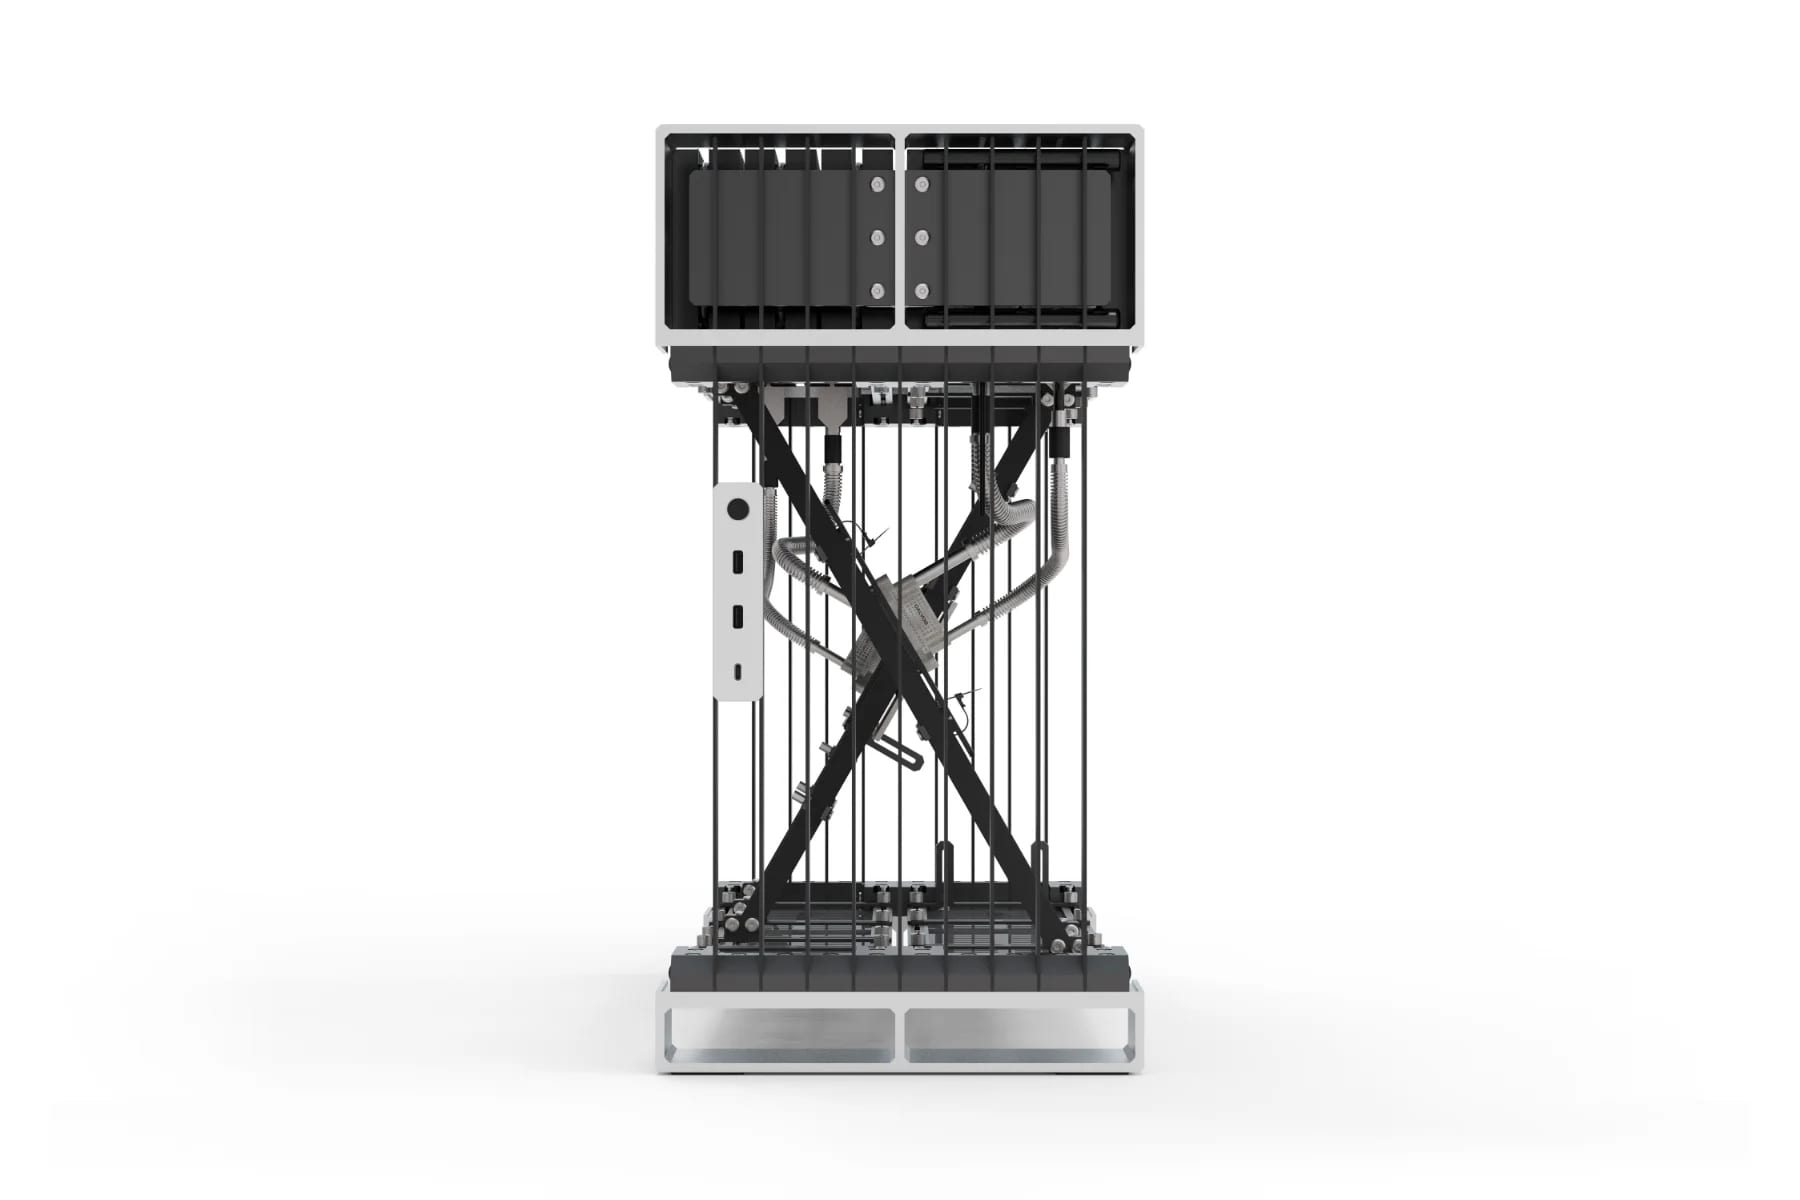
The SG10 includes a single IO module designed for the front of the case that includes the power button and USB ports. The module attaches between the slotted panels by clamping directly to them. This allows it to be placed anywhere on the front (or back) of the case and in either orientation (power button up or down)
Power Button / LED
2 x USB-A
1 x USB-C
Flipped Orientation
Raised Position
Alternative Location
Installing / Moving the Module
The IO module is held in place with a bracket that screws to the module from the back with 2 screws. To move the module, remove the 2 screws and bracket, the IO module will be free. Installing is simply the reverse process.
Bracket
IO Module
HEX M3 Screw
Connecting the Module
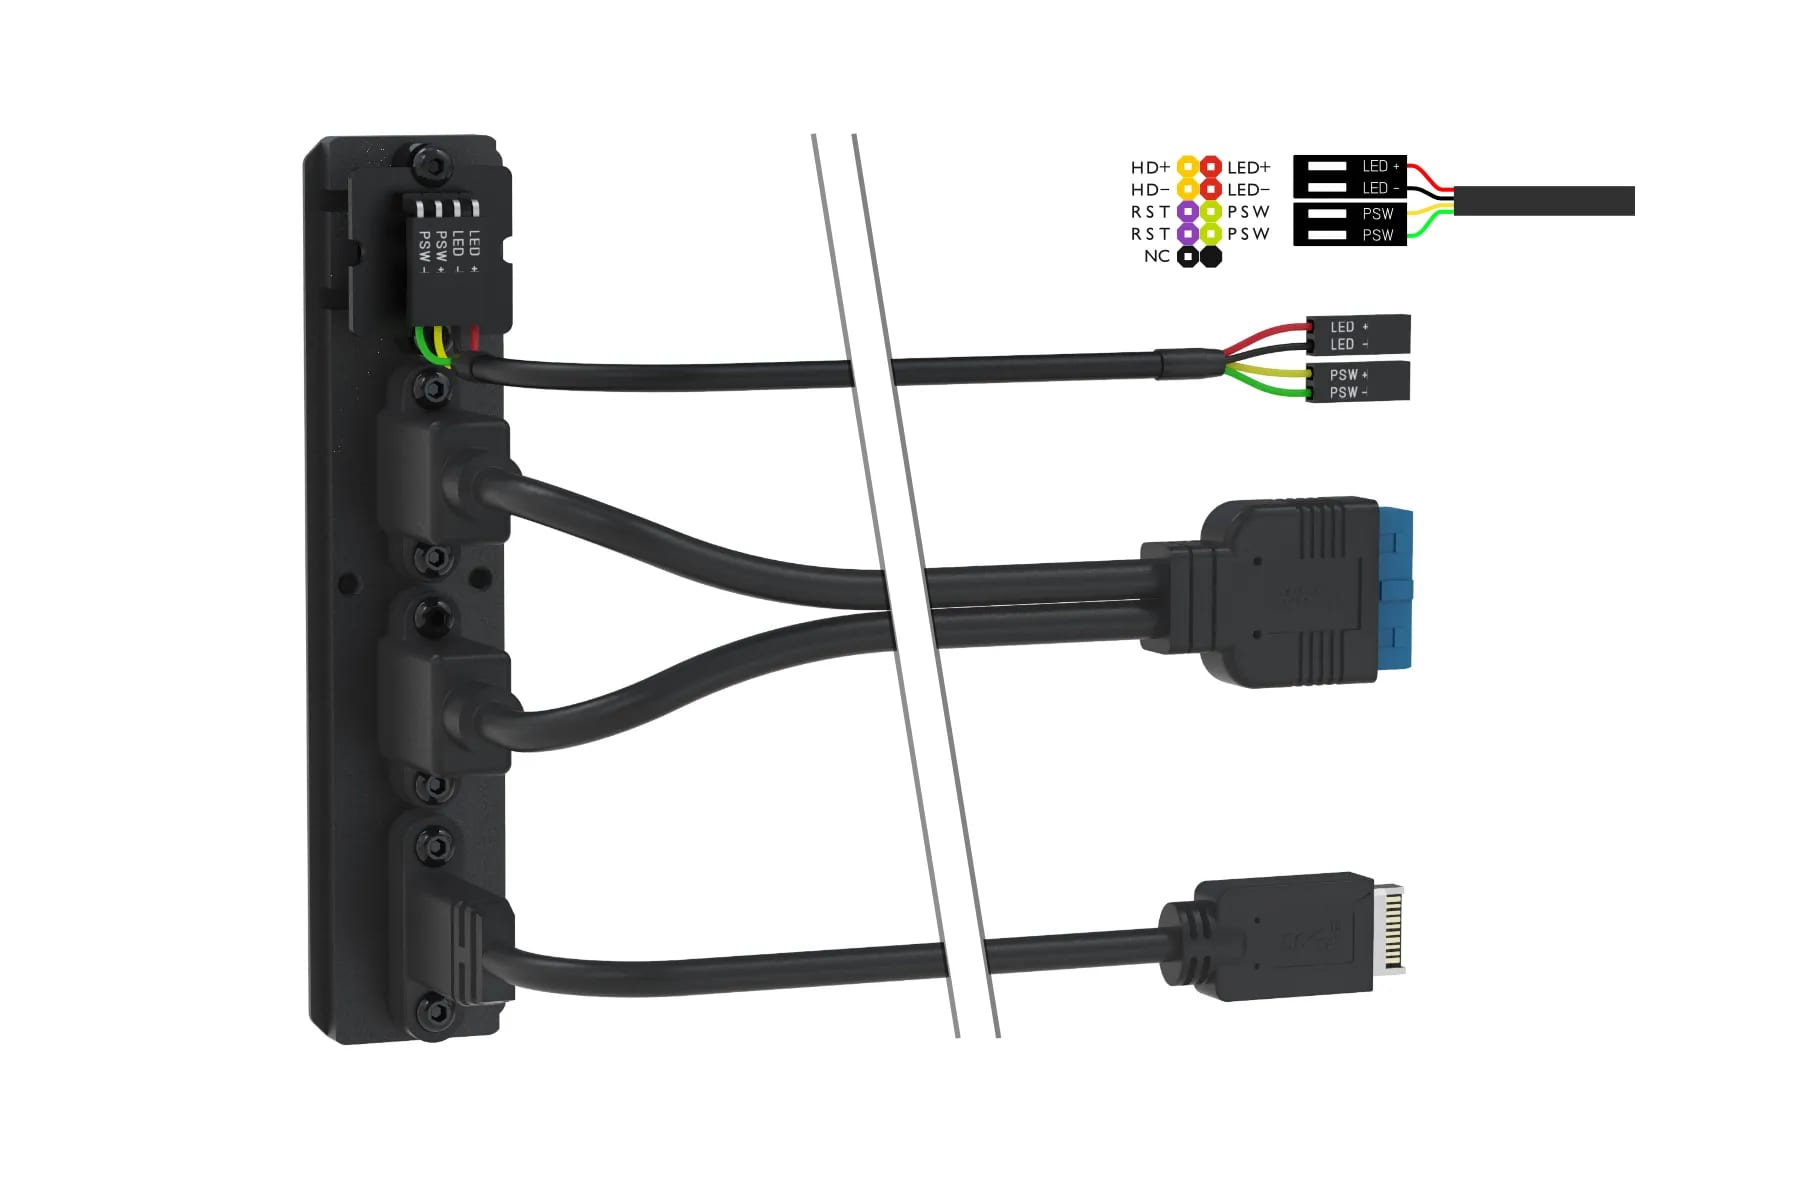
The included front IO module features a power button with LED, 2 x USB-A and 1 x USB-C. The USB ports are fairly self-explanatory as they connect to the matching connectors on the motherboard. The power switch and LED also connect to the motherboard but you will need to refer to their user guide to connect the cables to the correct header pins.
Power Button / LED
LED
Switch
2 x USB-A
19PIN
1 x USB-C
Type-E
Power Button / LED
LED
Switch
2 x USB-A
19PIN
1 x USB-C
Type-E
Additional IO Modules
The SG10 can support optional IO modules that will provide additional ease of connectivity to the PC. These modules will be available soon after release of the case and will secure in the same way as the included front IO module.