Preface to our Online Guides
We appreciate that for some, a printed user guide will always be the preferred option, which is why, in the past, we had always produced a clear and comprehensive one.
With the aim of reducing our environmental impact and waste, we have switched to this online guide. Beyond simply reducing material waste, this online format allows for an even more comprehensive product guide with more detailed steps and the ability to add or improve any part of the guide quickly based on user feedback.
Thank you for your understanding and if we can do anything to improve this experience, please let us know.
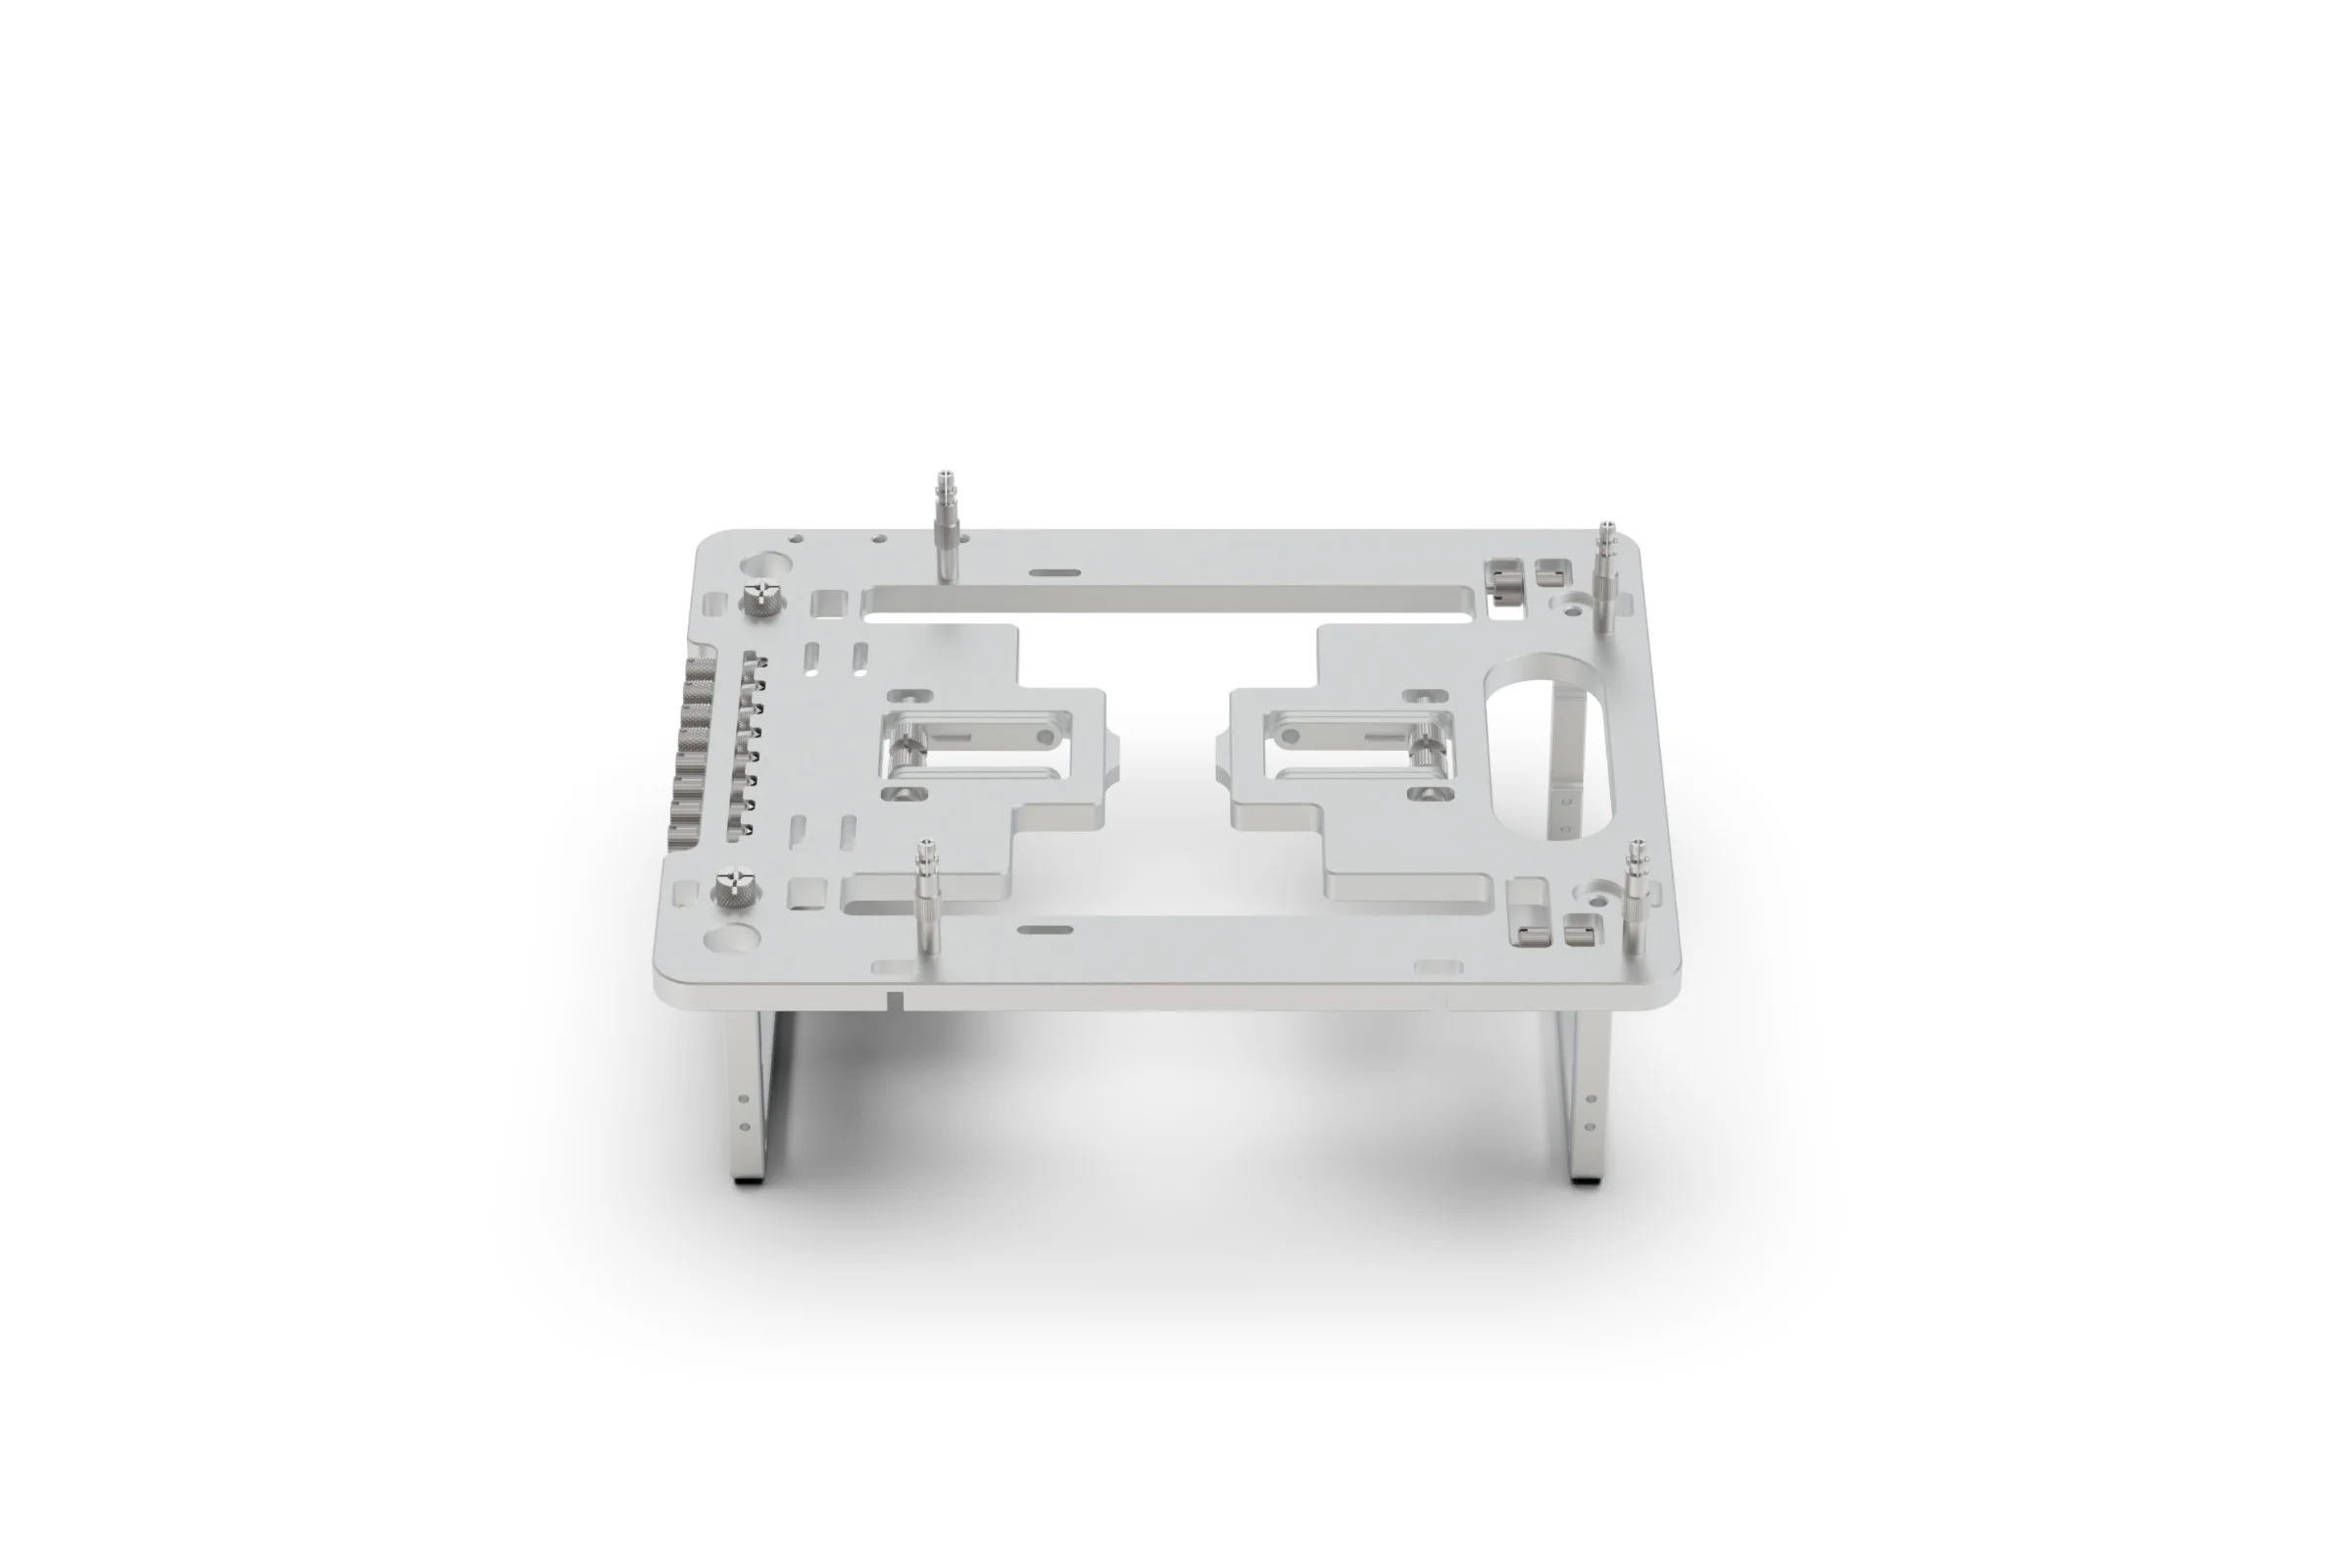
Introduction to the BC1 SMR Kit
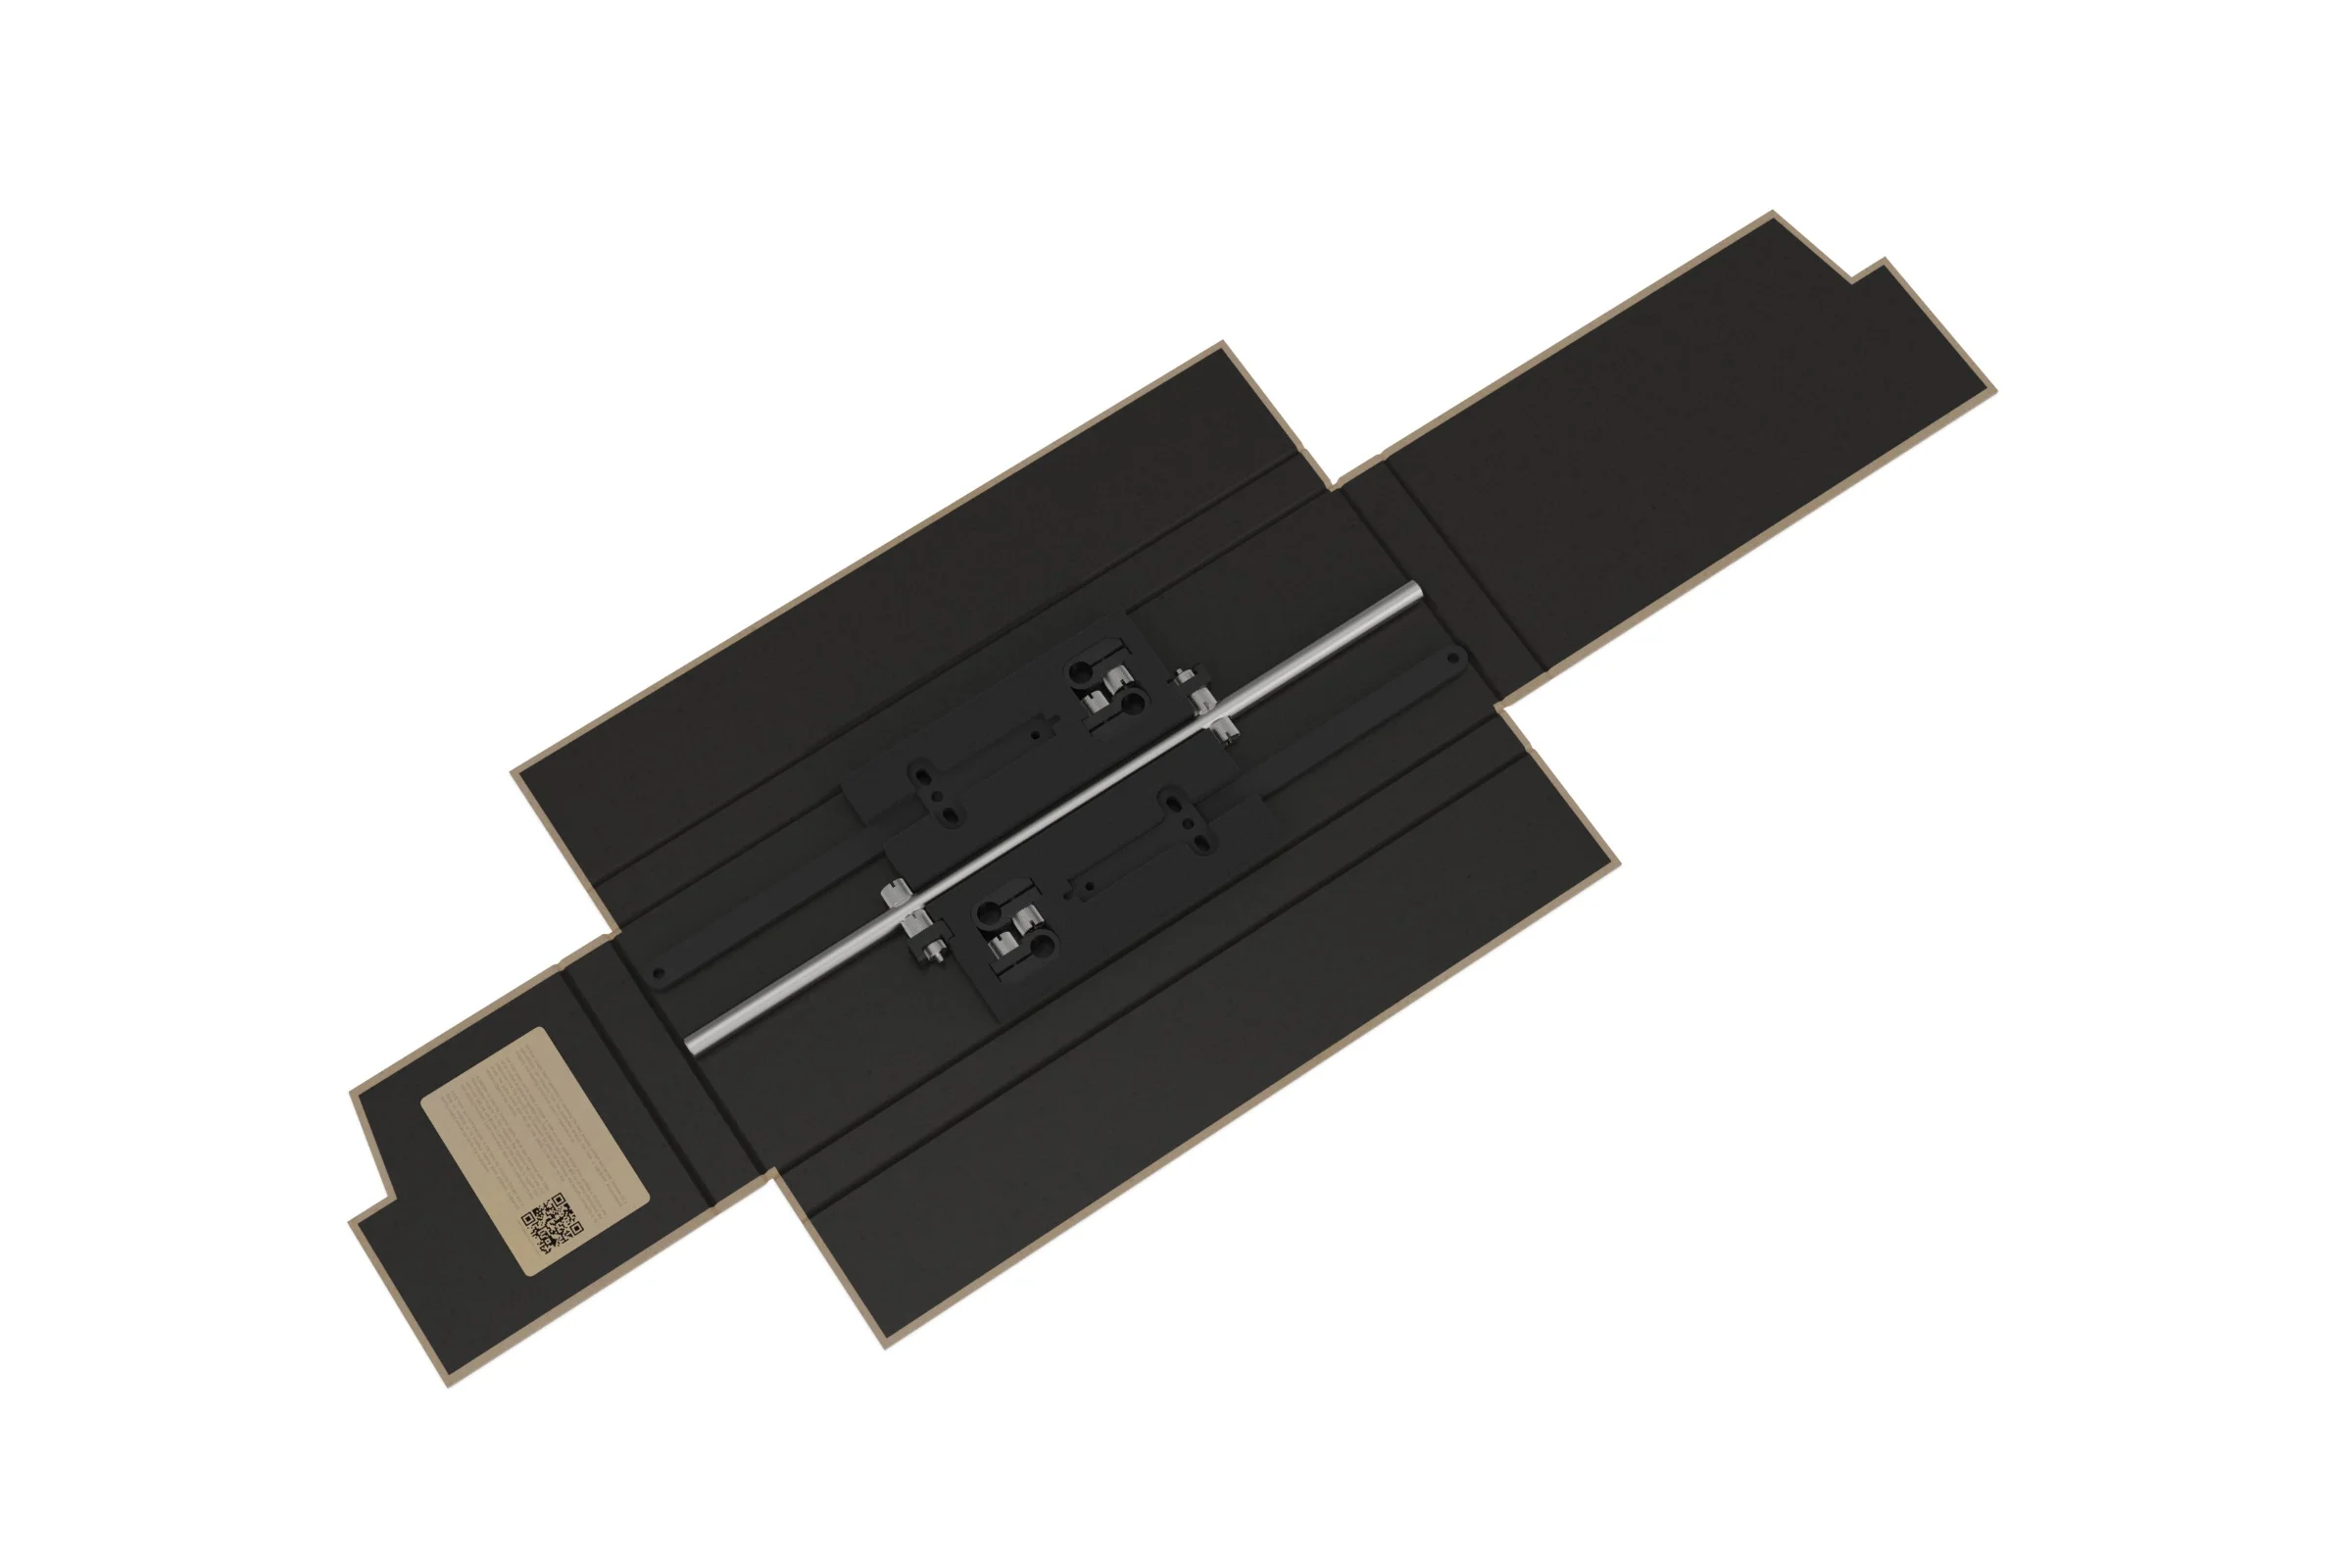
The SMR (Side Mounted Rail) Kit replaces the standard compact brackets with a significantly more robust rail system. Compatible with the original BC1 (V1), the V2, and the BC1 Mini, the SMR features adjustable, rotating clamps that allow for the precise placement of radiators, fans, and other complementary hardware. Two different bracket designs are included, a longer bracket for radiators and shorter bracket for fans, VU1 and other hardware.
Parts Overview
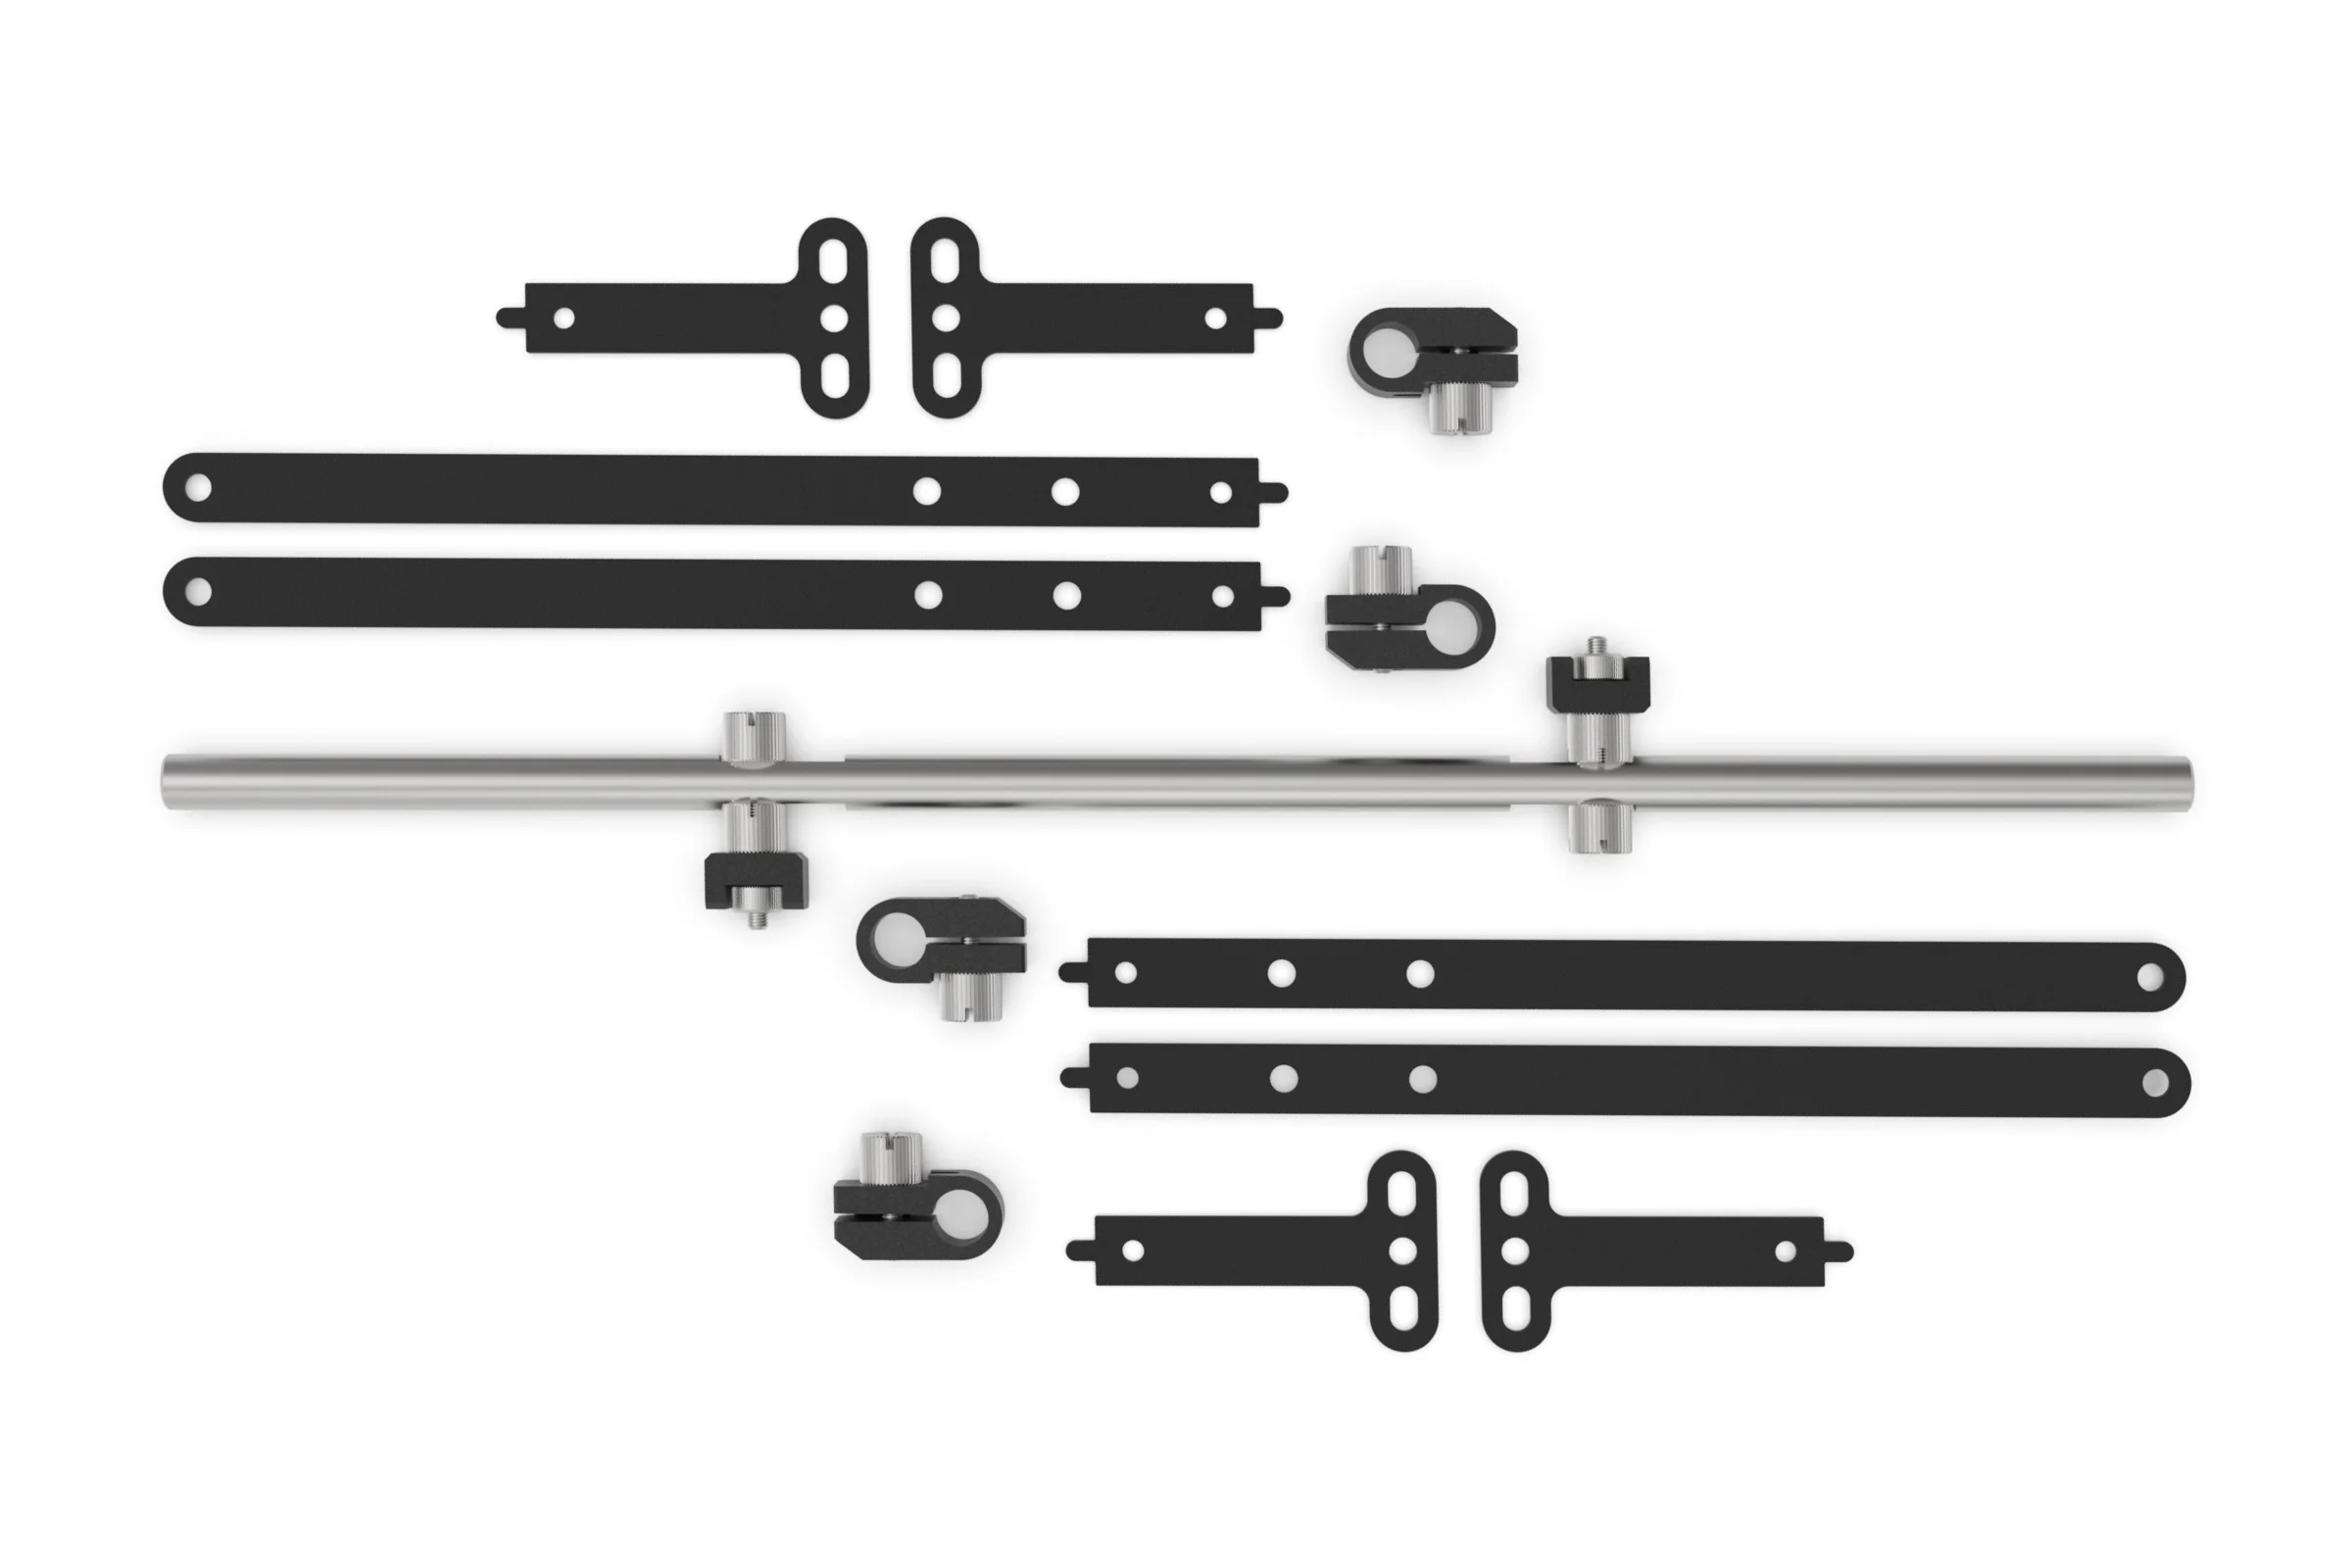
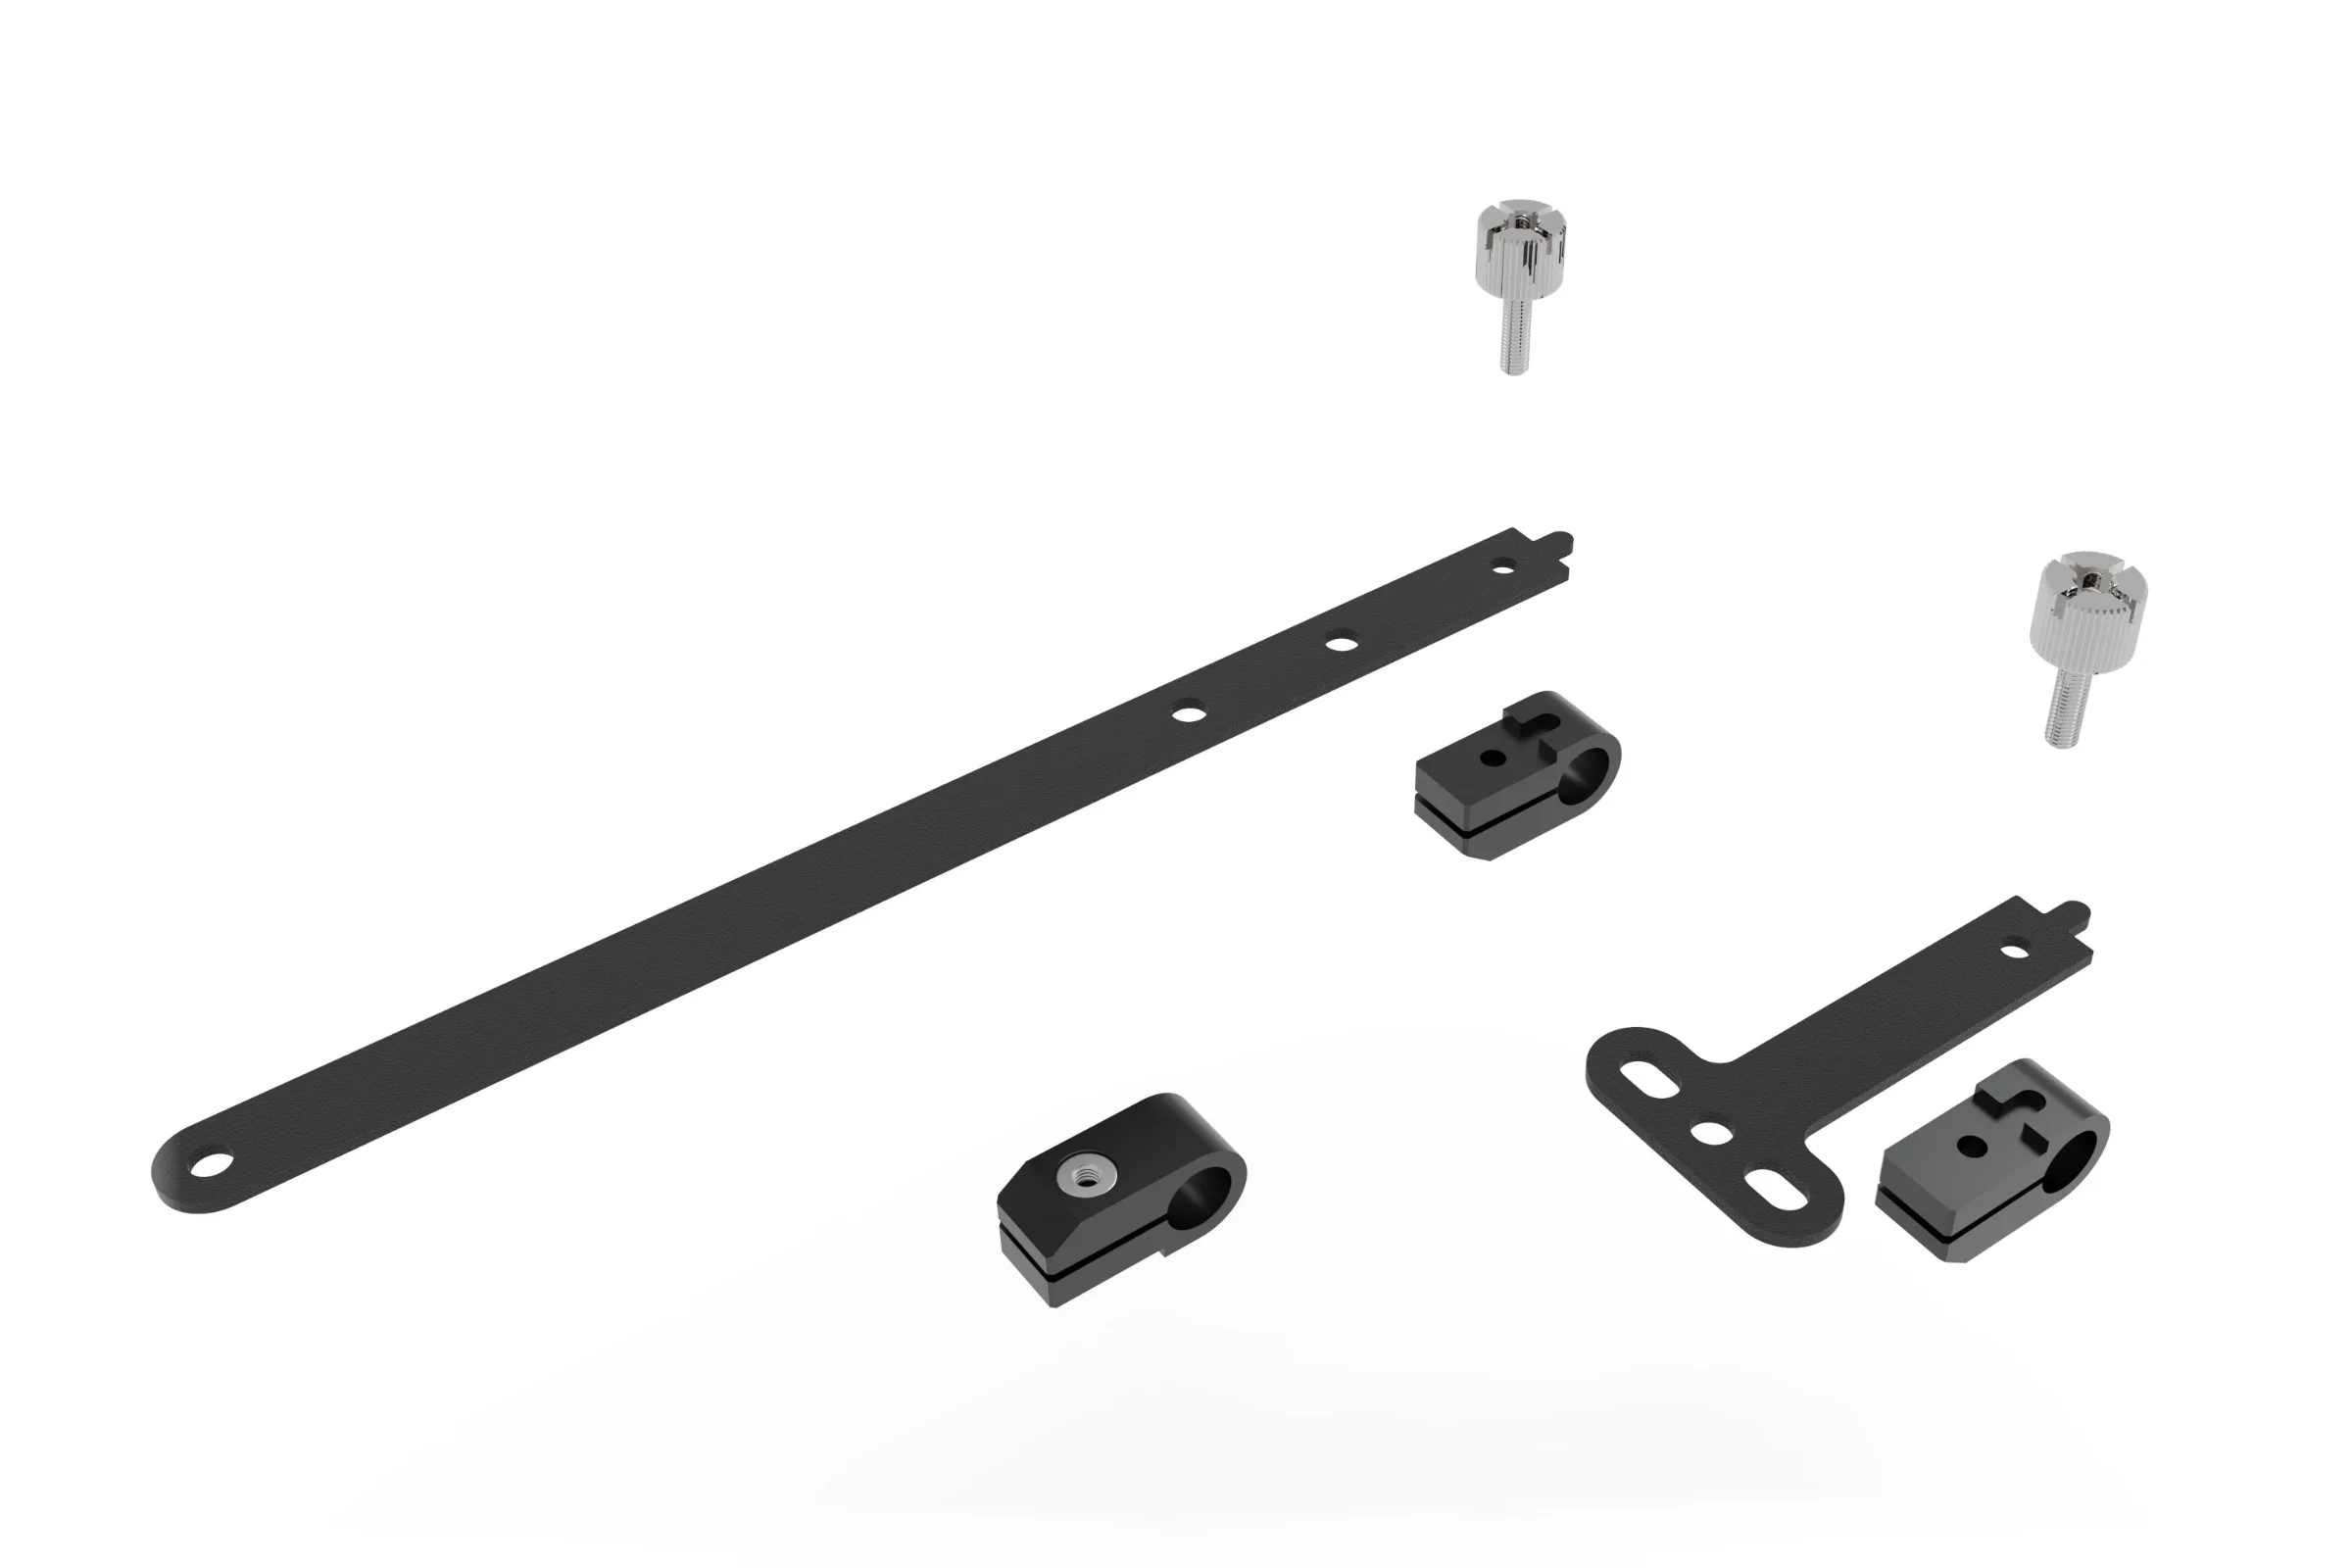
Short Bracket
Long Bracket
Clamp
Rail
M3 Thumbscrew
M3 Thumbscrew
Load Bracket
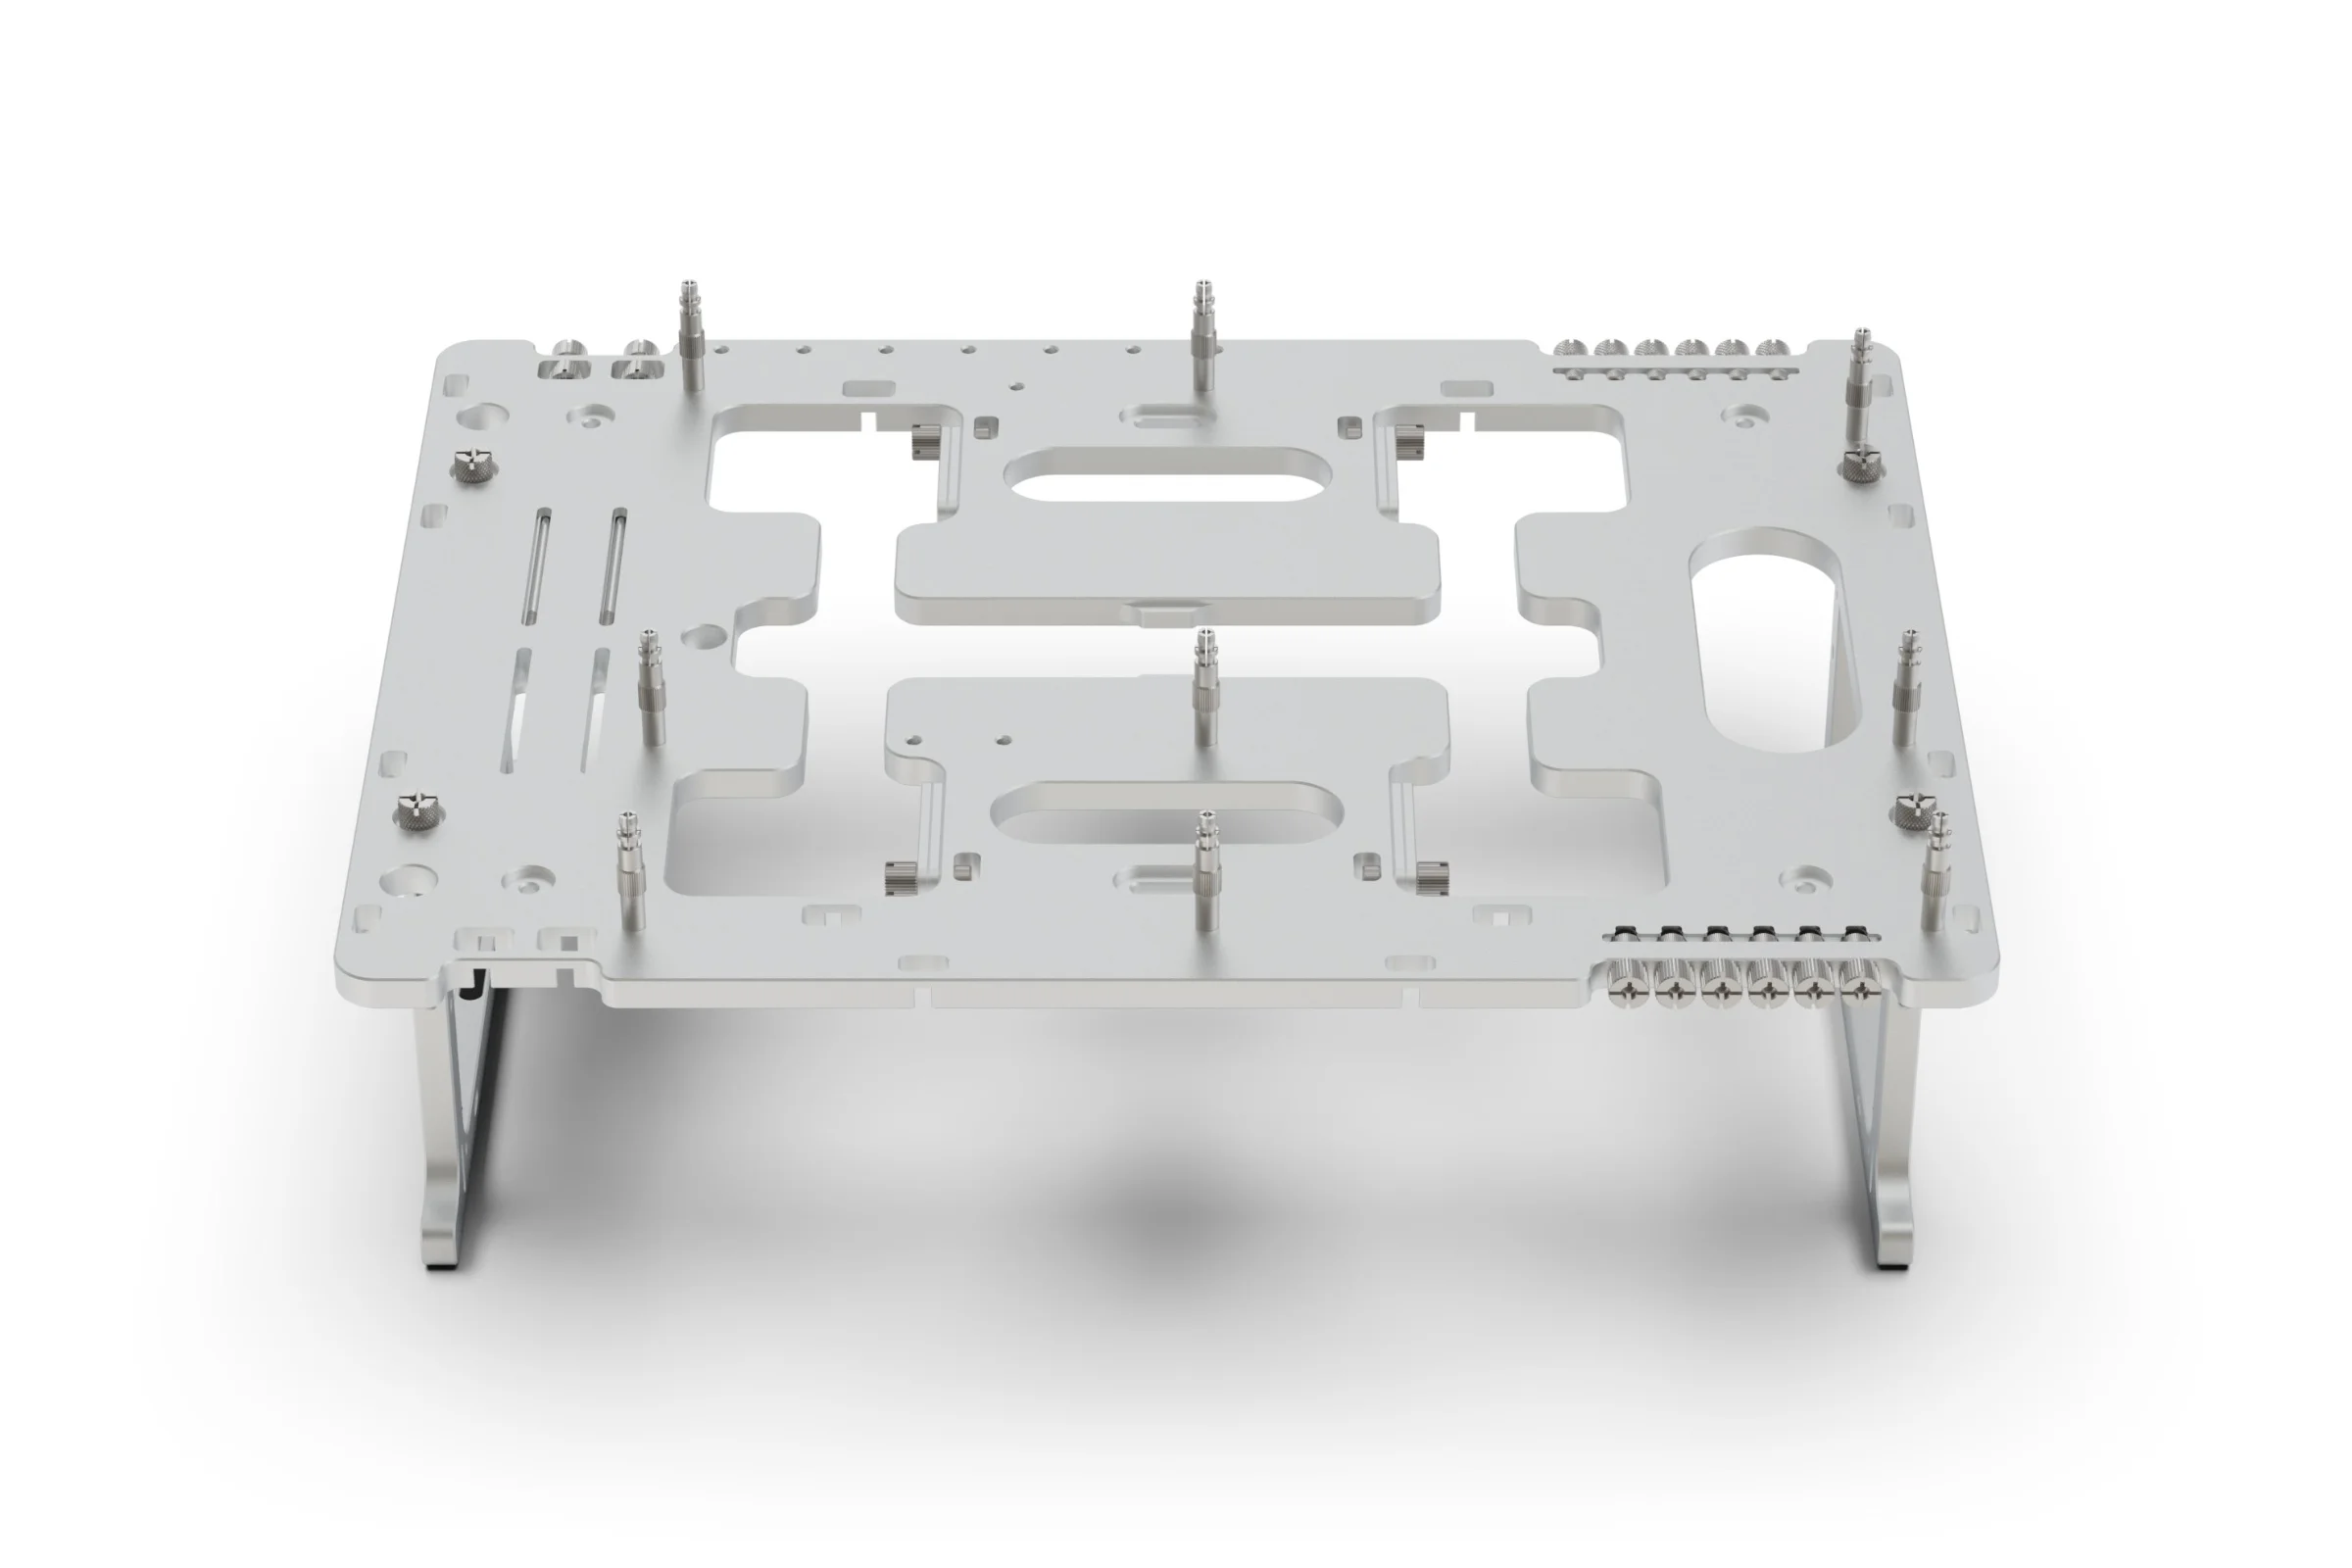
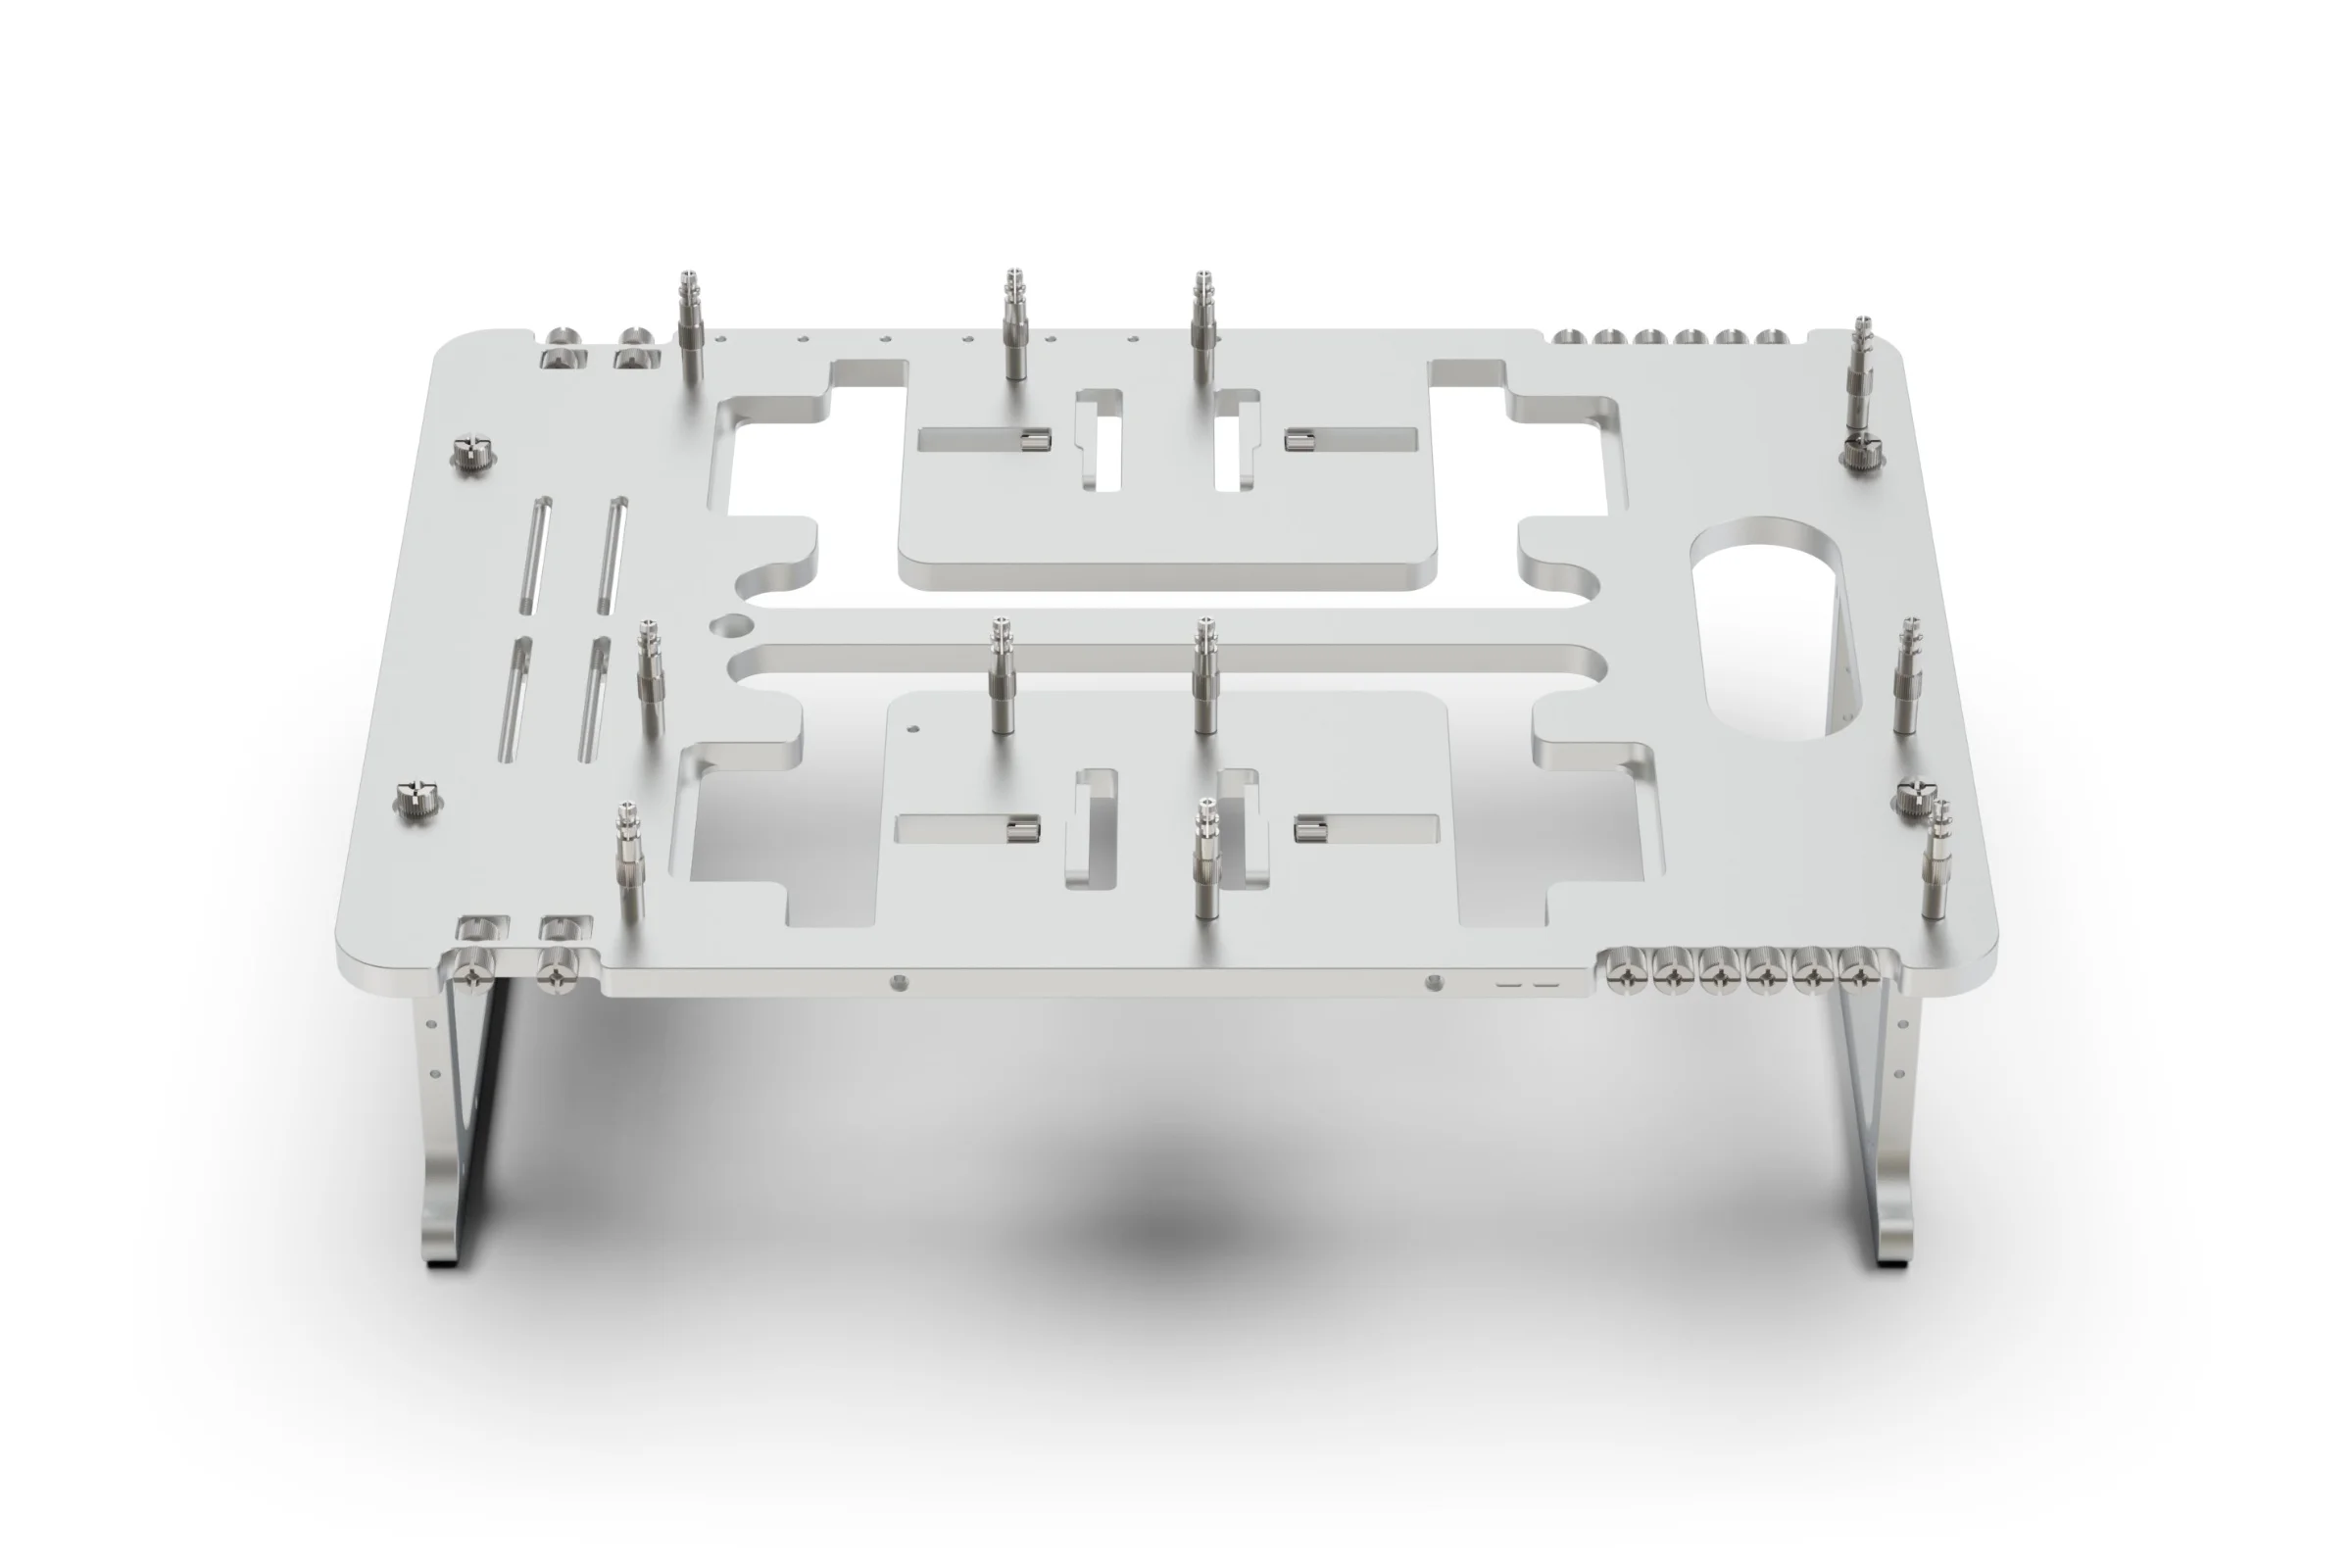
Where to Attach the SMR
The SMR kit attaches to the existing side mounting points on the BC1 and replaces the use of the included simples brackets. On V2 models, the nut method is used to attach the rail to the sides but on V1 version of the BC1, the M3 thumbscrew fixes directly into the table.
Front
Front
Left
Left
Right
Right
The above locations are all valid for attaching the SMR kit
Front
Front
Left
Left
Right
Right
The above locations are all valid for attaching the SMR kit
Front
Front
Left
Left
Right
Right
The above locations are all valid for attaching the SMR kit
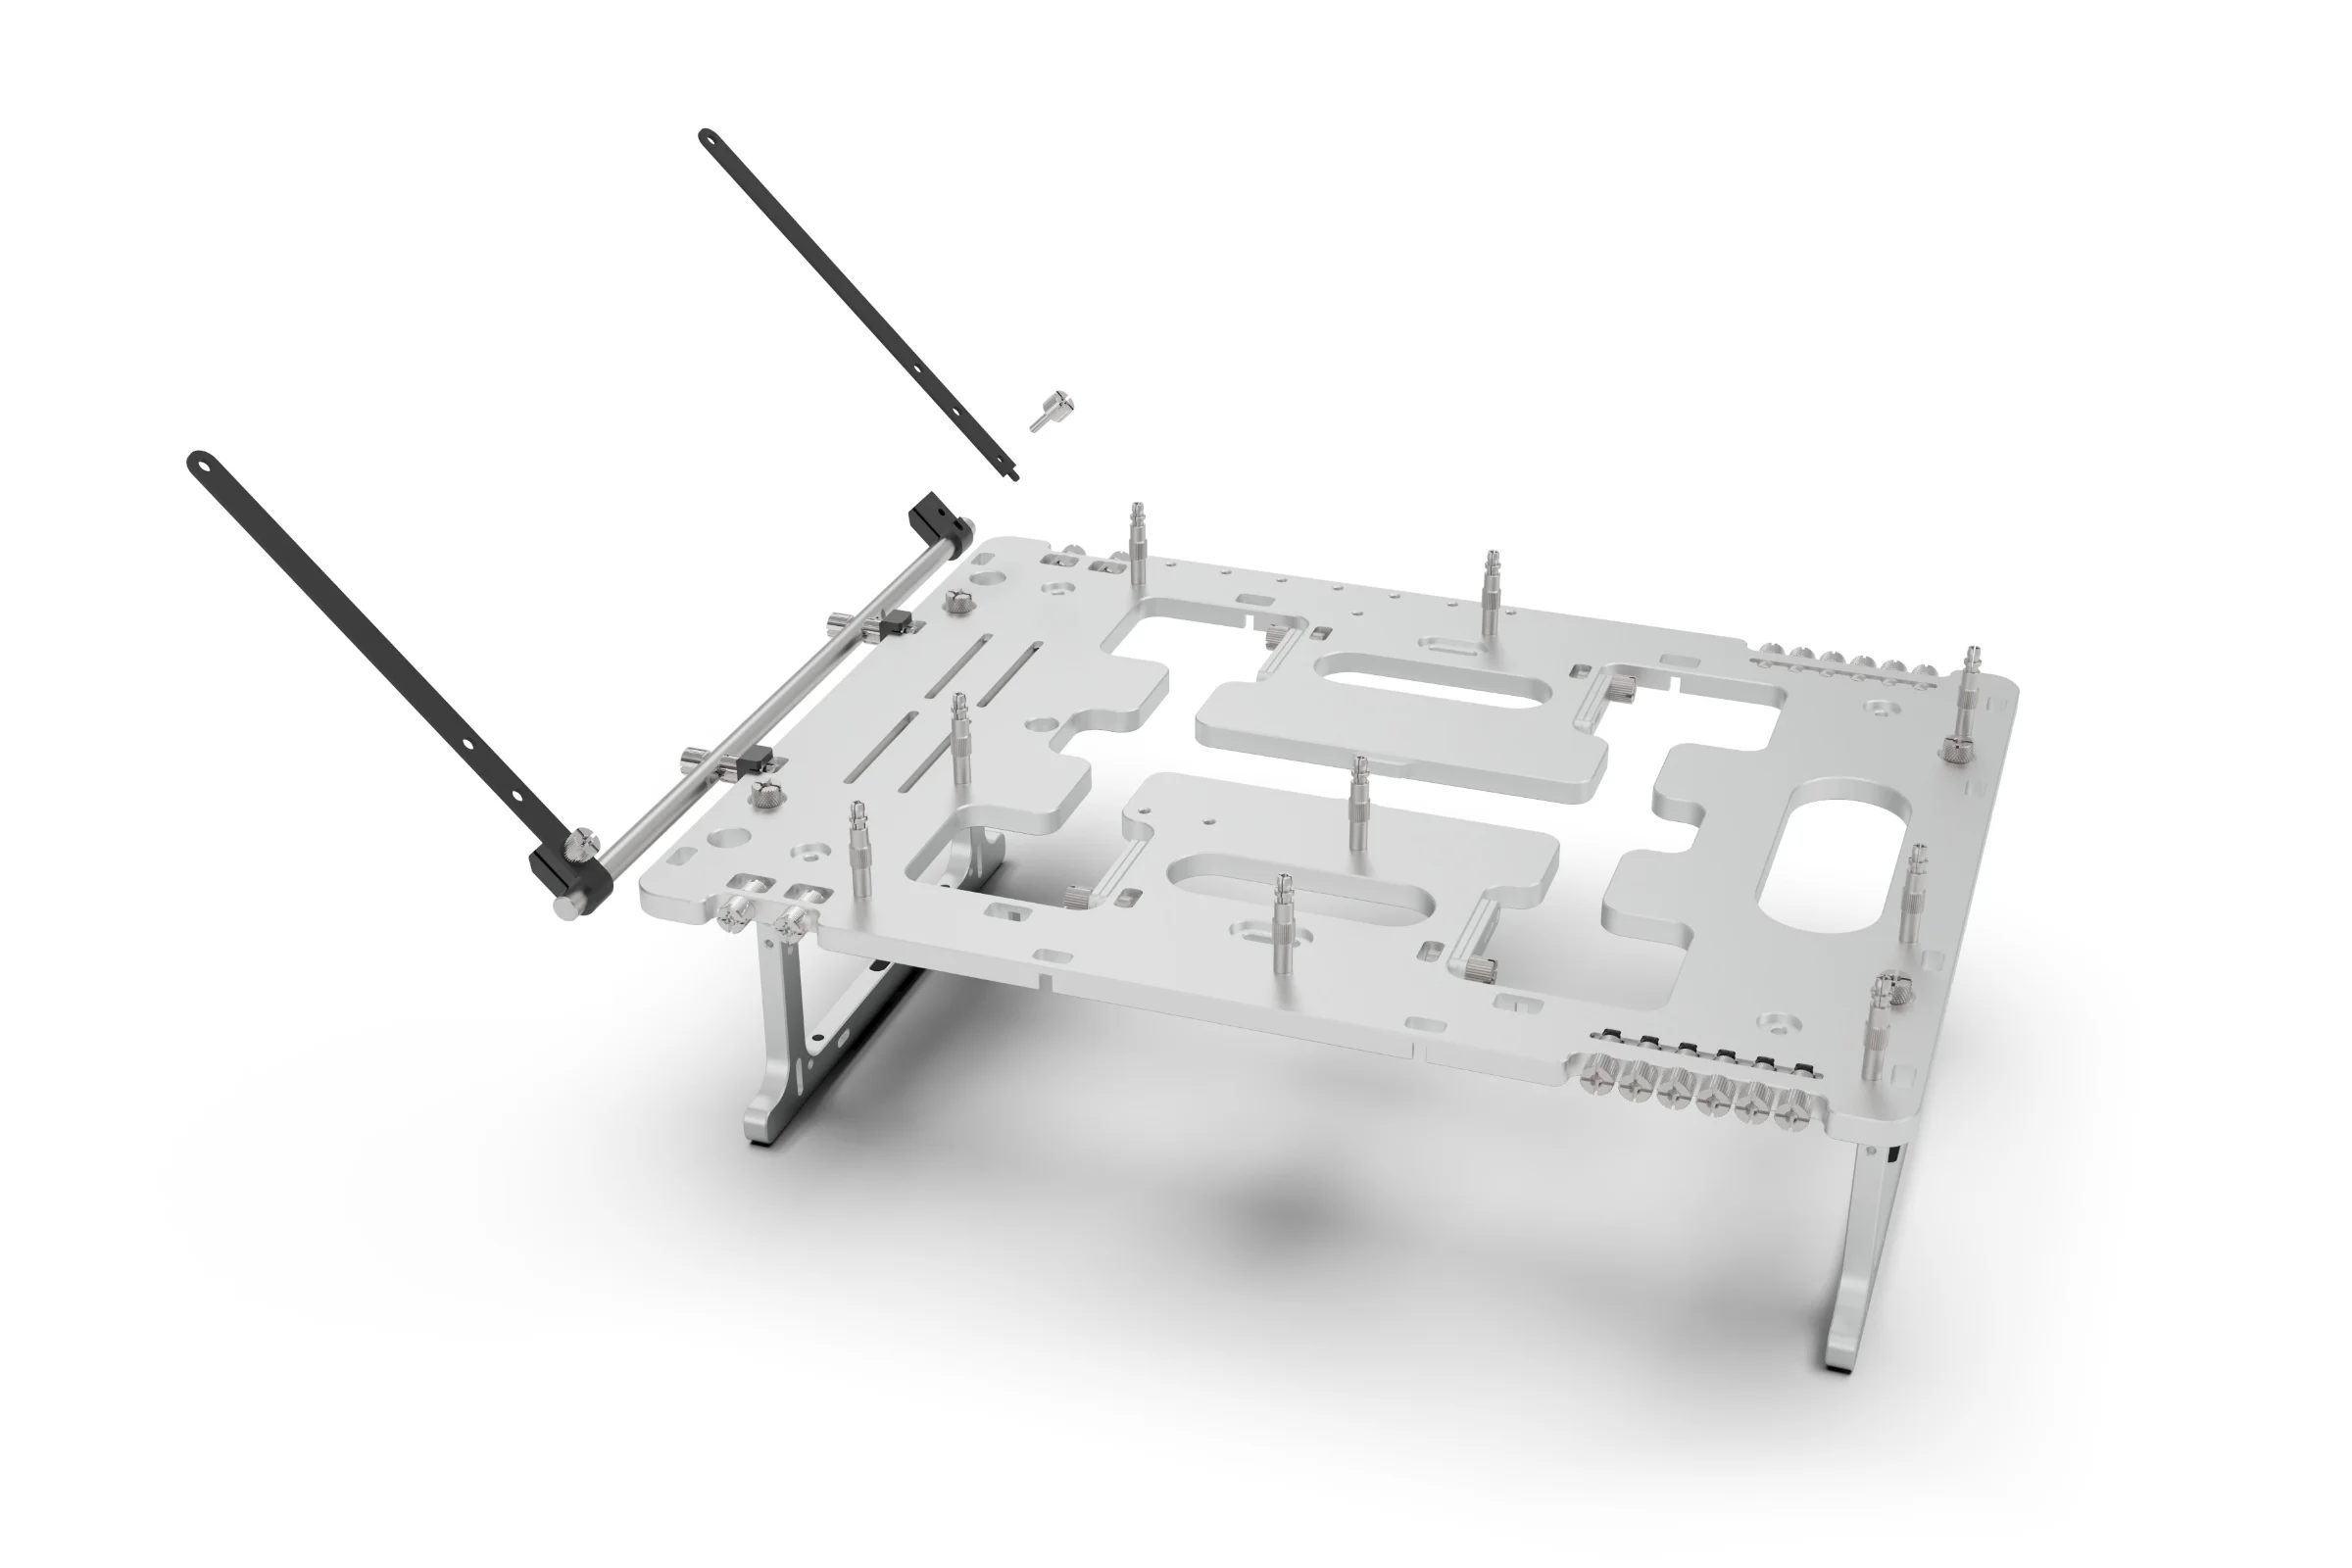
Mounting the Rail
The process is fairly straight forward and intuitive, you simply need to follow the steps in the correct order.
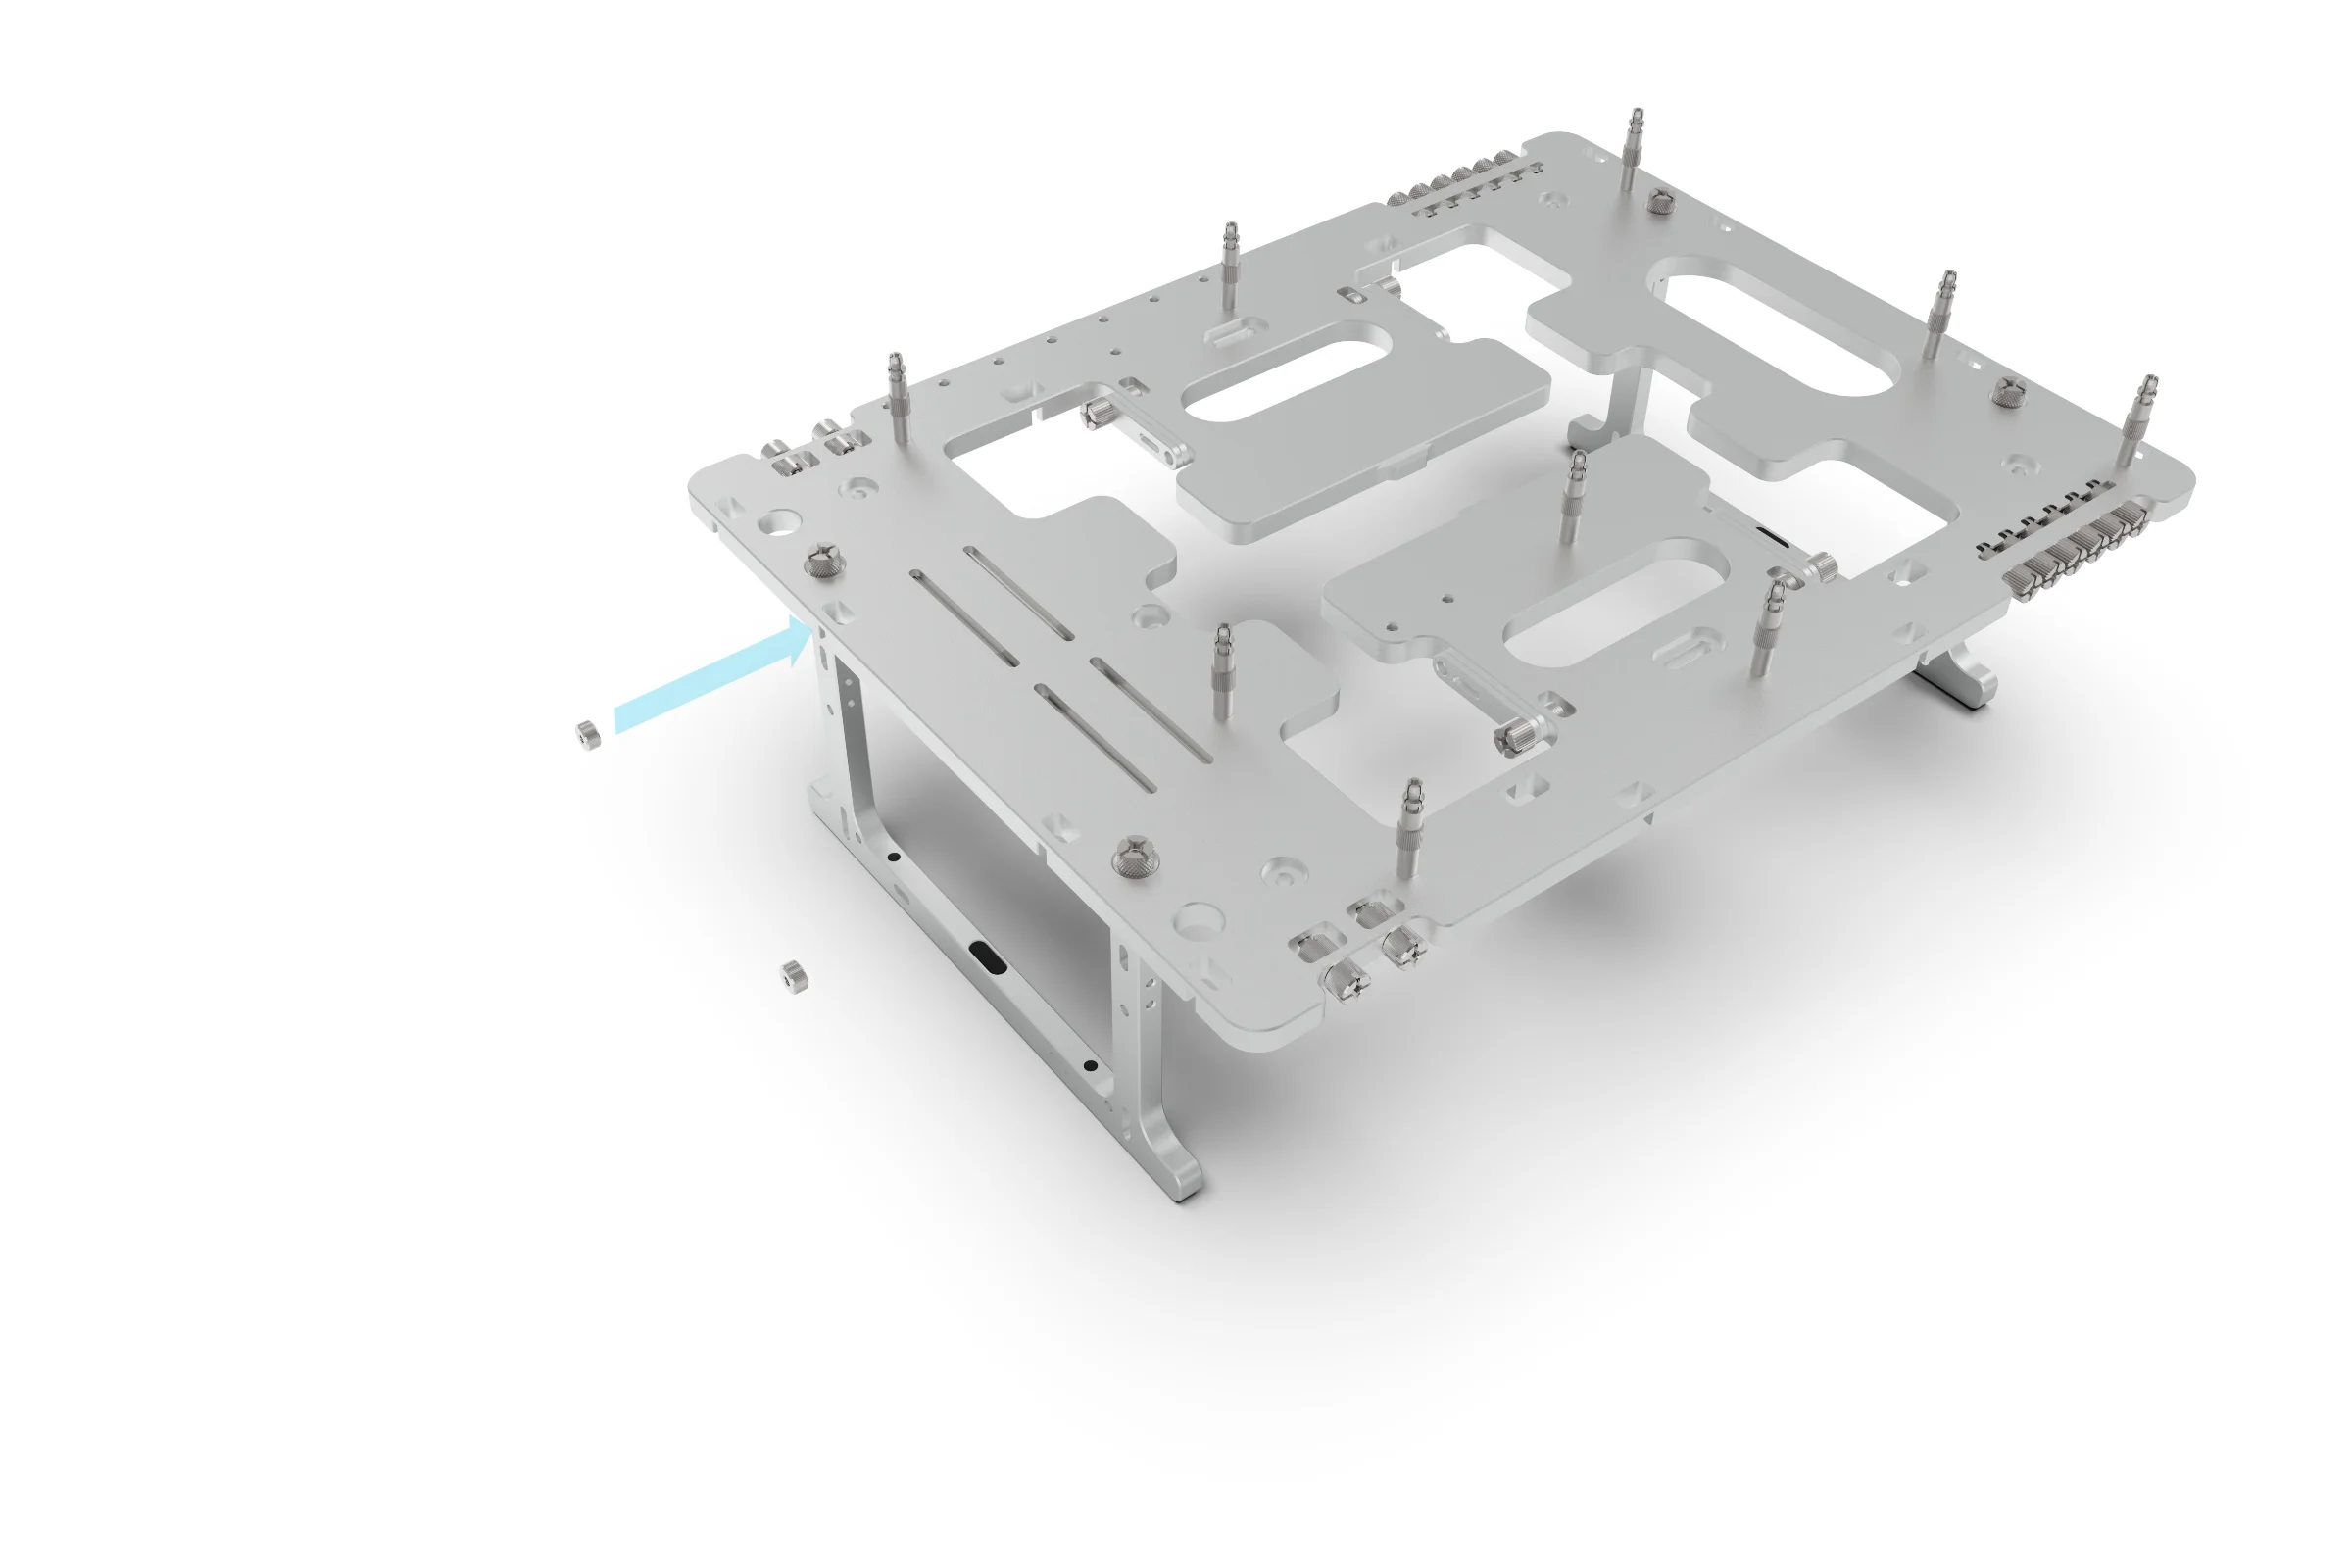
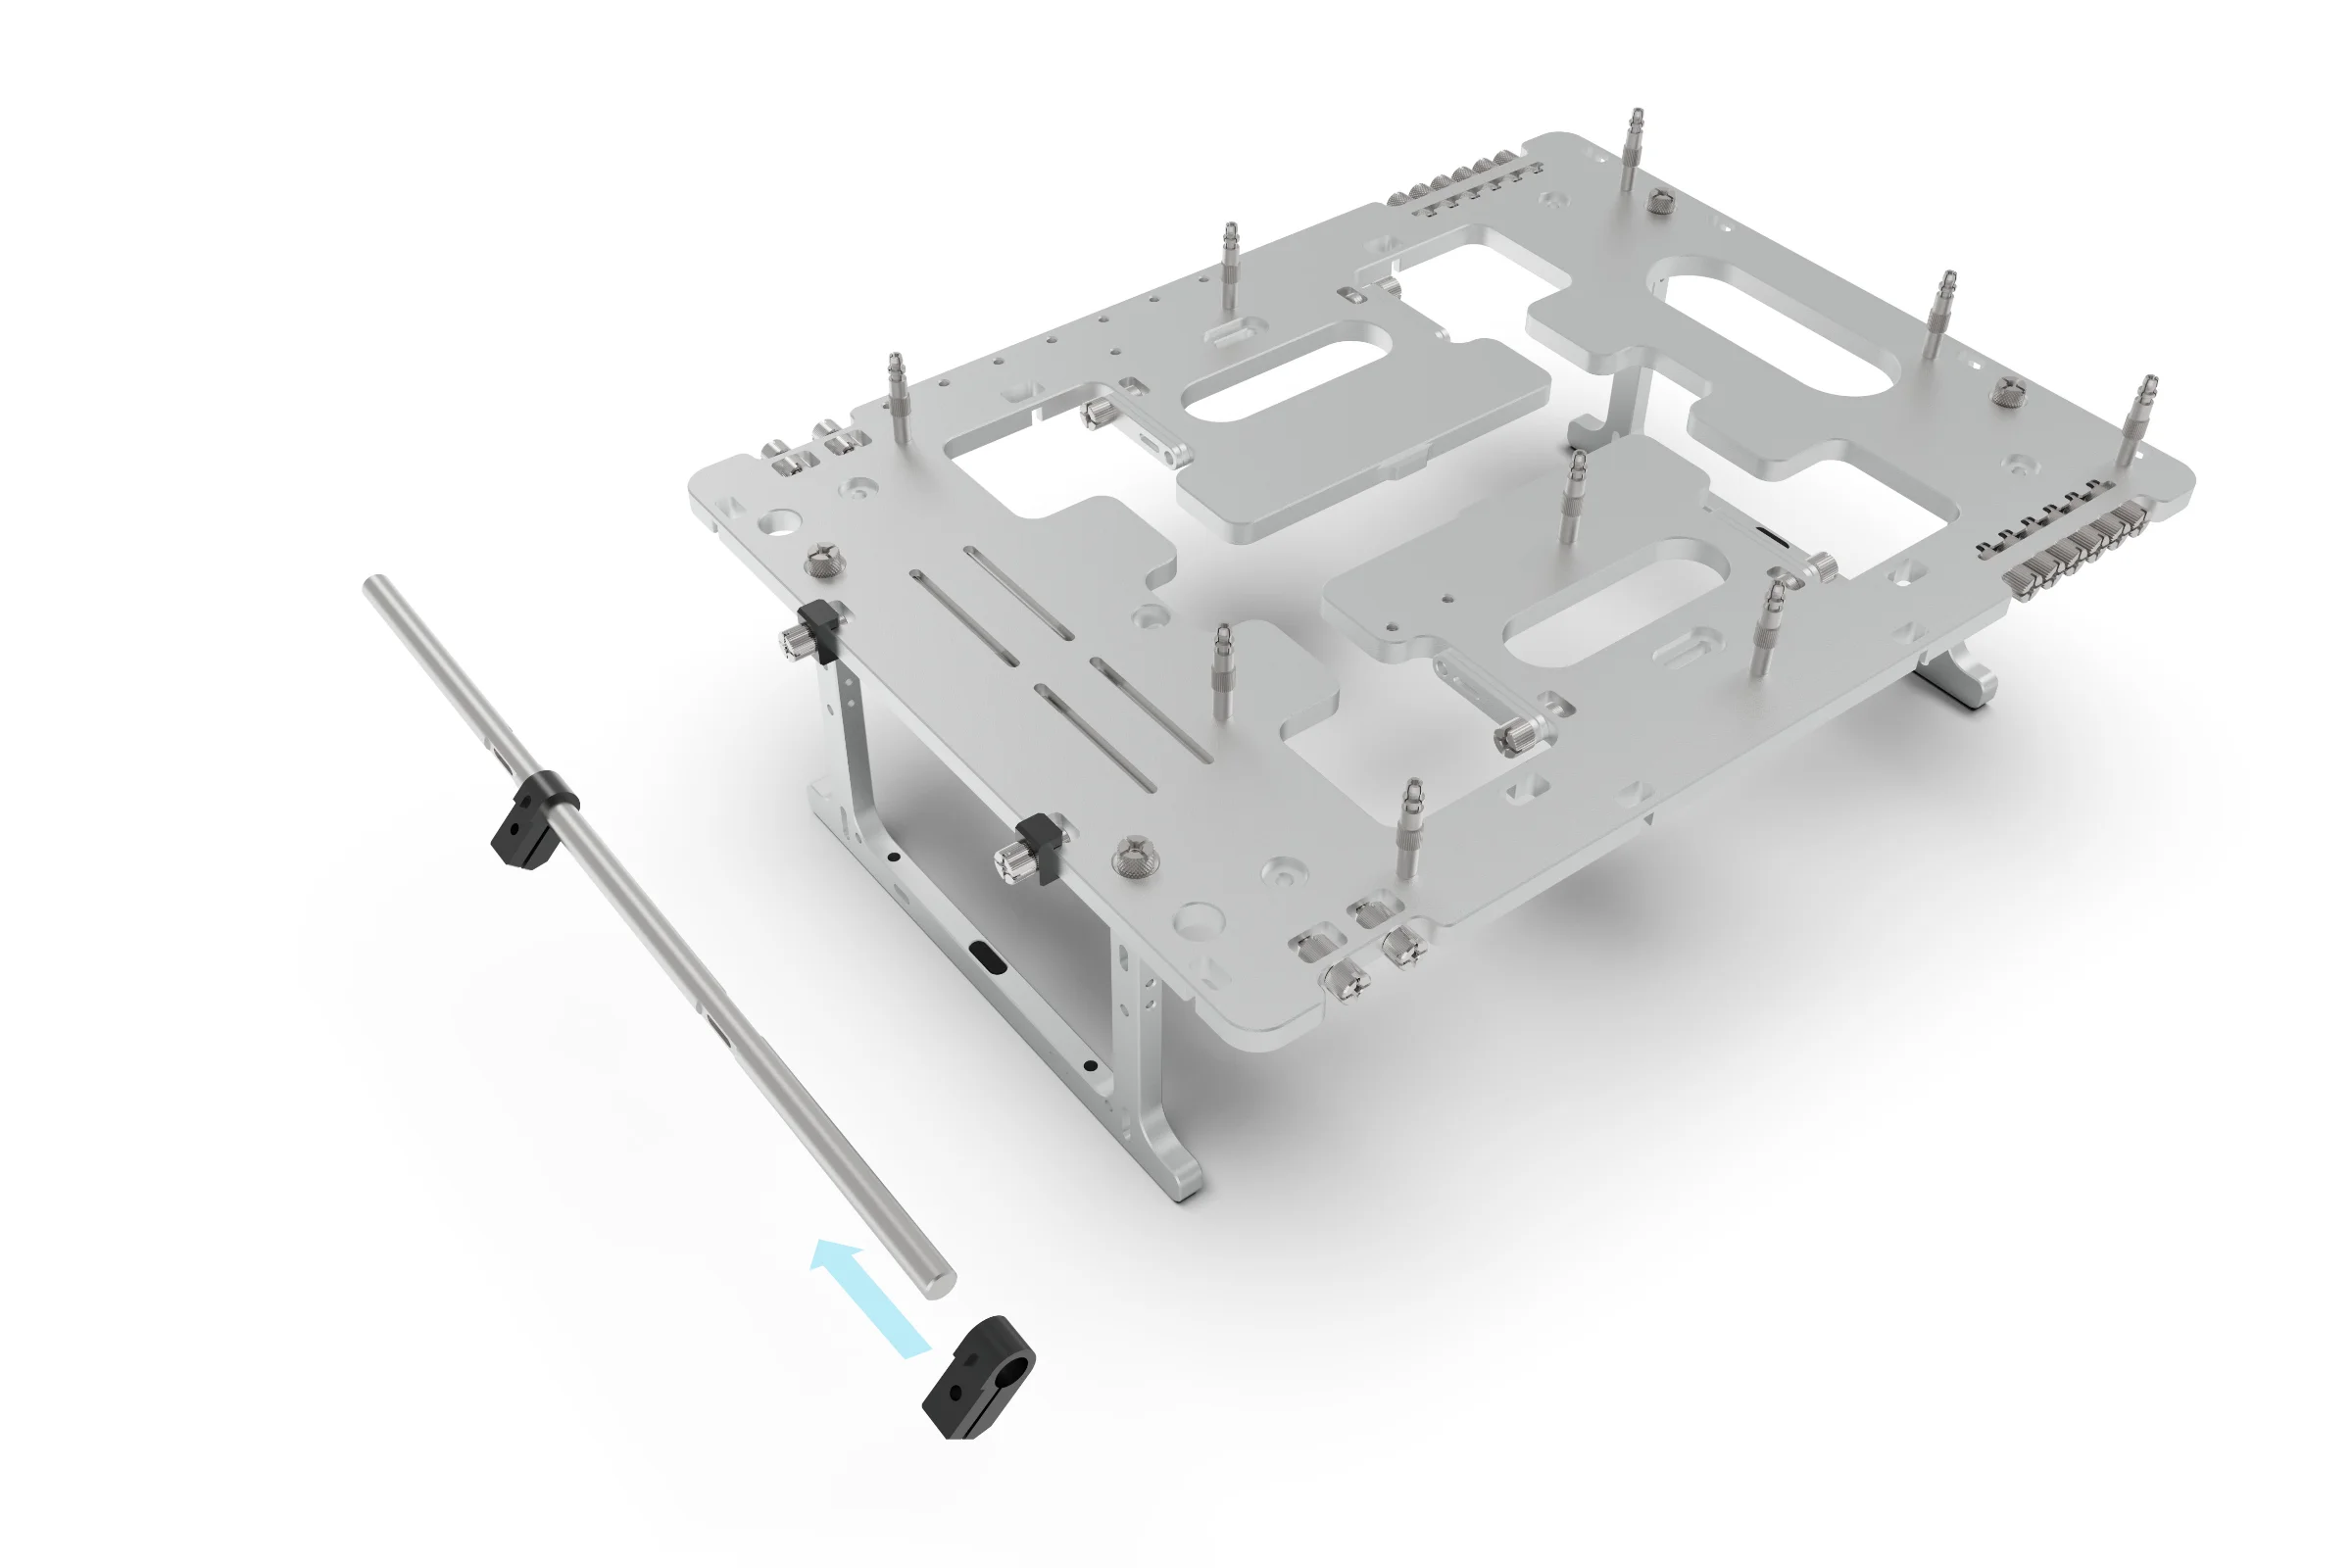
M3 Nut
Mounting Point
Place the nut into the mounting point in the side of the BC1. Note that for the next 2 steps it will be easier to do one side at a time
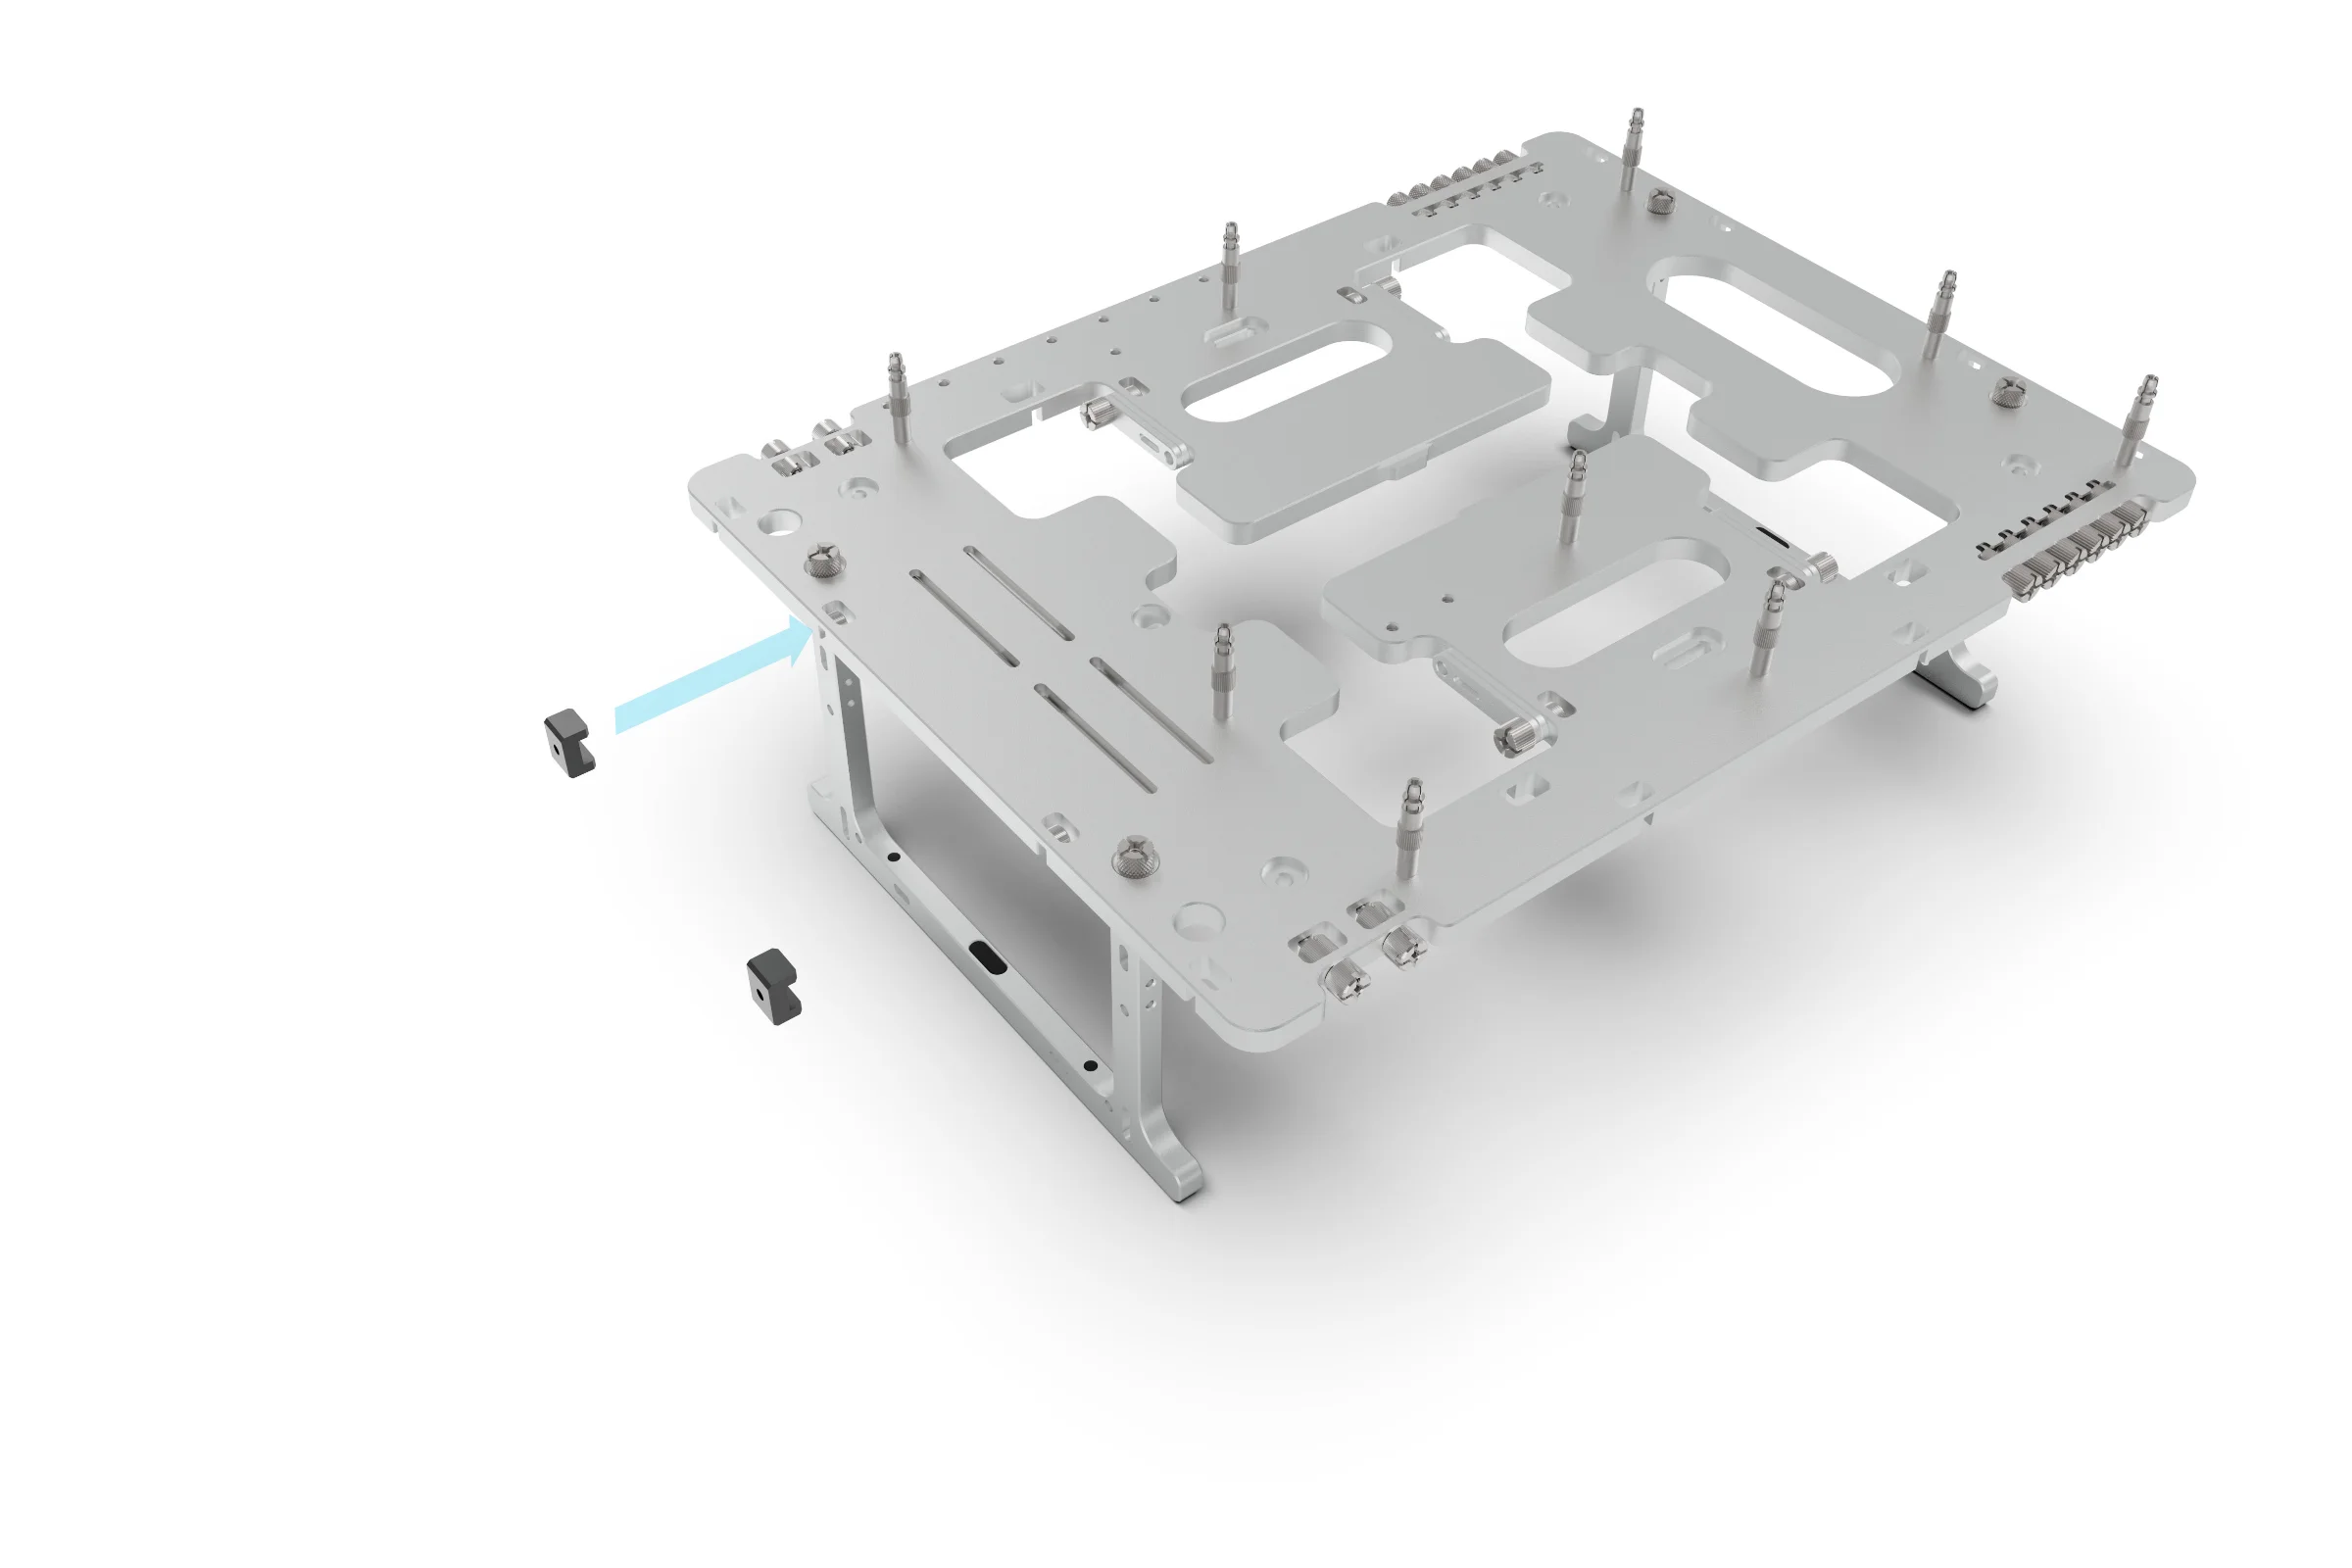
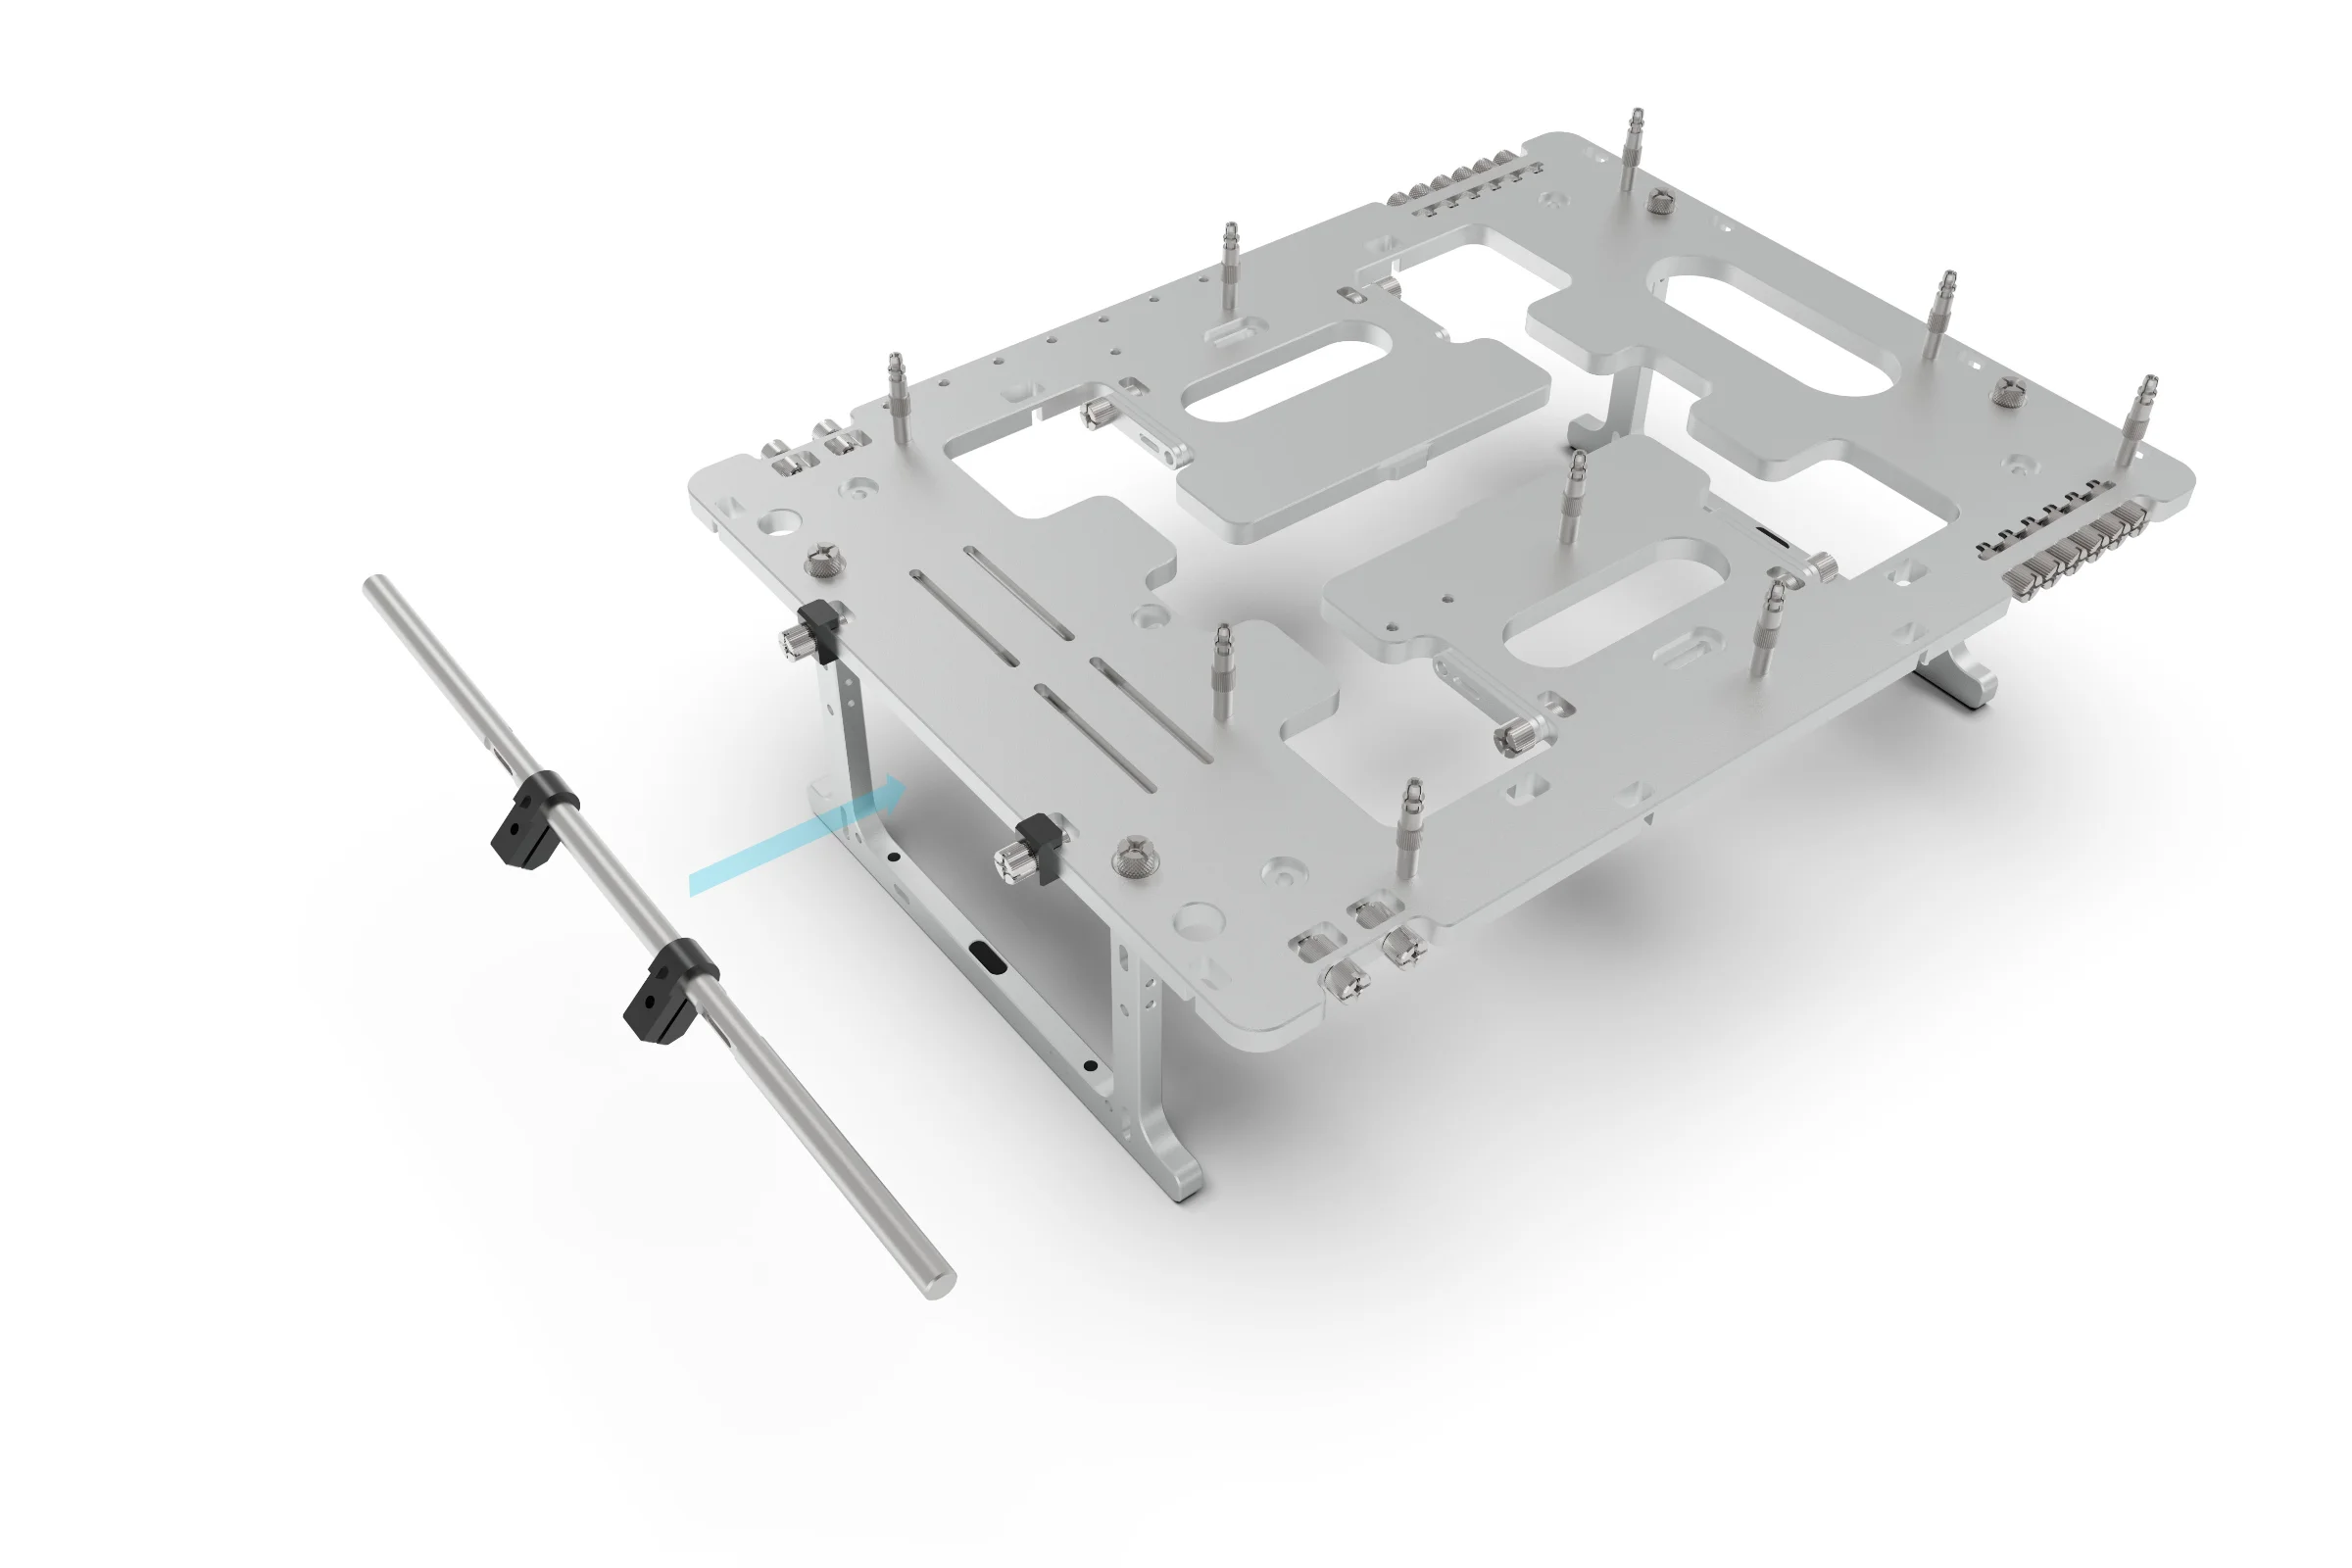
Load Bracket
Mounting Point
Align and place the load bracket onto the edge of the BC1. The flat side should be facing out.
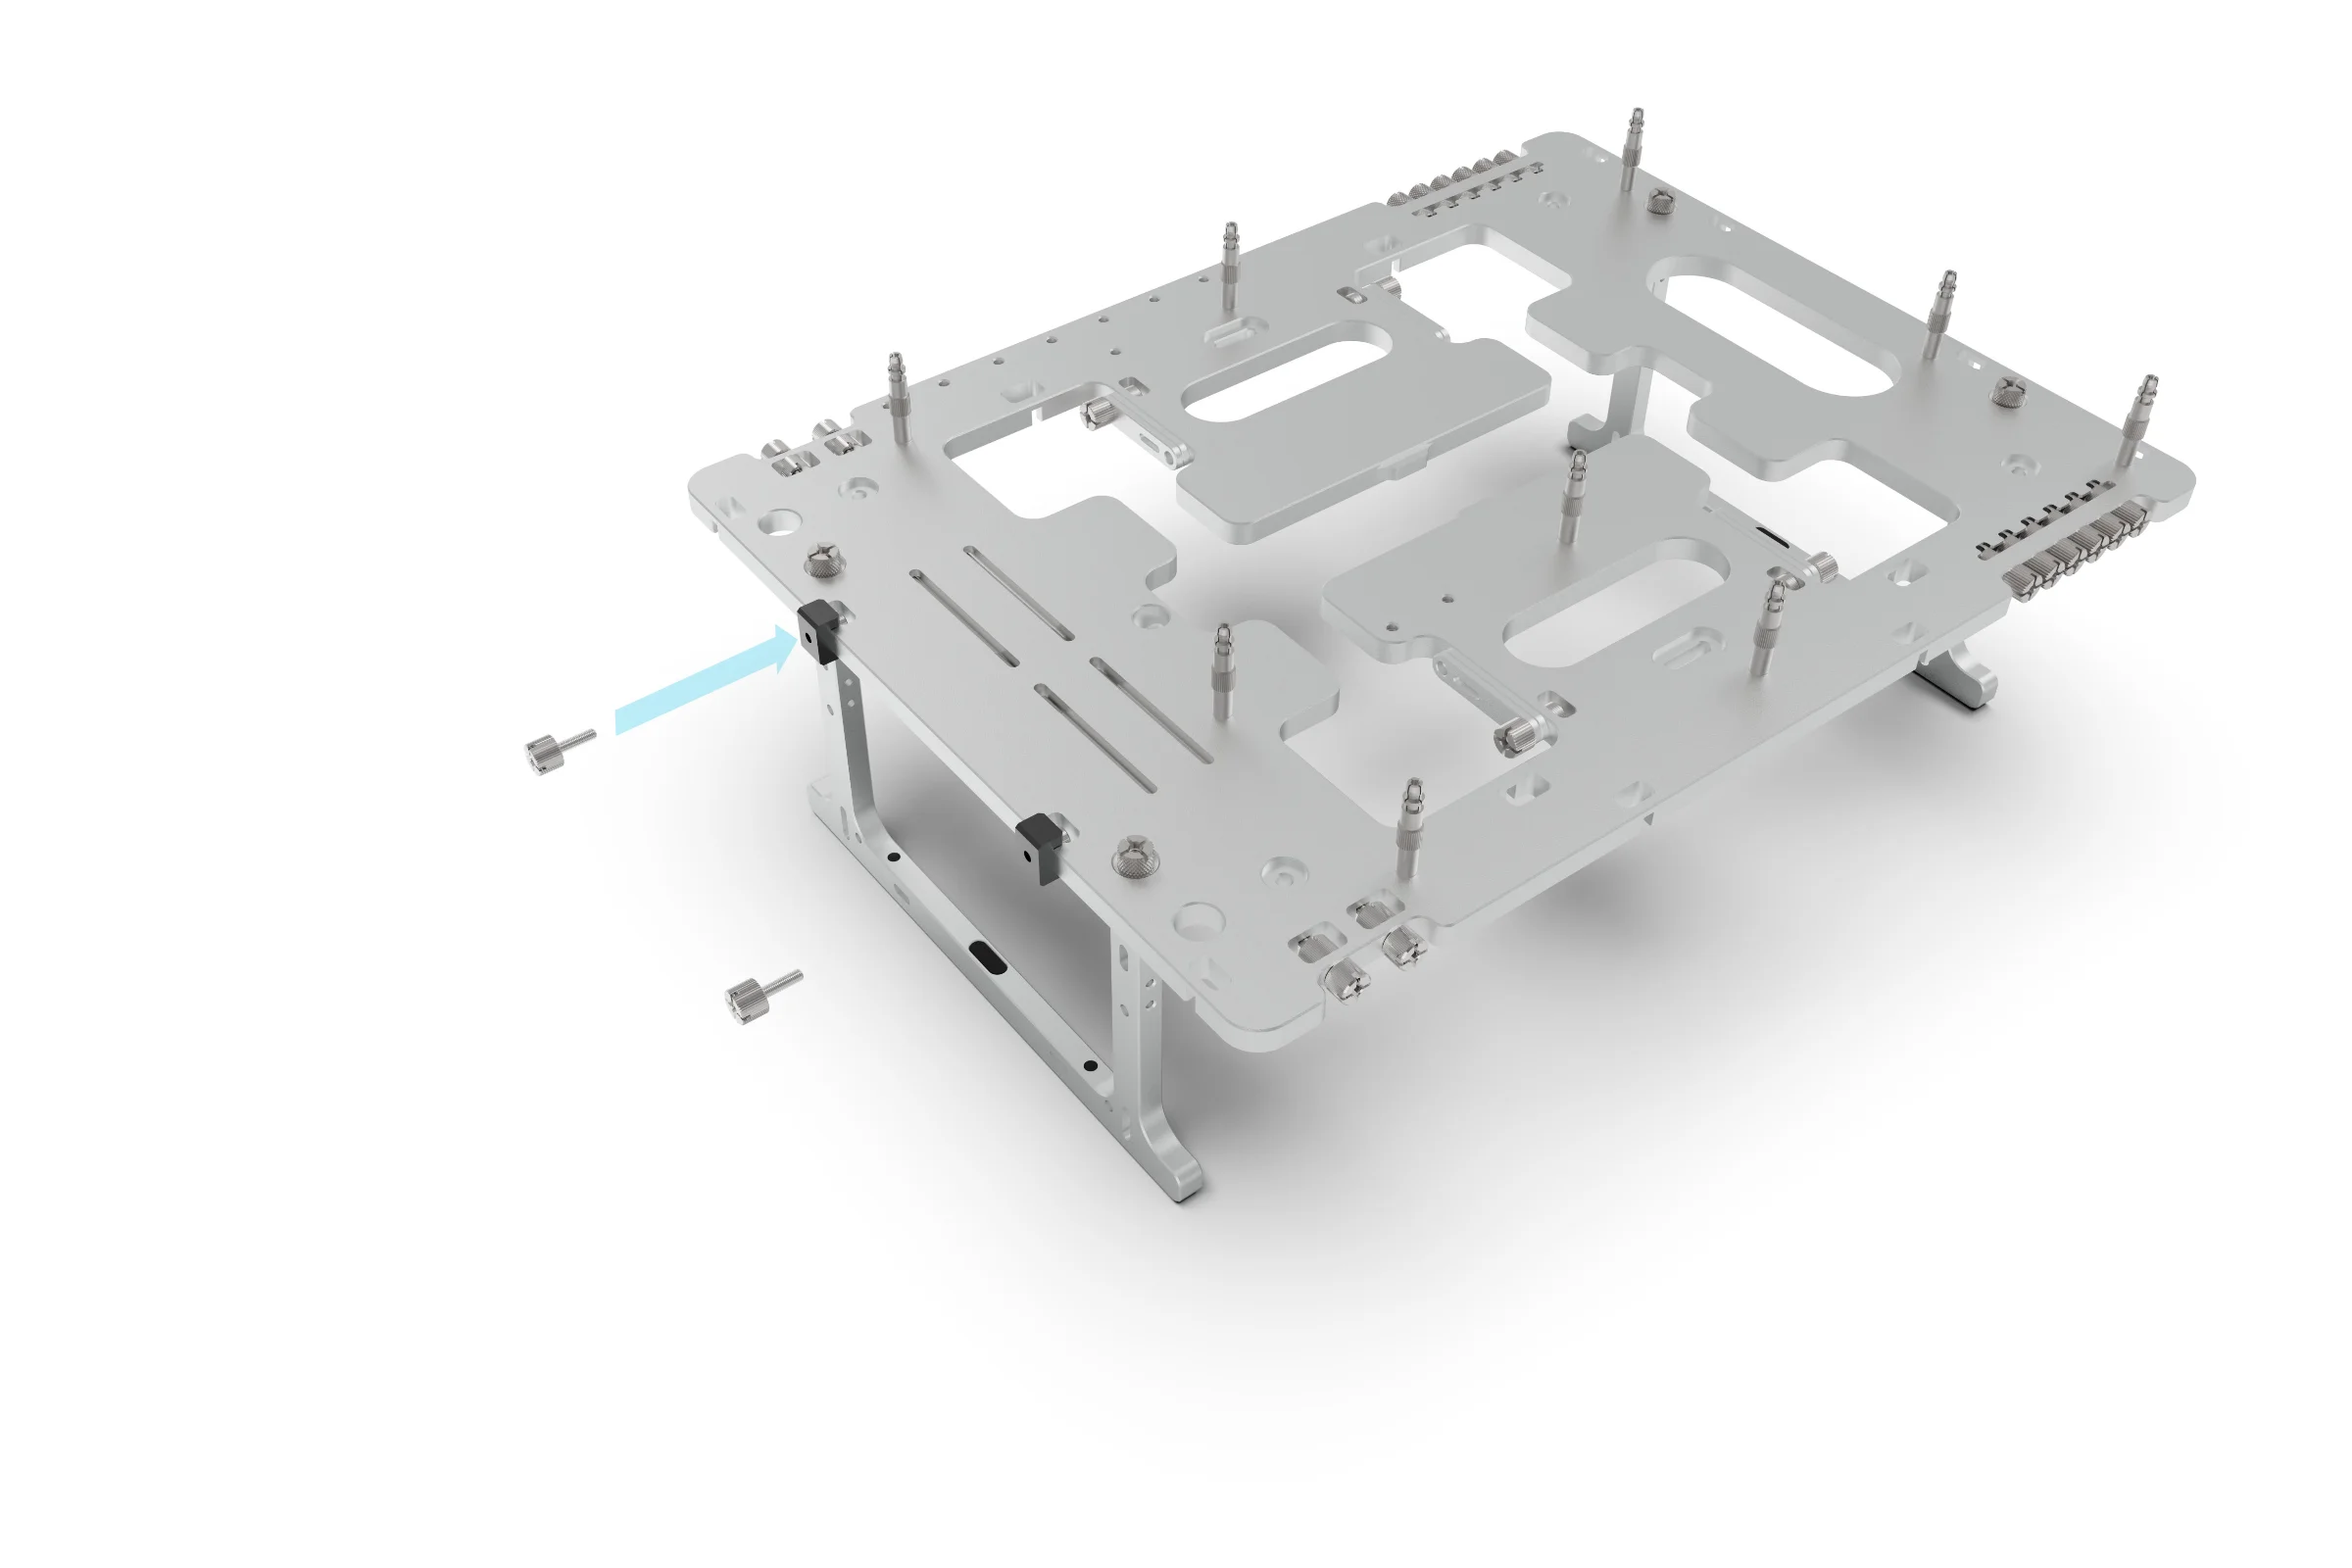
M3 Thumbscrew
Secure the load bracket to the BC1 using the M3 thumbscrew and M3 nut.
Clamp
Rail
If you plan to mount something that requires clamps to be positioned in the central area of the rail, its important to pre-install the clamps now before attaching the rail to the BC1.
Slot in the Rail
M3 Thumbscrew
Place the Rail against the M3 Thumbscrews, aligning them with the slots on the Rail.
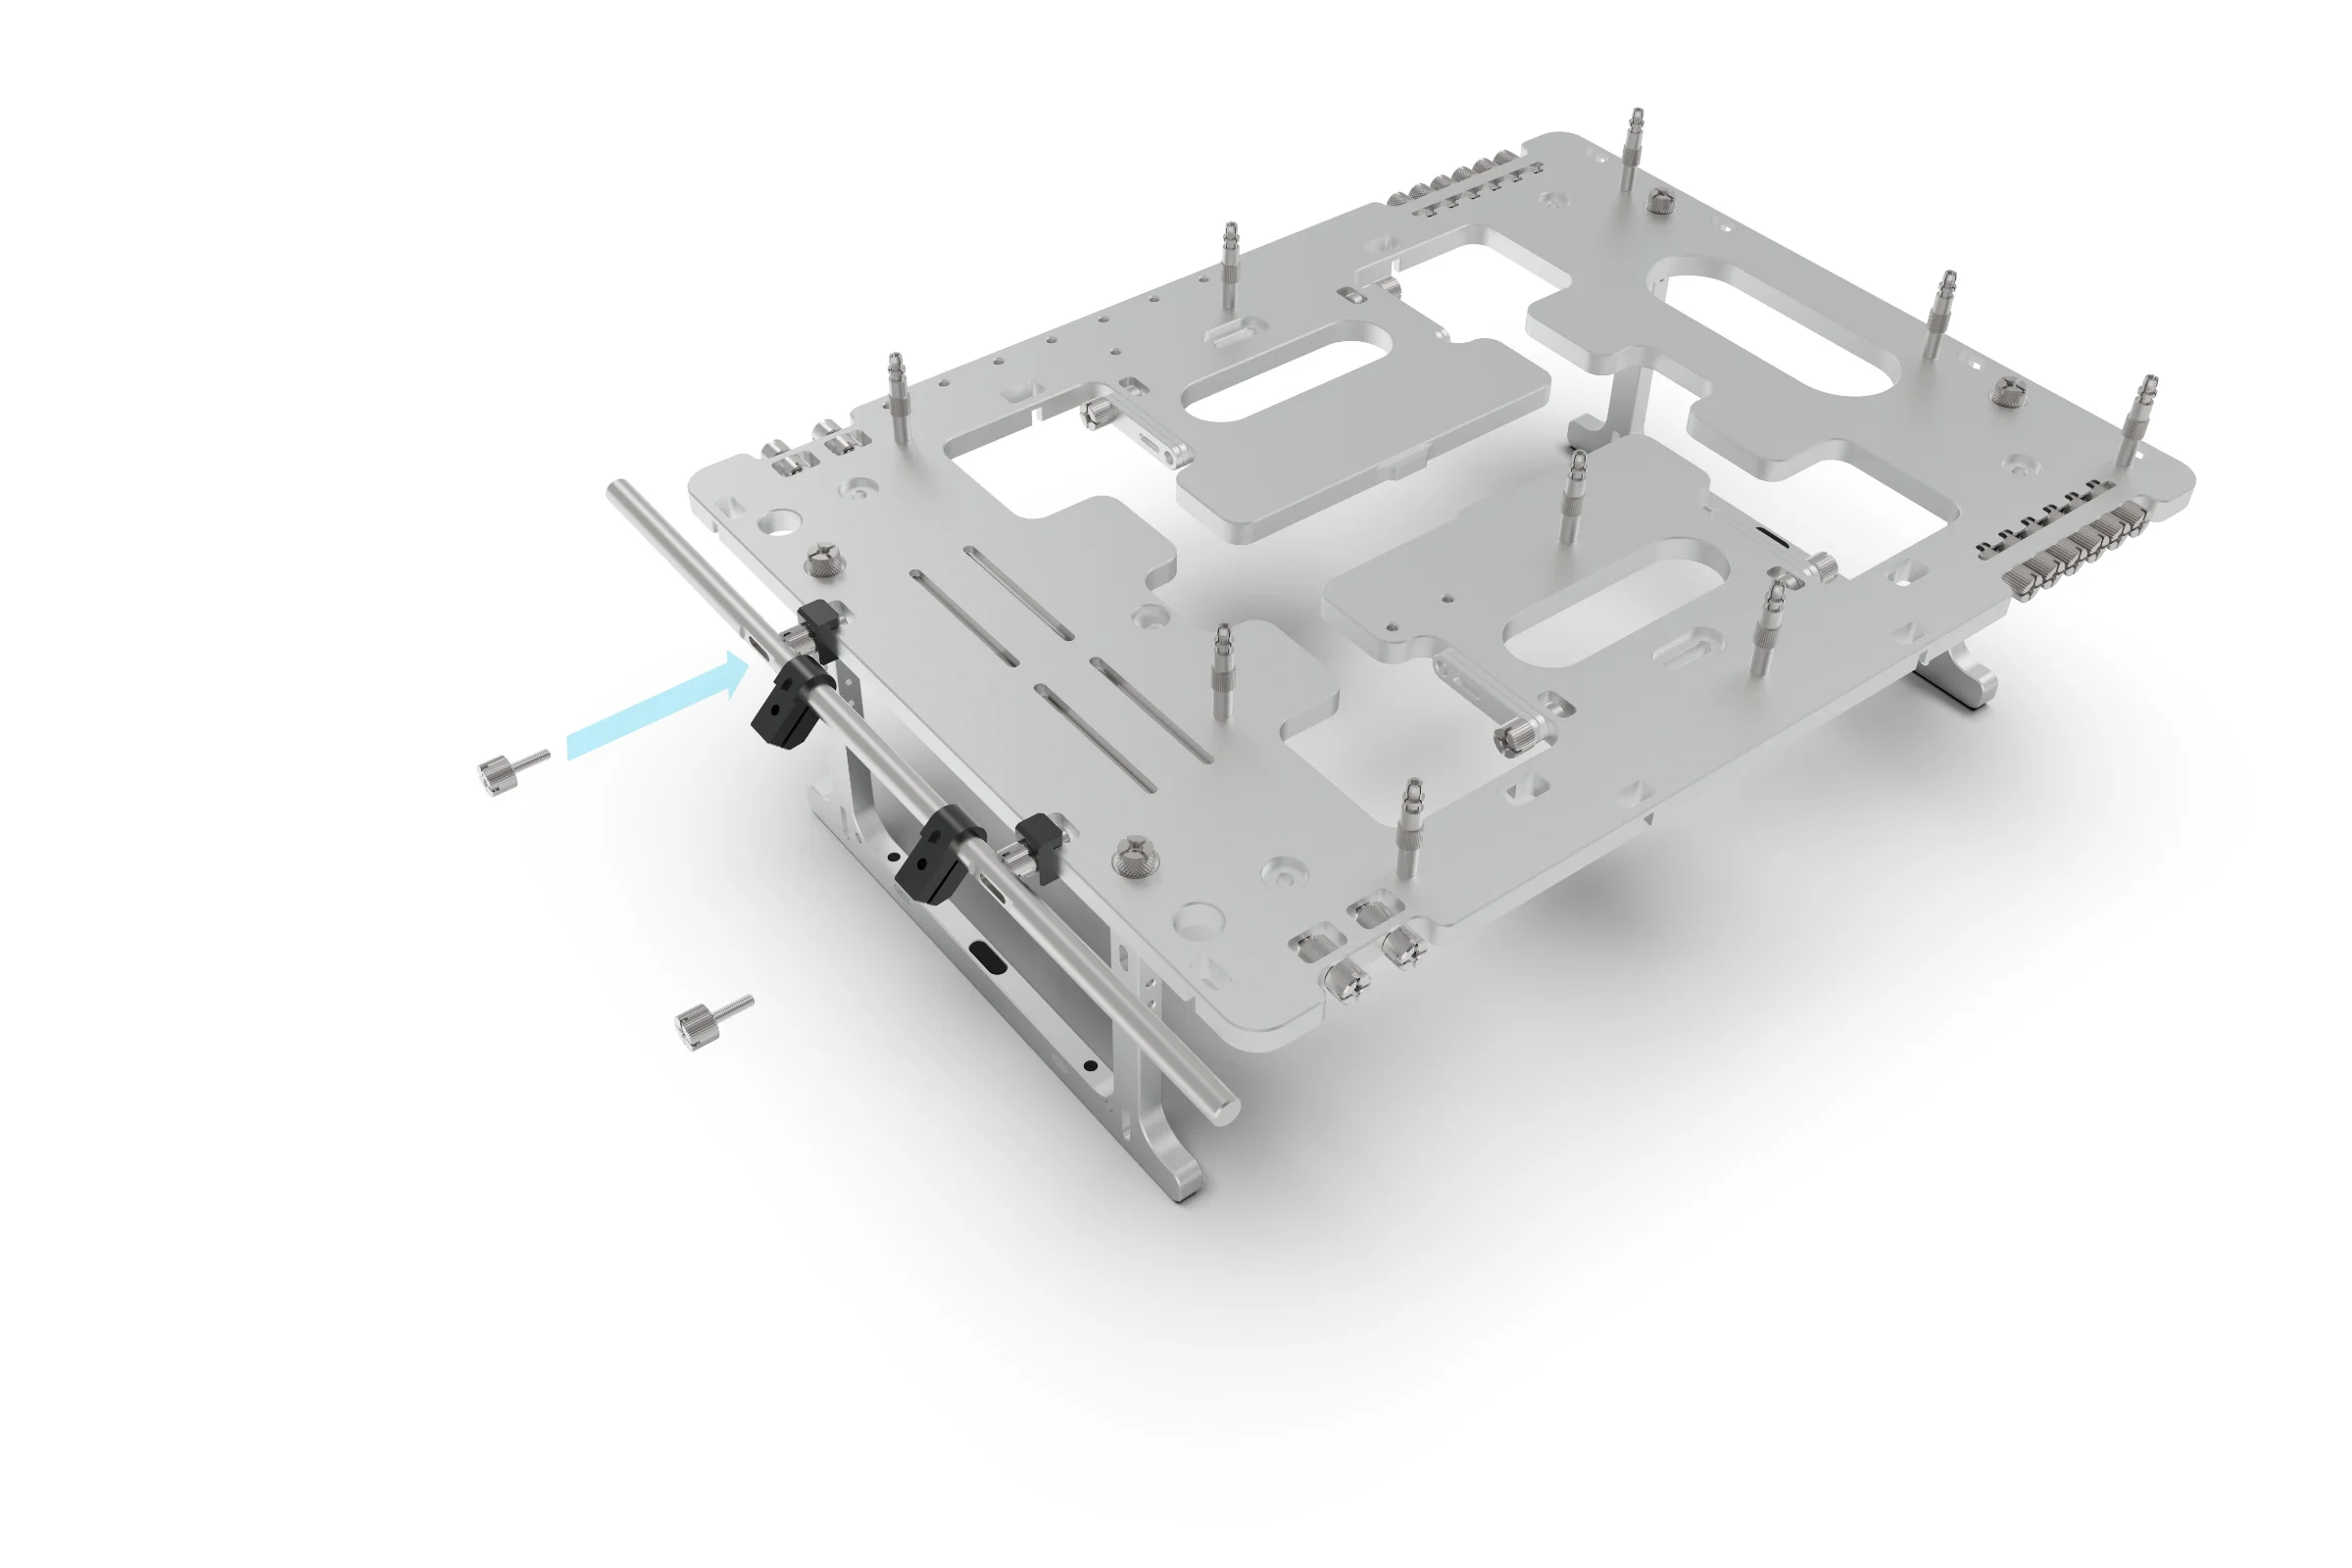
M3 Thambscrew
M3 Thumbscrew
Finally, secure the rail to the BC1 by screwing the M3 Thumbscrew into the M3 Thumbscrew head.
The Clamp & Brackets
The clamps are designed to attach the brackets to the rail and allow for granular adjustment of the position along the rail and rotation. A single M3 thumbscrew is used to both secure the bracket to the clamp and lock the clamp to the rail. The clamp also features a captive steel nut, this ensure that high clamping pressure can be applied by the Thumbscrew without concern of stripping the thread.
M3 Thumbscrew
M3 Thumbscrew
Long Bracket
Short Bracket
Clamp
Captive Nut
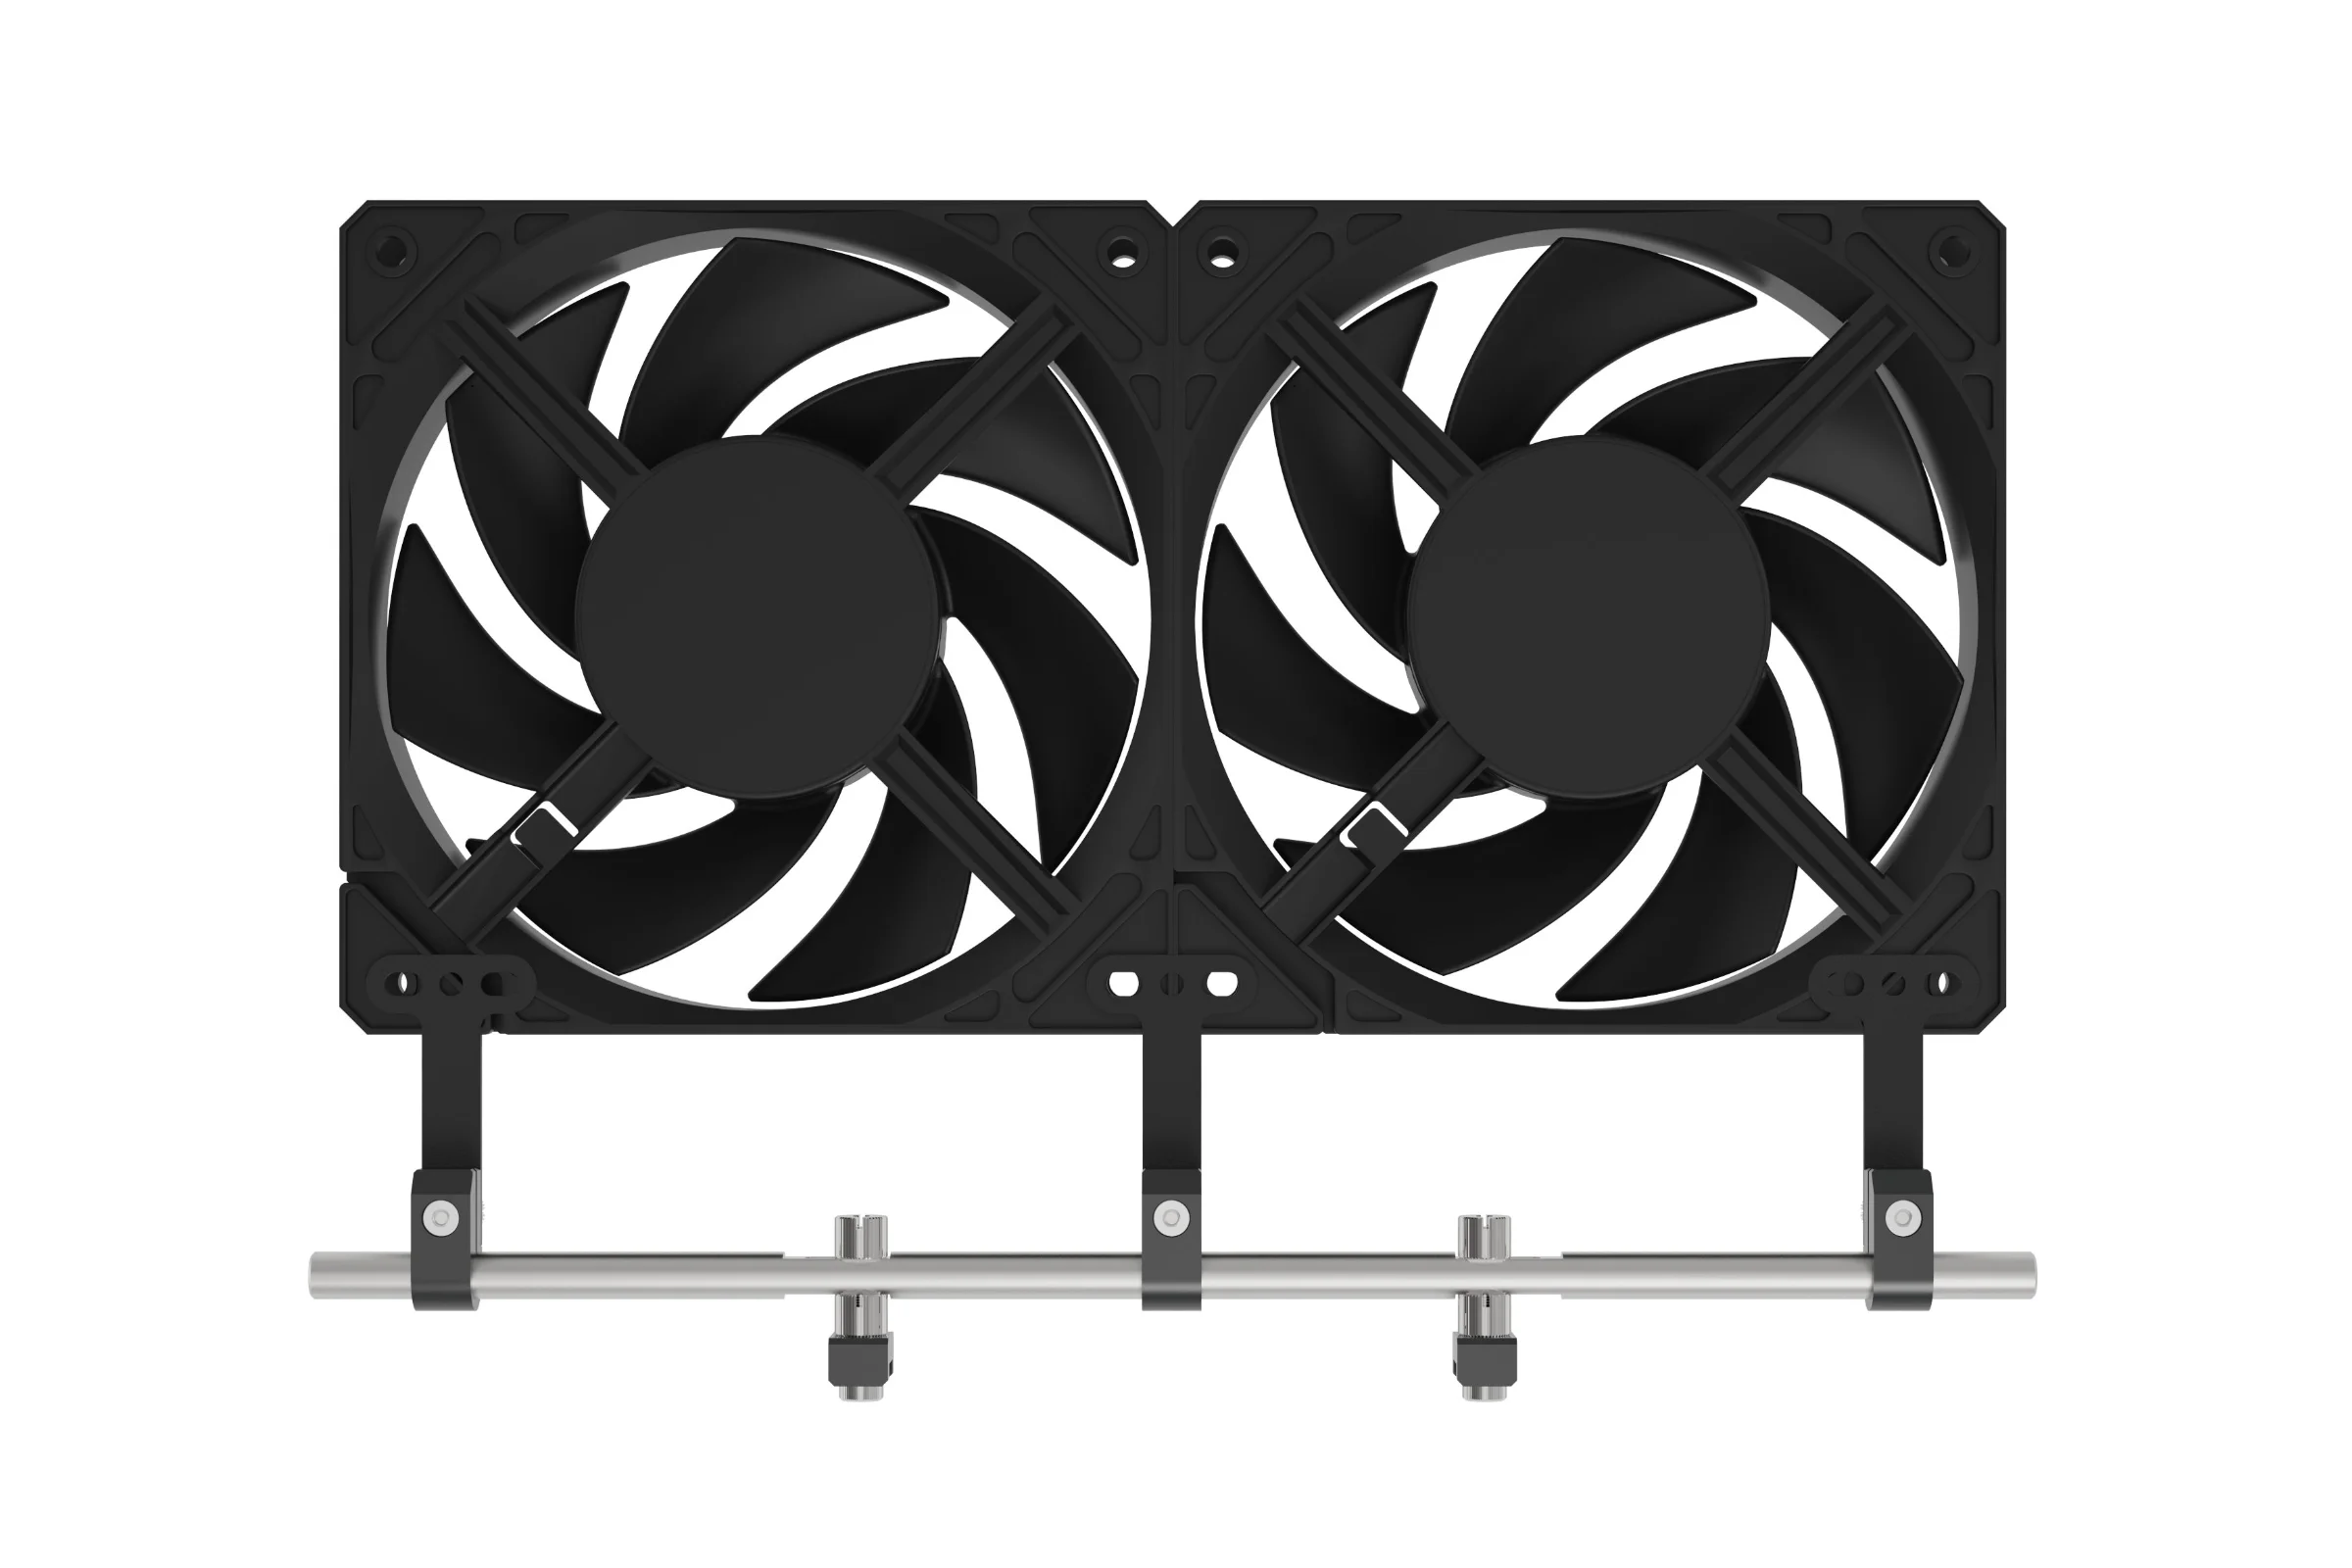
Based on the type of hardware you are trying to attach, there are 2 types of bracket you can choose from. The long bracket was designed for radiators (120-140 fan sizes) and the short bracket can be used for fans, VU1 or other mountable accessories. In addition to the included brackets, custom brackets an be made by following the design stencil.

240mm Radiator
140mm hole
120mm Hole
When fitting to an AIO, the brackets can either be attached directly to the radiator, sandwiched between the radiator and fans, or screwed to the fans. The choice will depends on preferred orientation, airflow direction and available screws that can be used to attach the brackets.
140mm Fan
Whilst the long brackets can also be used to mount fans, the short brackets wont run across the the face of the fan. Note that a single bracket can be used to link fans together.
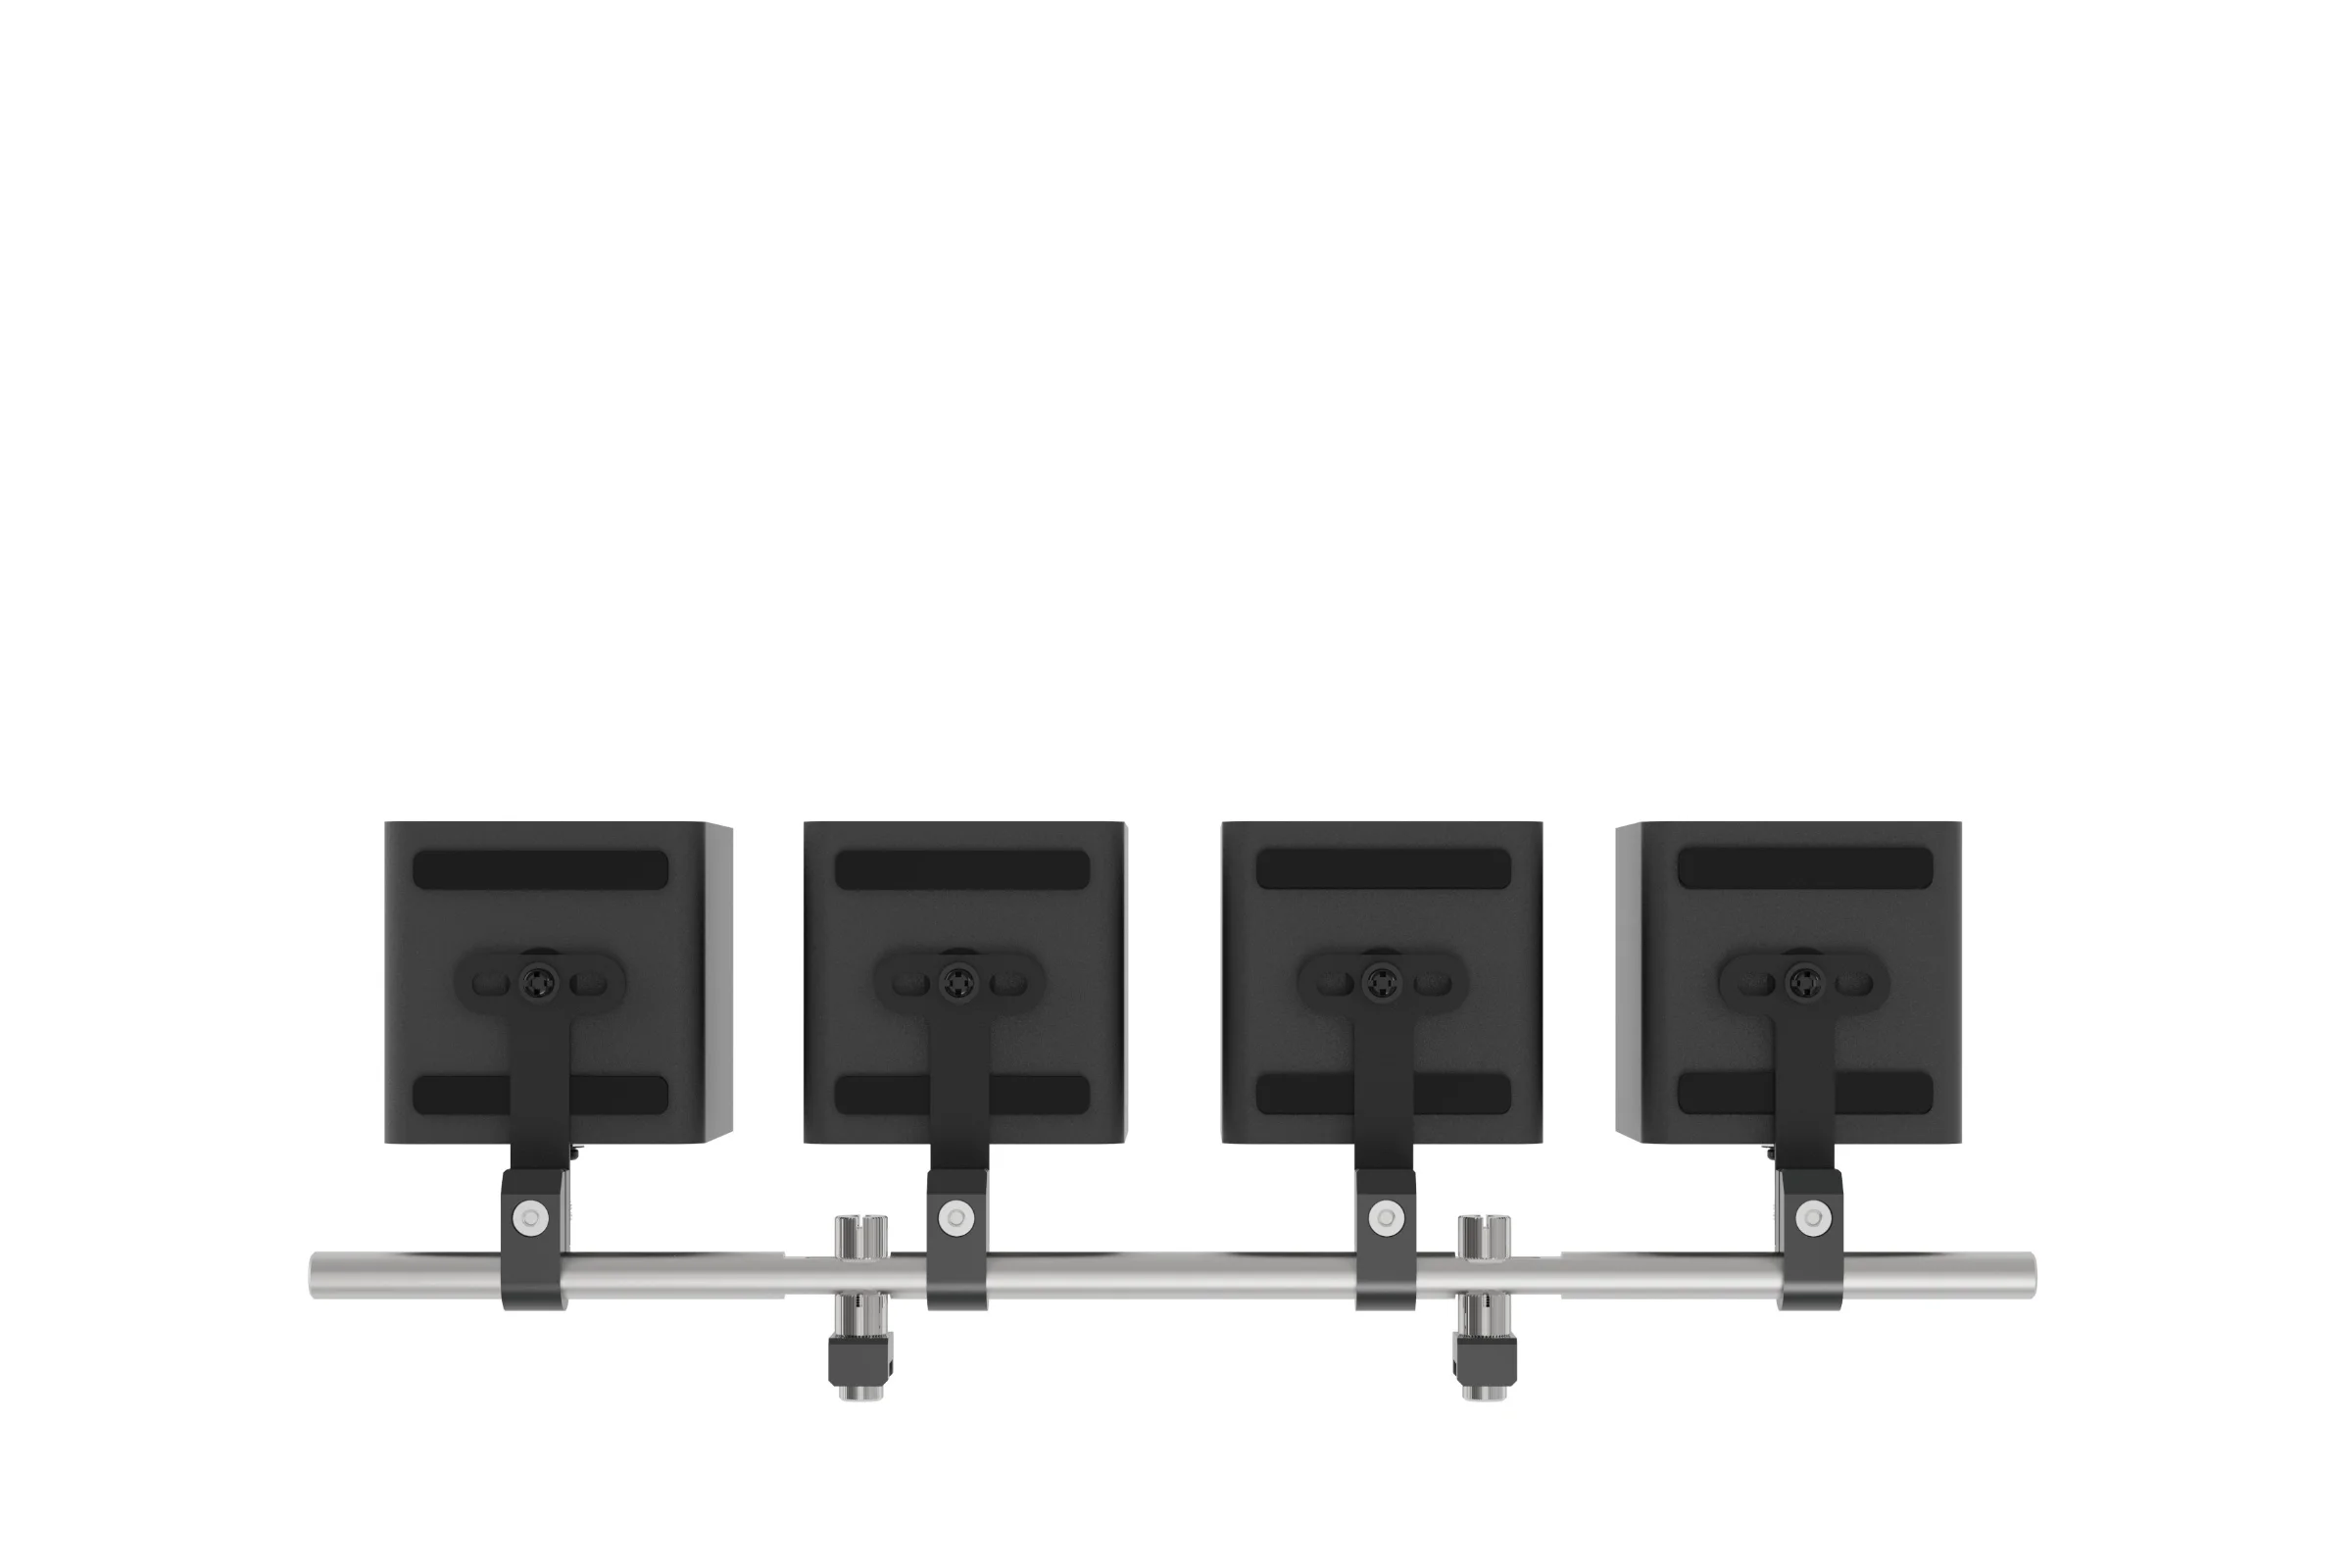
VU1
Depending on the orientation, the brackets can either be fitted to the bottom as shown or to the back of the VU1. When fitting to the back, the offset holes can be used to avoid conflict with the type-c sockets.
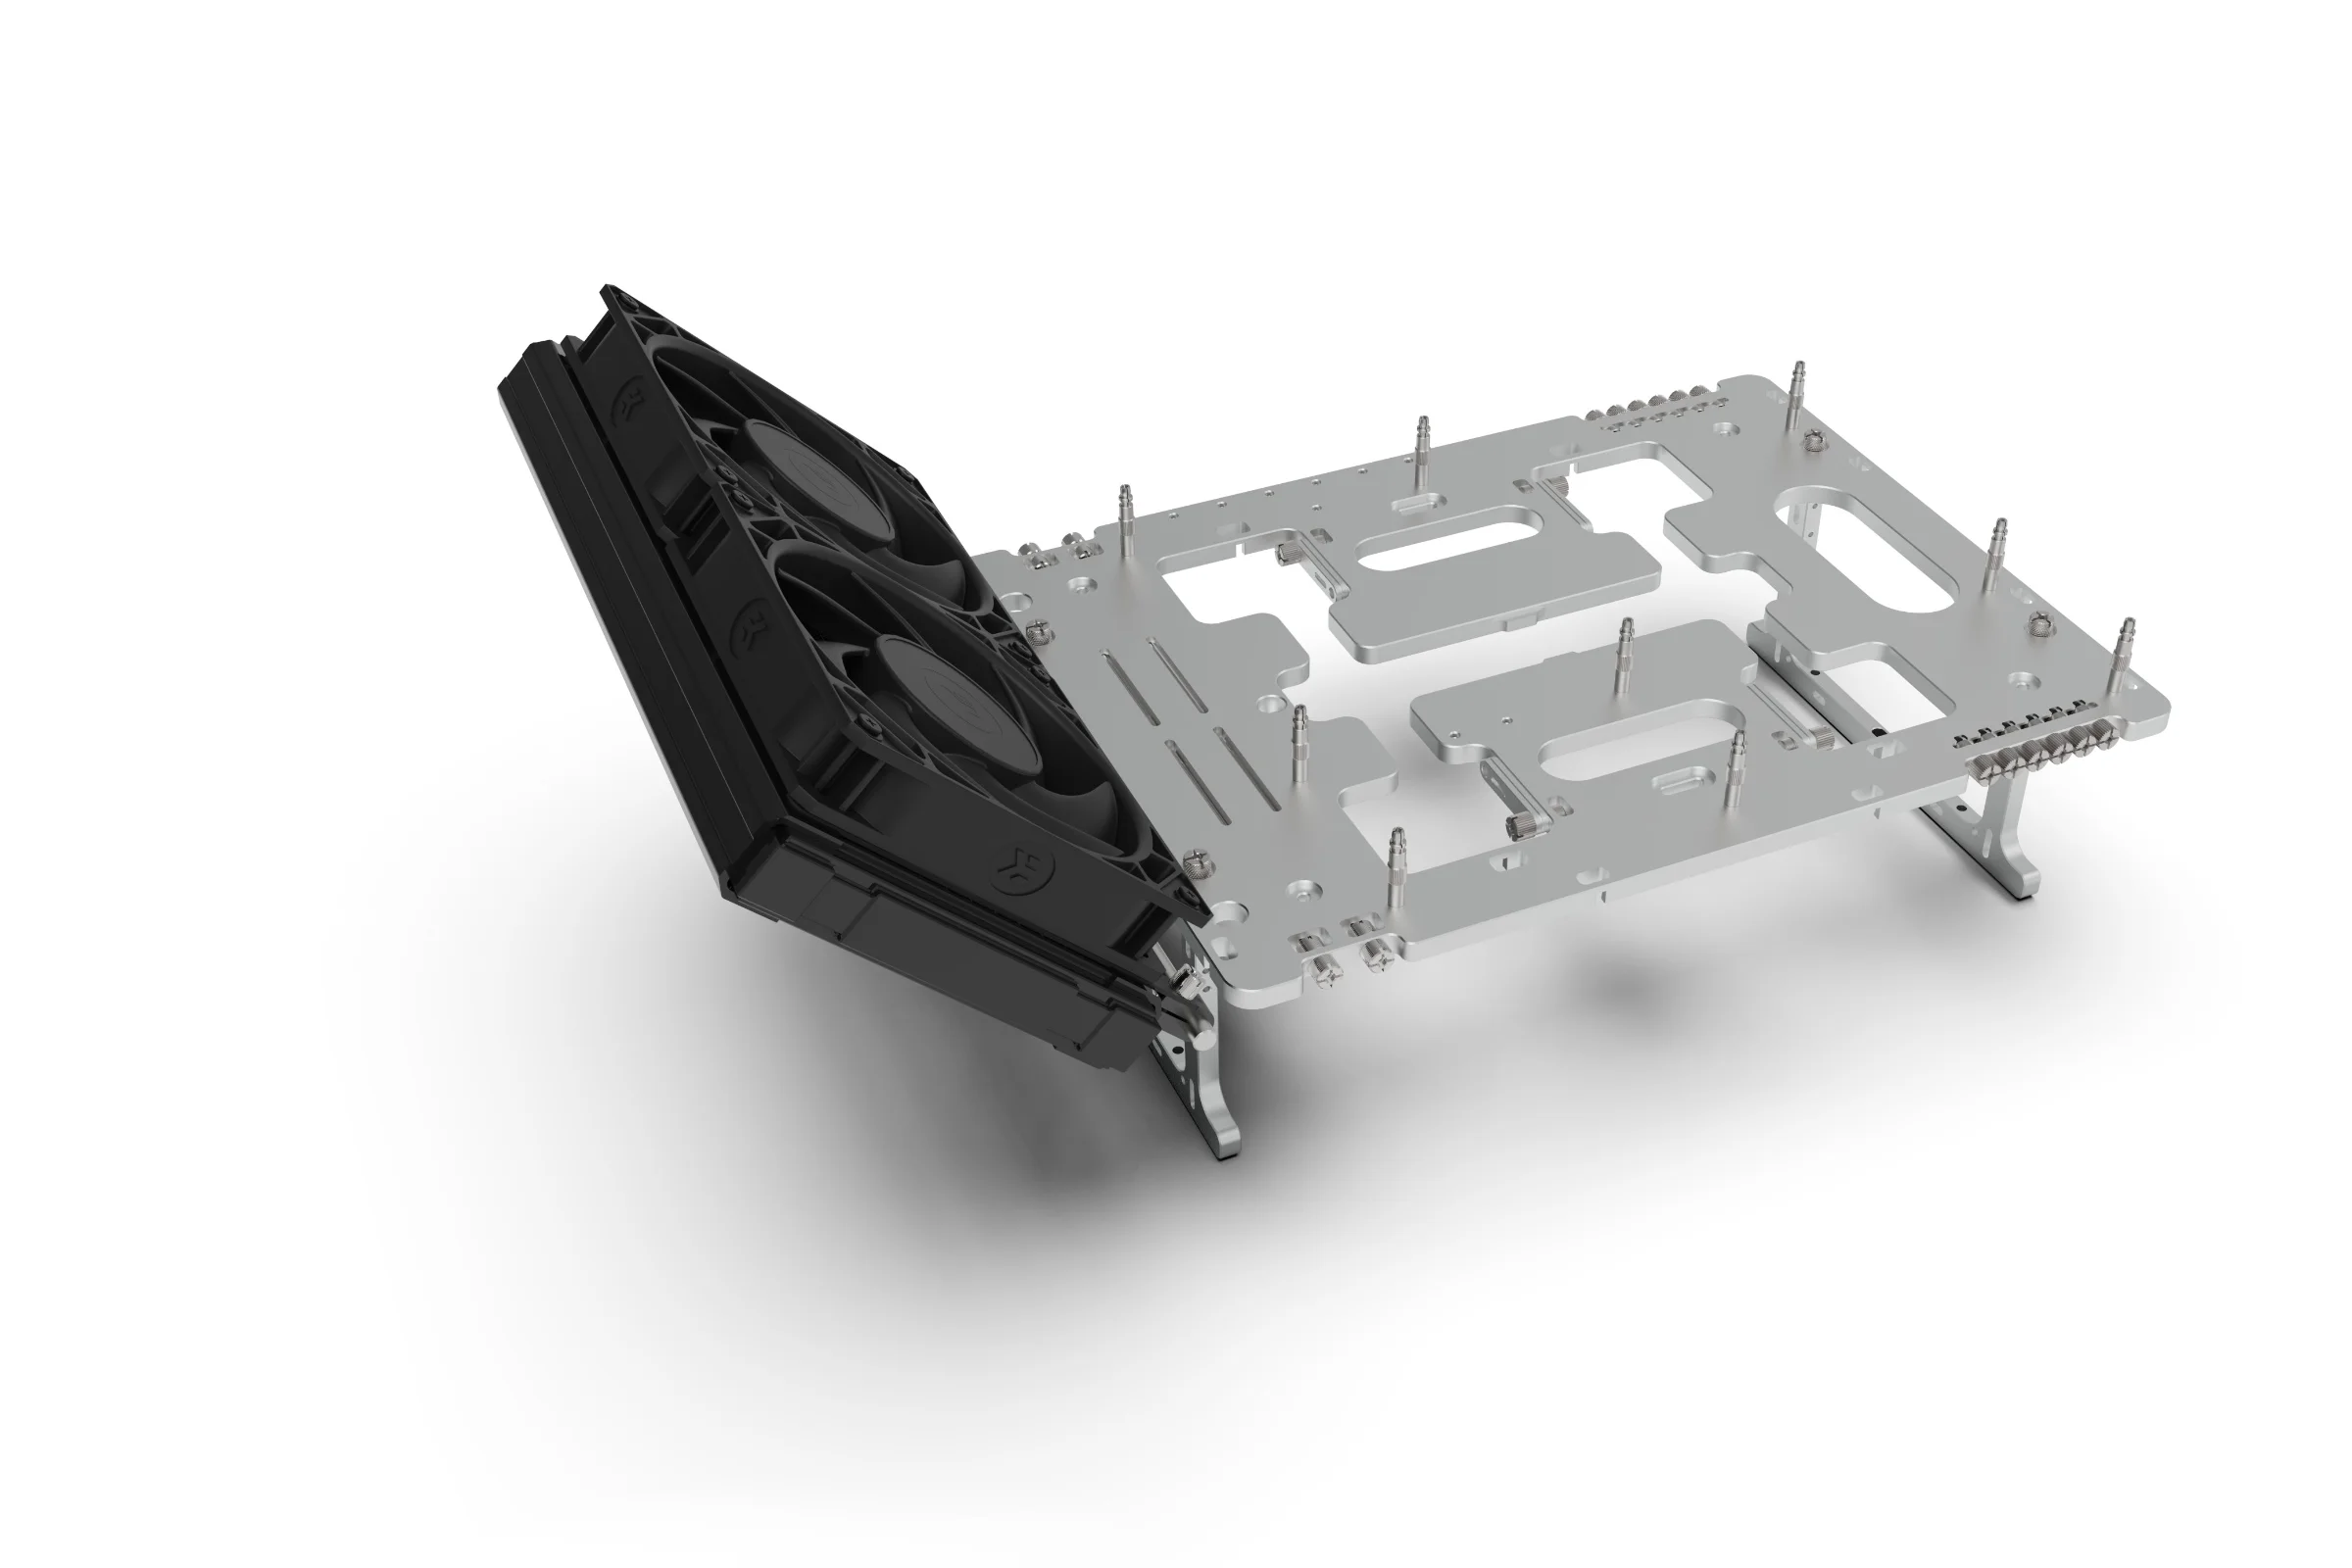
Fitting Hardware to the SMR
With the rail and clamps fitted, the final step is to attach your hardware using the appropriate brackets. For the procedure below we will use a 240mm radiator but the exact same principle applies for other accessories.
M3 Thumbscrew
Bracket
Clamp
Depending on the hardware you are fitting, it can be easier to install the bracket to the hardware first, then attach the brackets to the clamps, but in this example, we will attached the brackets to the clamps first using the M3 thumbscrew. At this stage the screw only need to be hand tight so that the clamp is still able to rotate and slide on the rail.
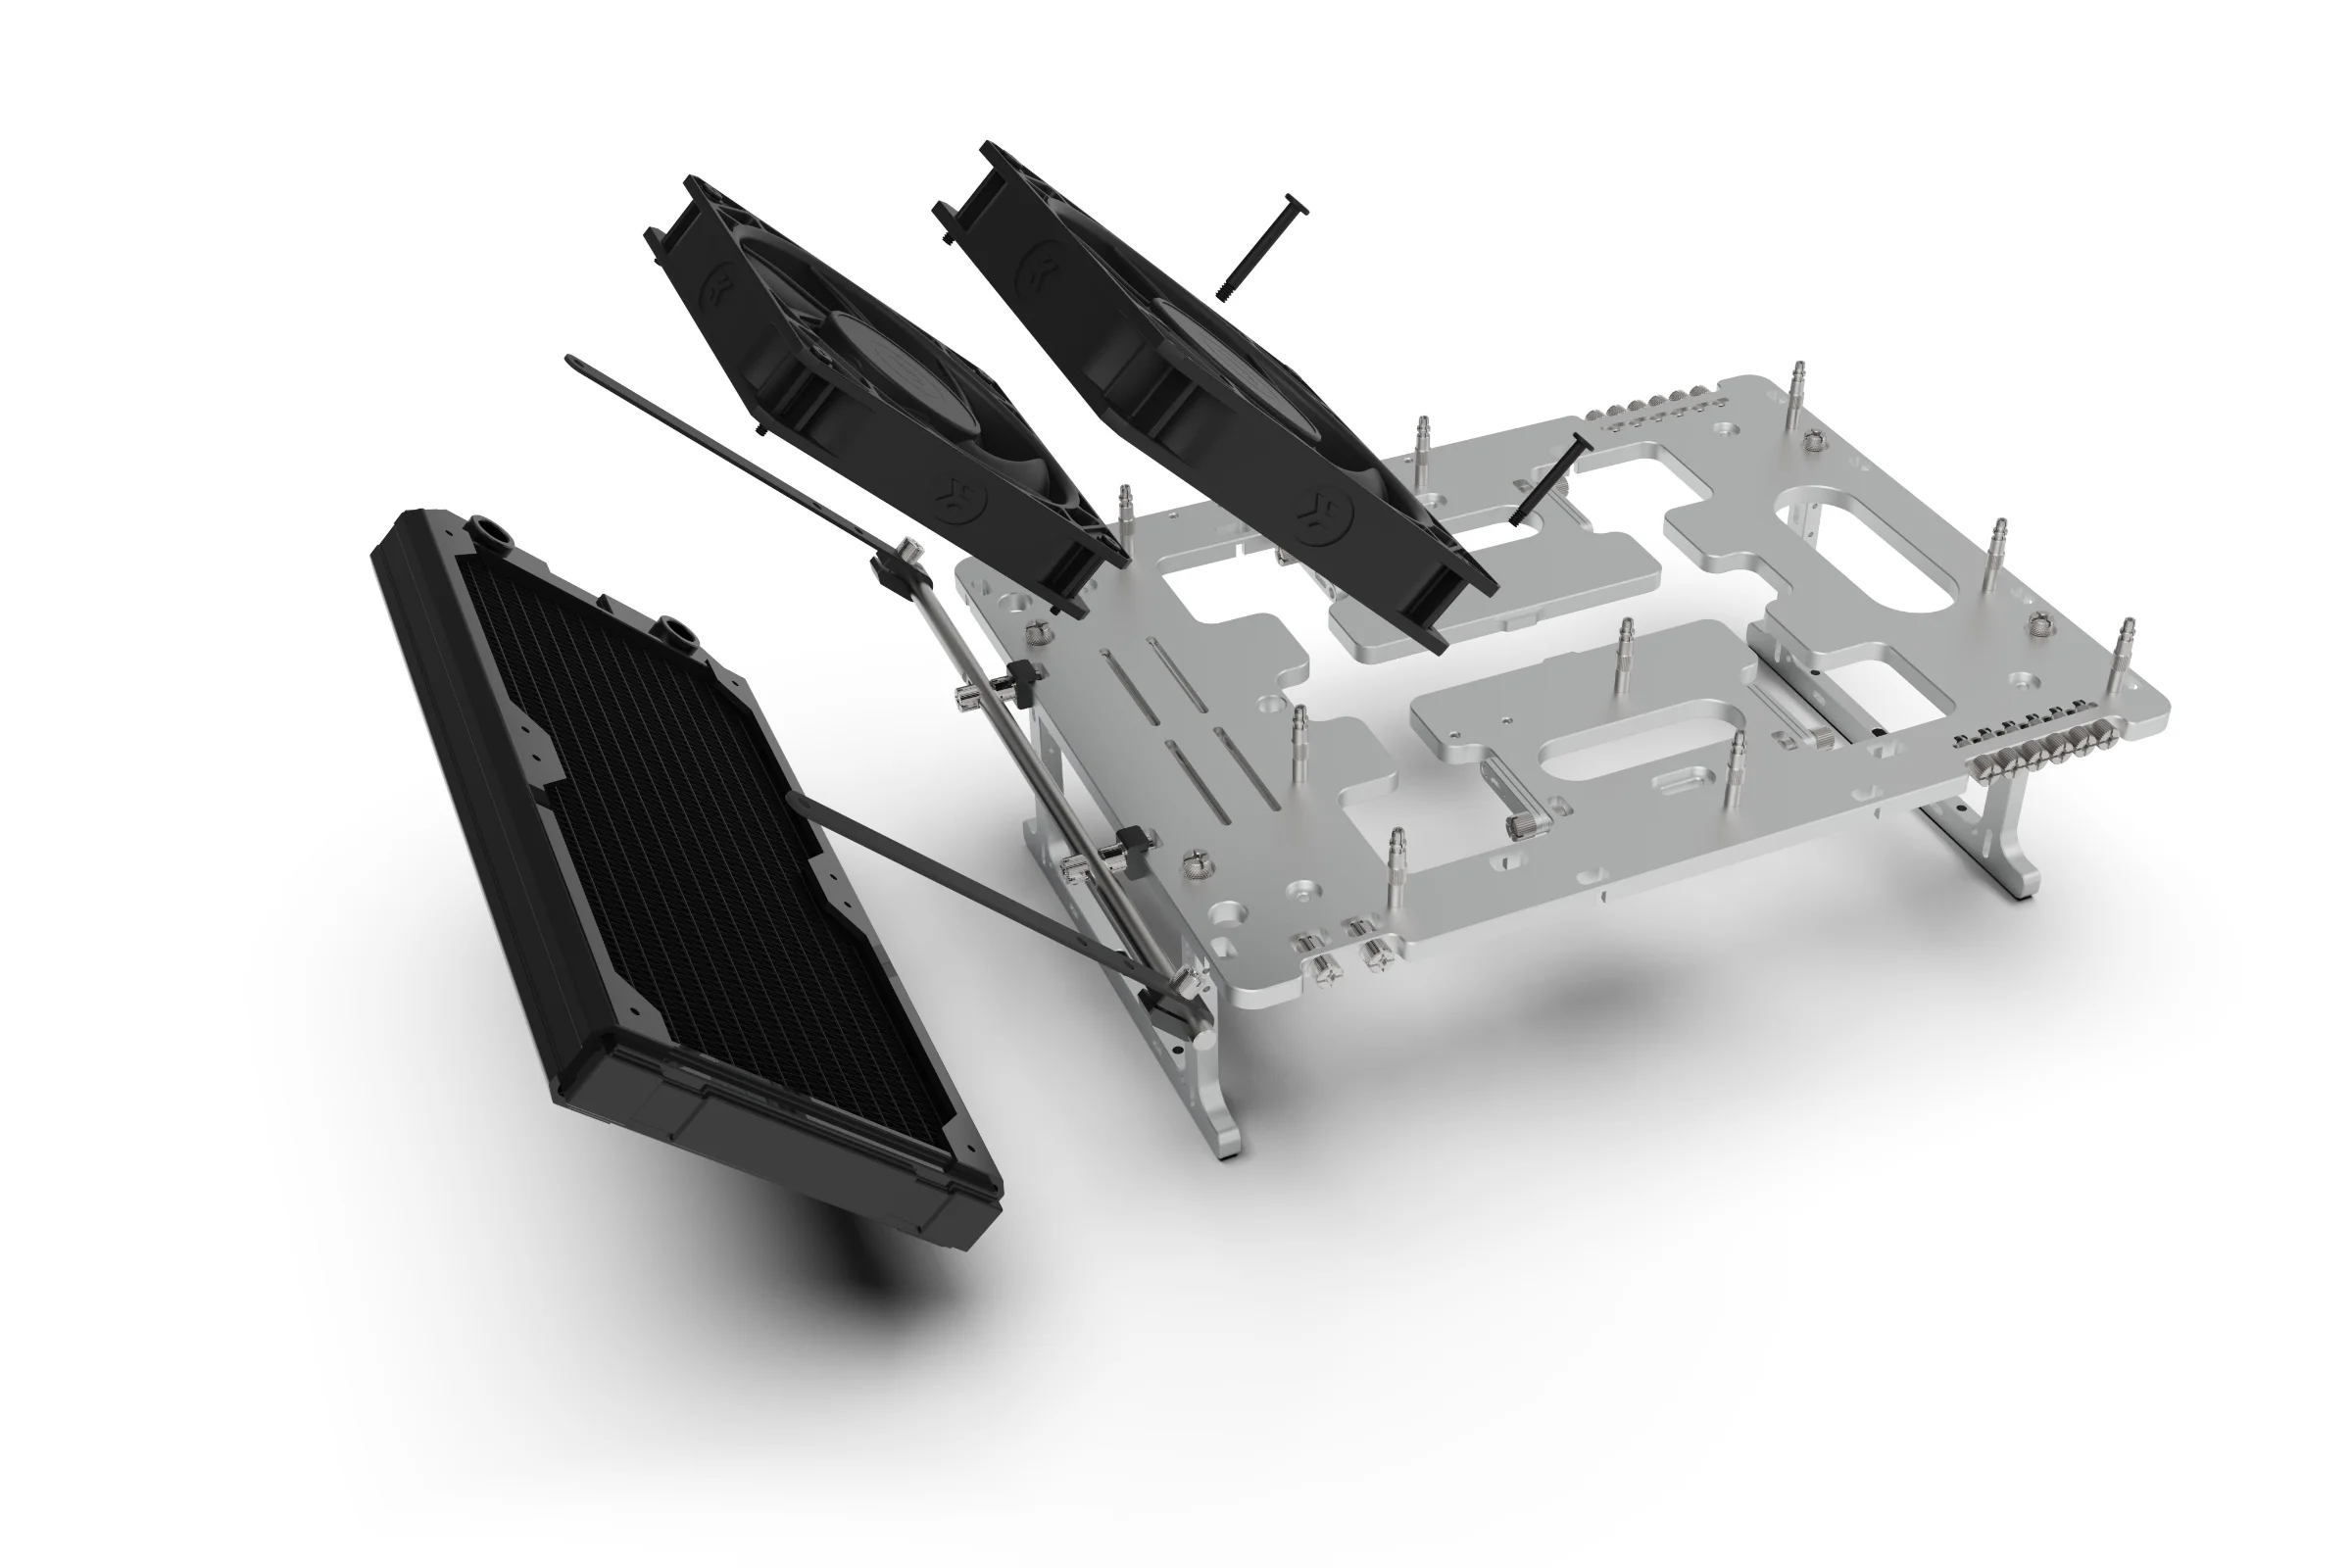
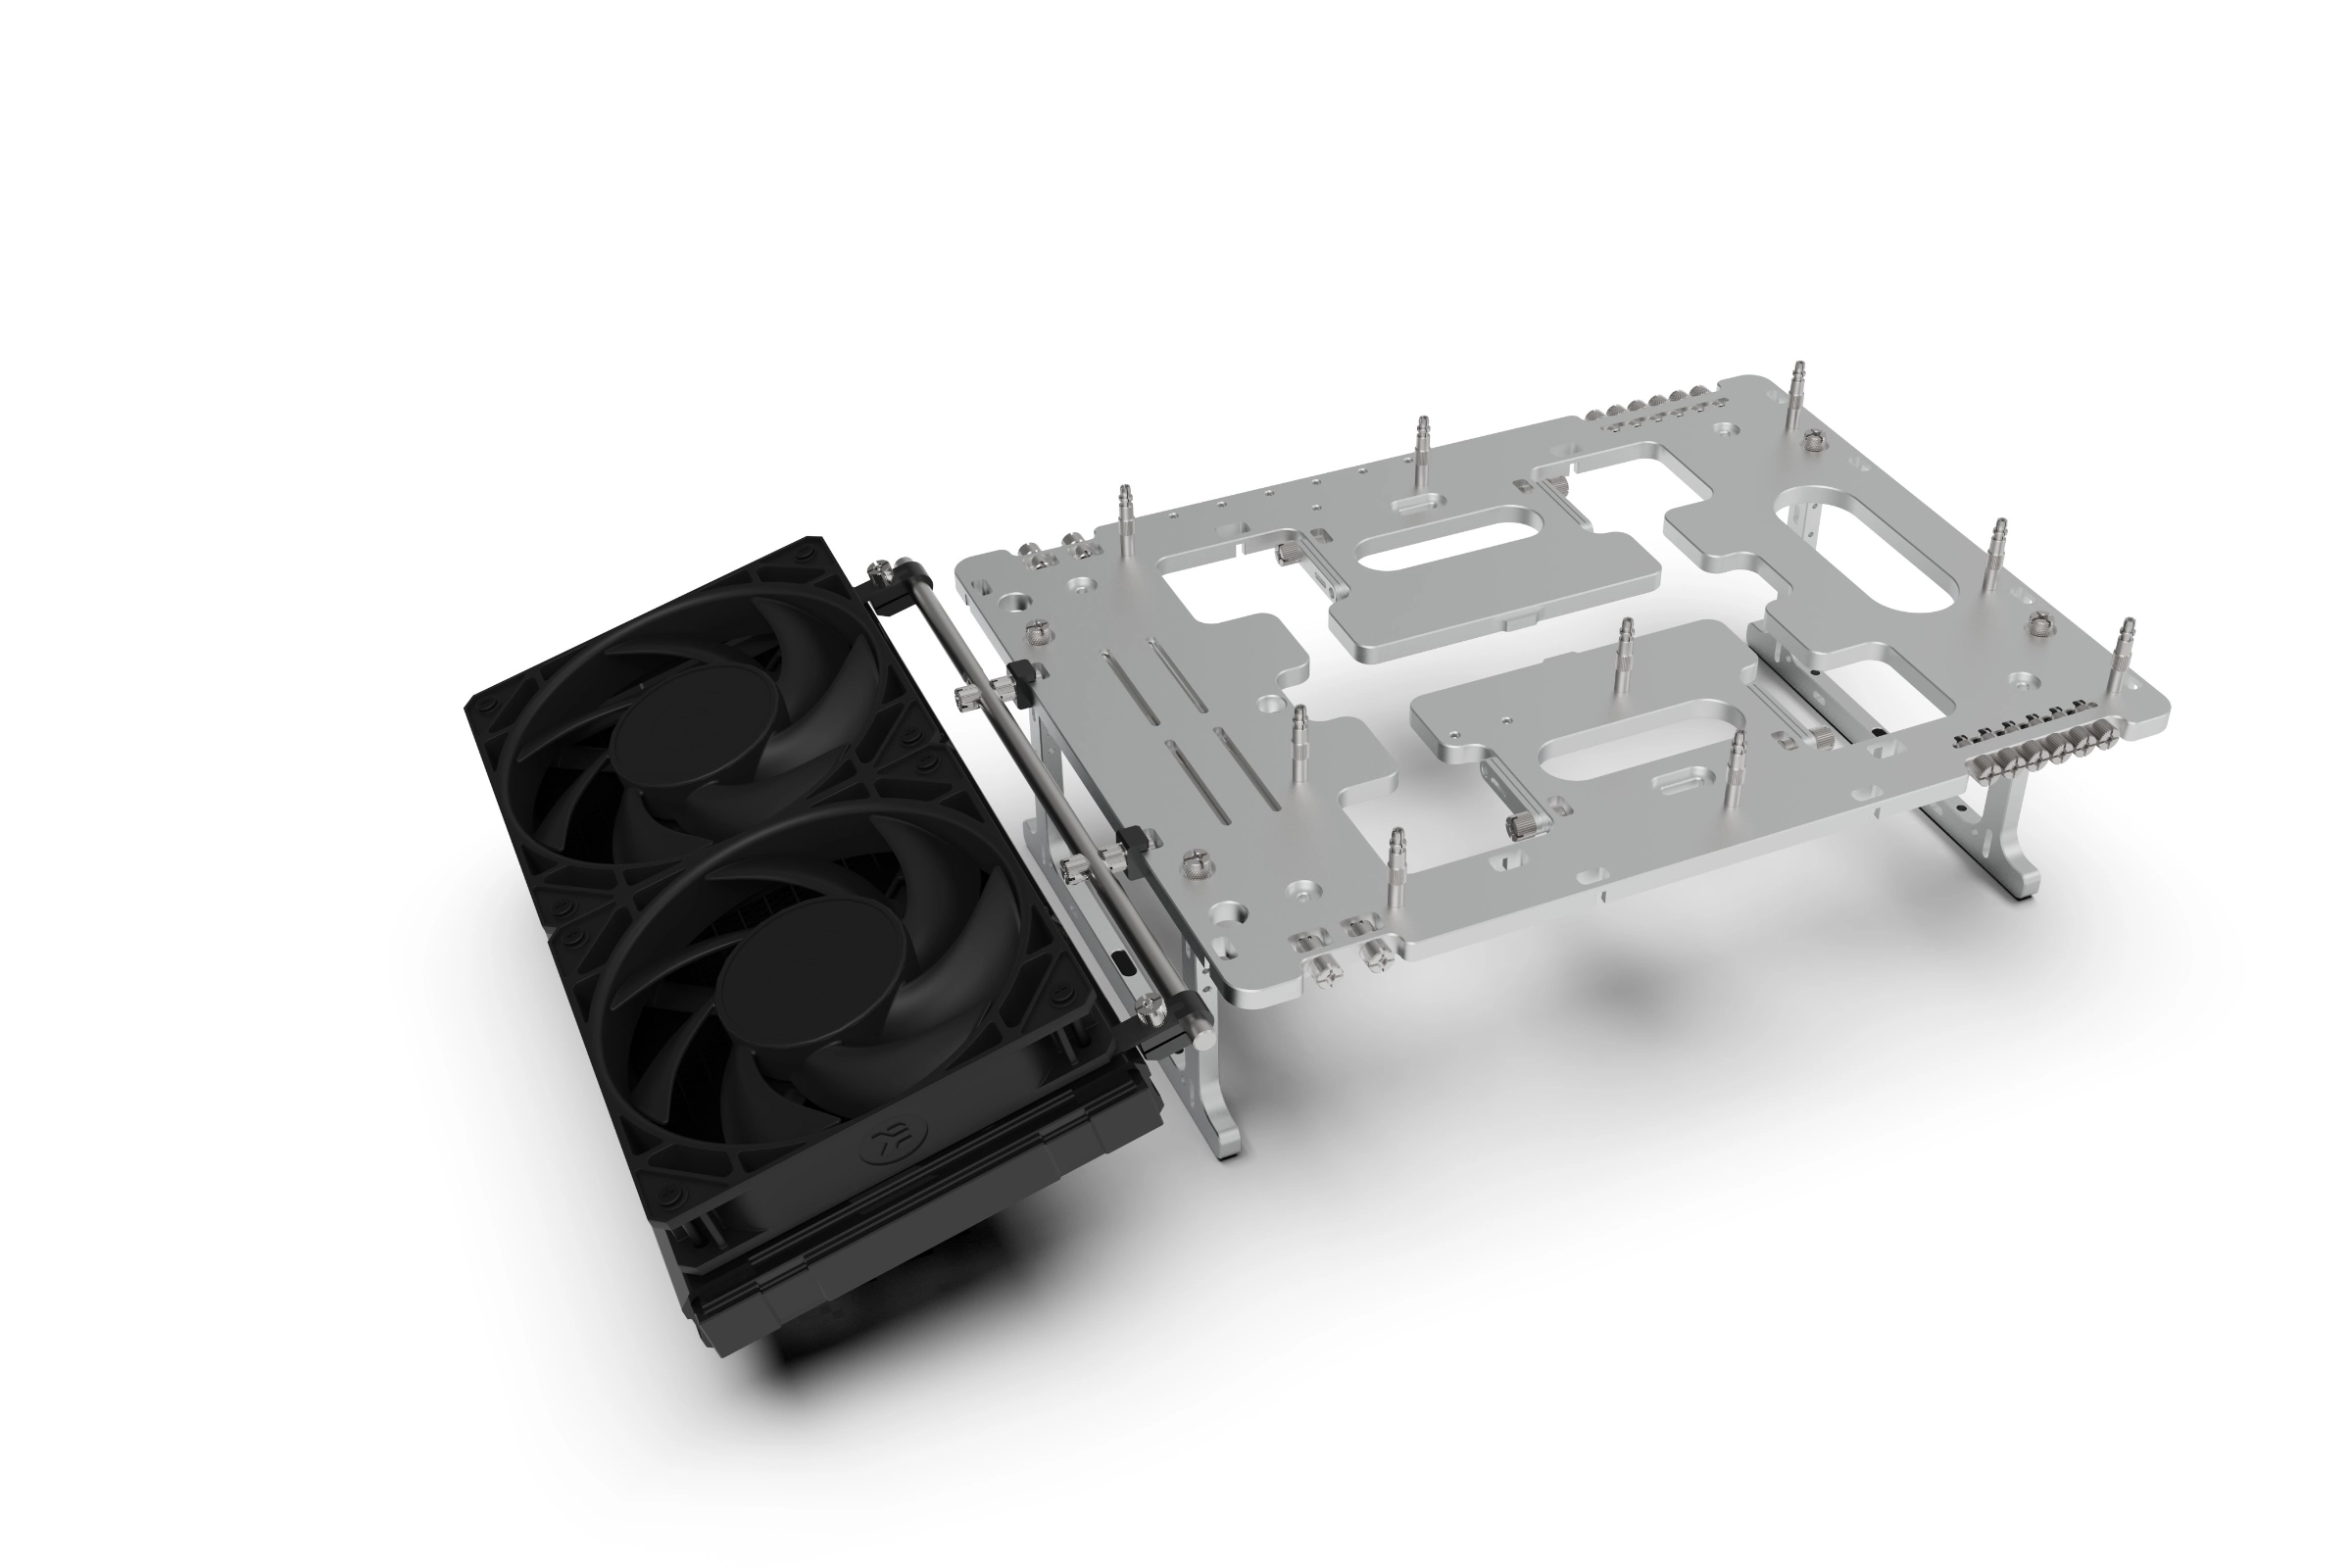
Radiator
Fan
Bracket
Mounting Screw
Again, the exact method of mounting will depend on the hardware, preferred orientation / position, but the principle is the same. Attach the hardware to the brackets using the appropriate screws (typically supplied with the hardware)
M3 Thumbscrew
With the hardware mounted to the brackets, you can make final adjustments to the angle/rotation and position along the rail.
M3 Thumbscrew
Once you are satisfied with the position, you can lock it in place my fully tightening the M3 Thumbscrew on each clamp.